
Background #
Not too long ago… (Never mind, time’s been flying… ) About 3 months ago, on the 2nd of April to be exact, I decided to upgrade cases from my trusty spray-painted Antec DF600 to something a bit roomier for my two GPUs to not suffocate as much. After browsing around I noticed Antec’s brand new case at the time - the C8. It basically seemed like yet another knock-off of the O11 without as much advanced features, but the price here was key. At only $140 (it’s even lower now at $134 at a couple of places which is insane!), it seemed like a great choice, and looking back, it pretty much was.
Building Experience #
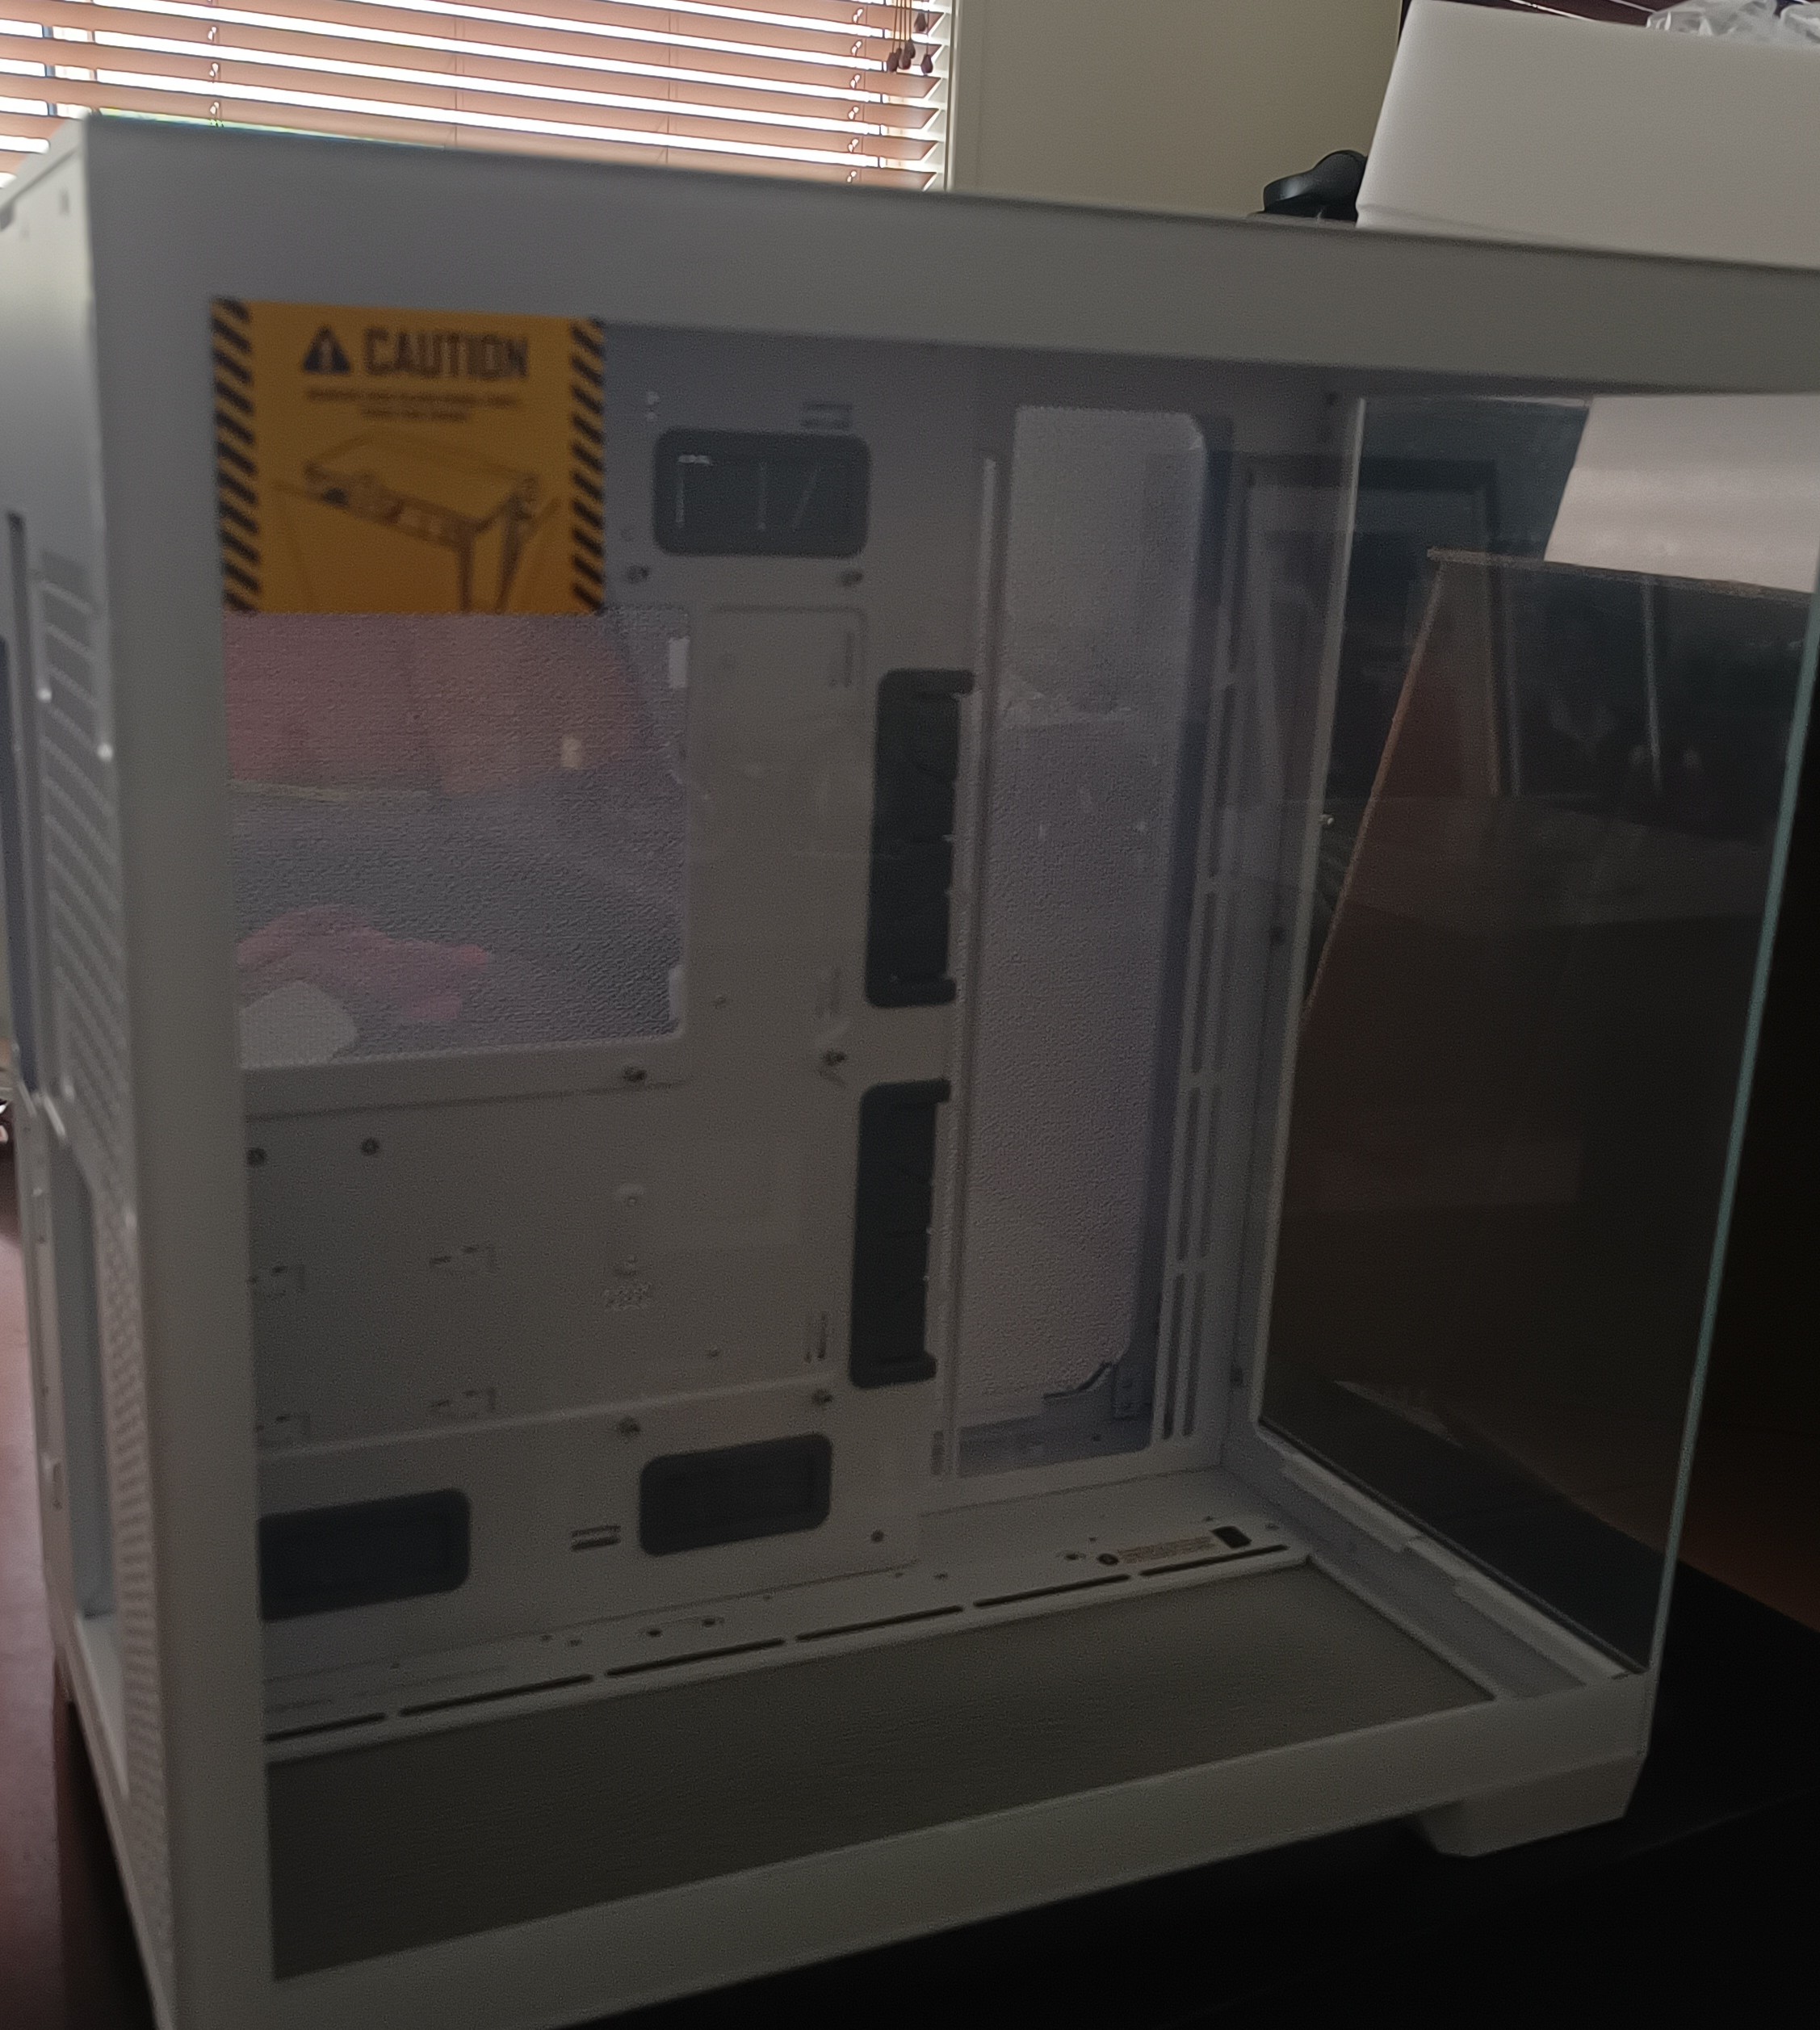
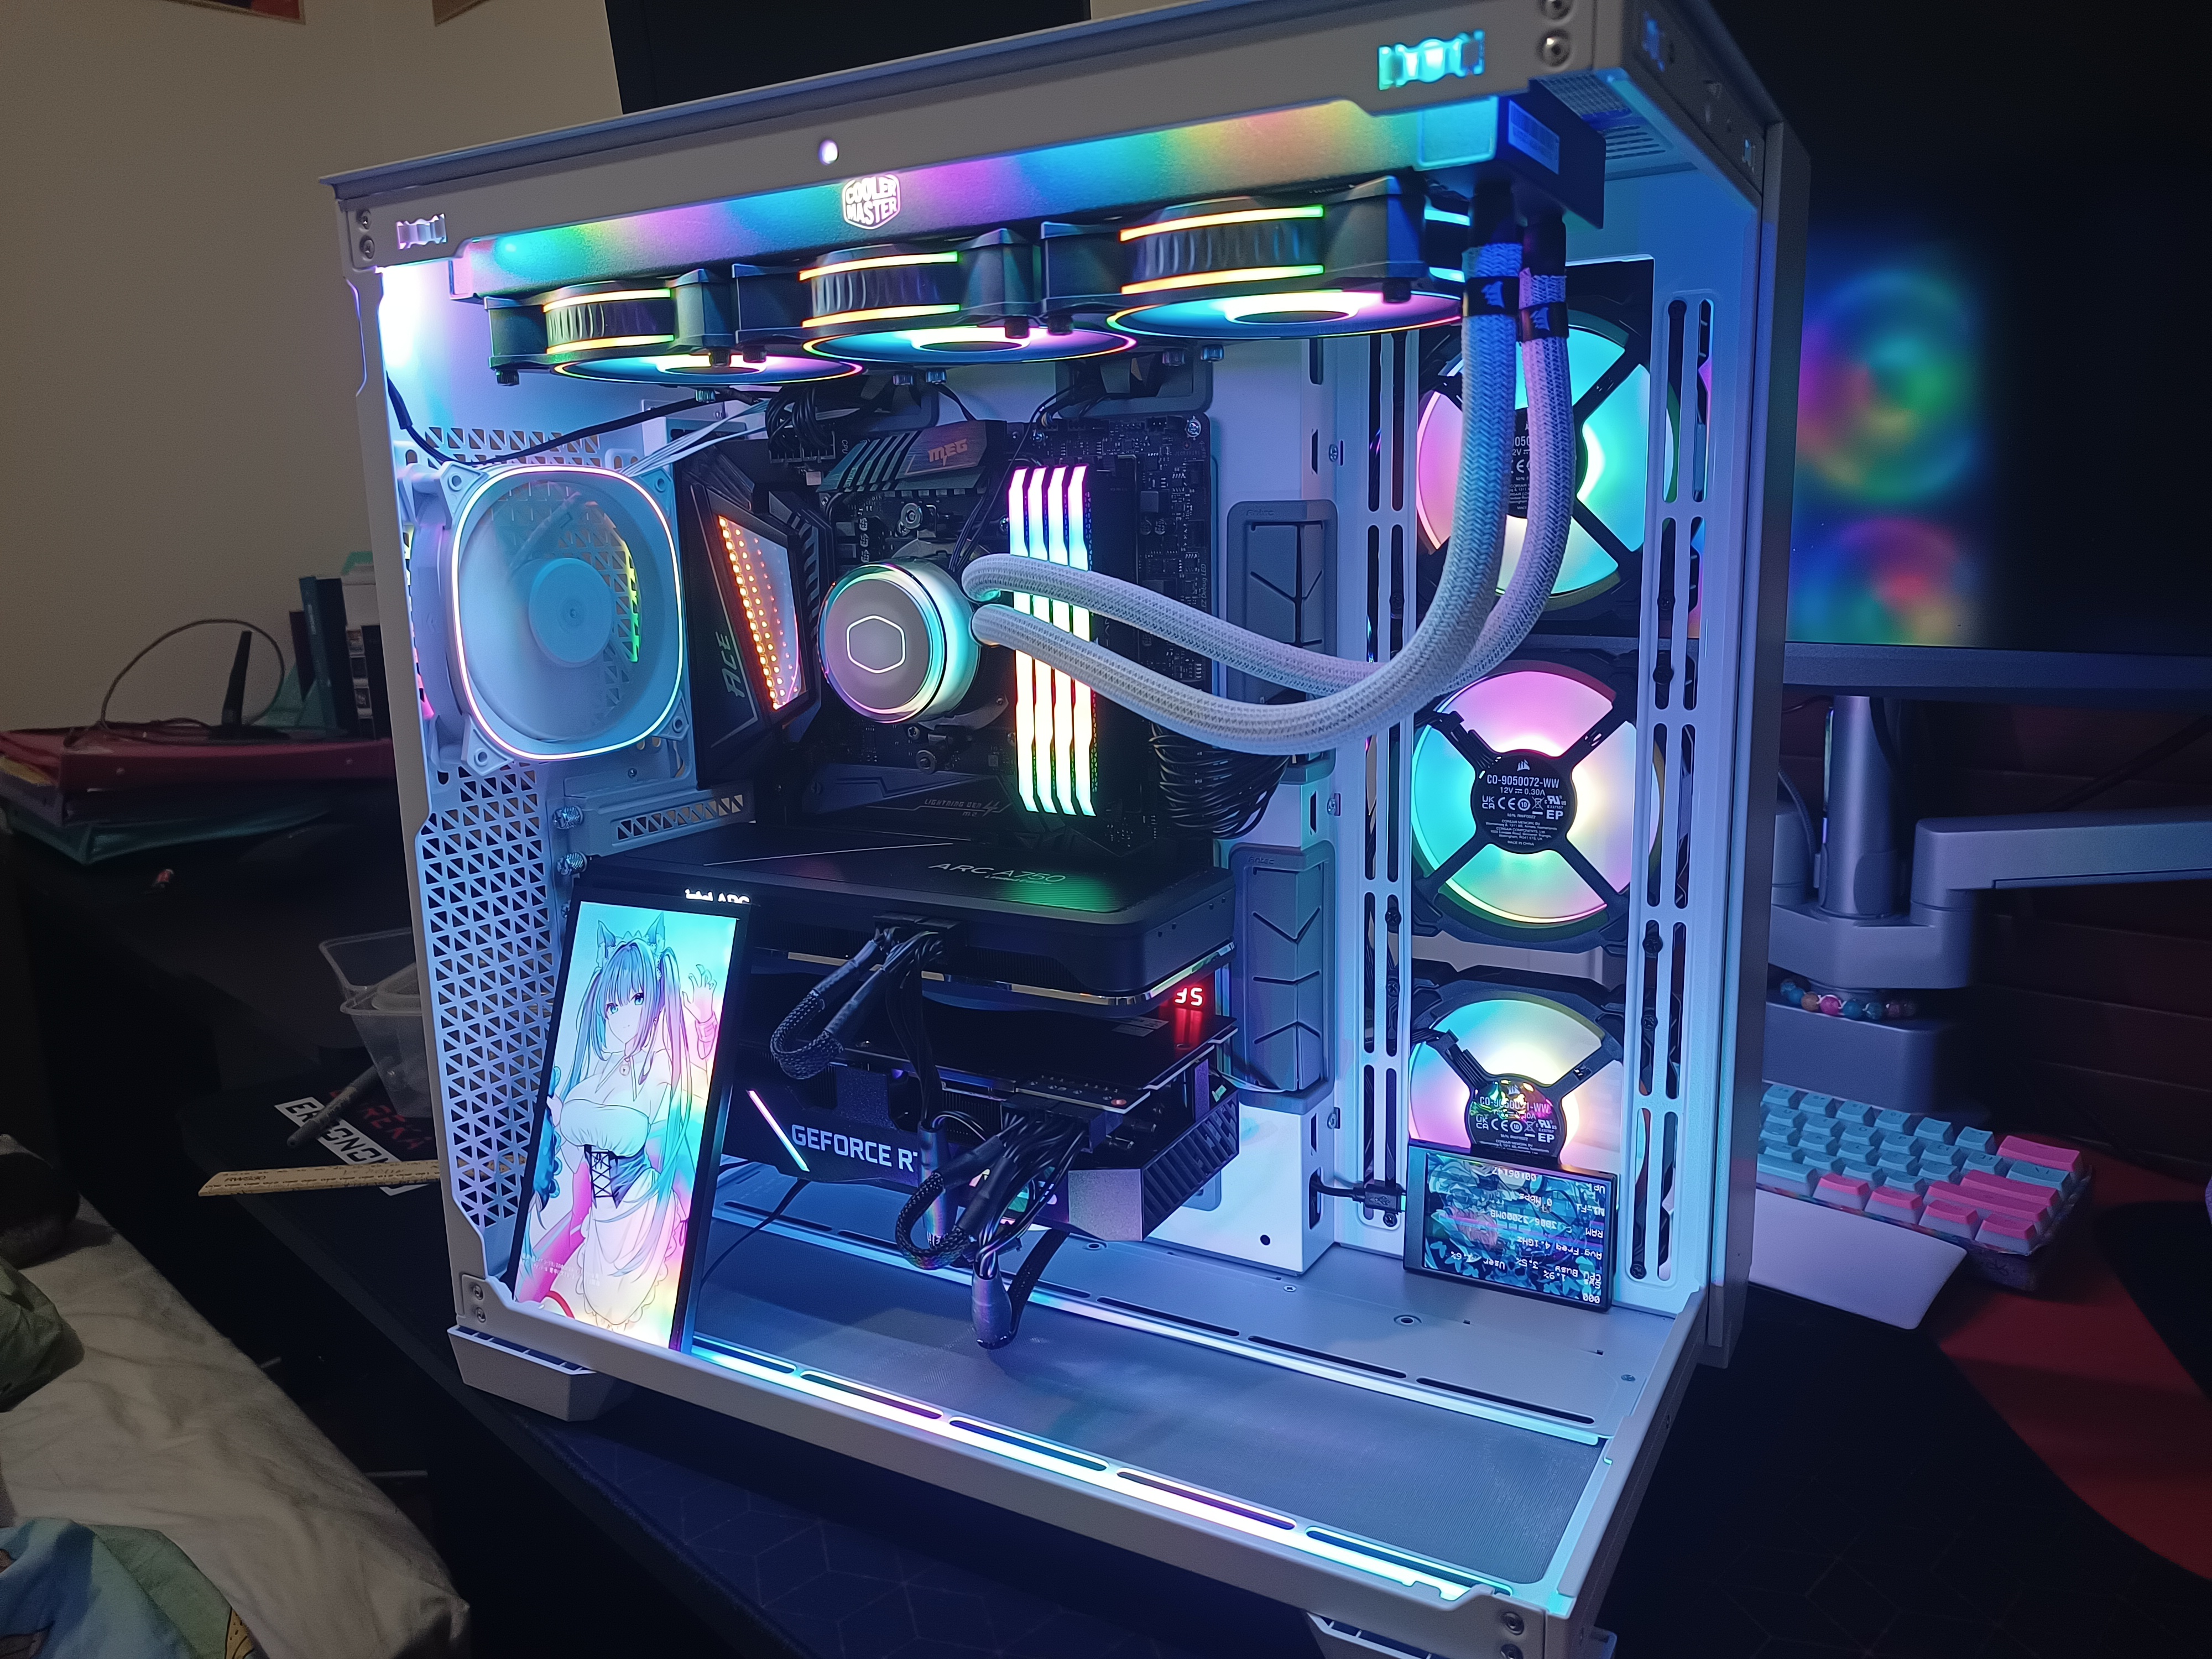
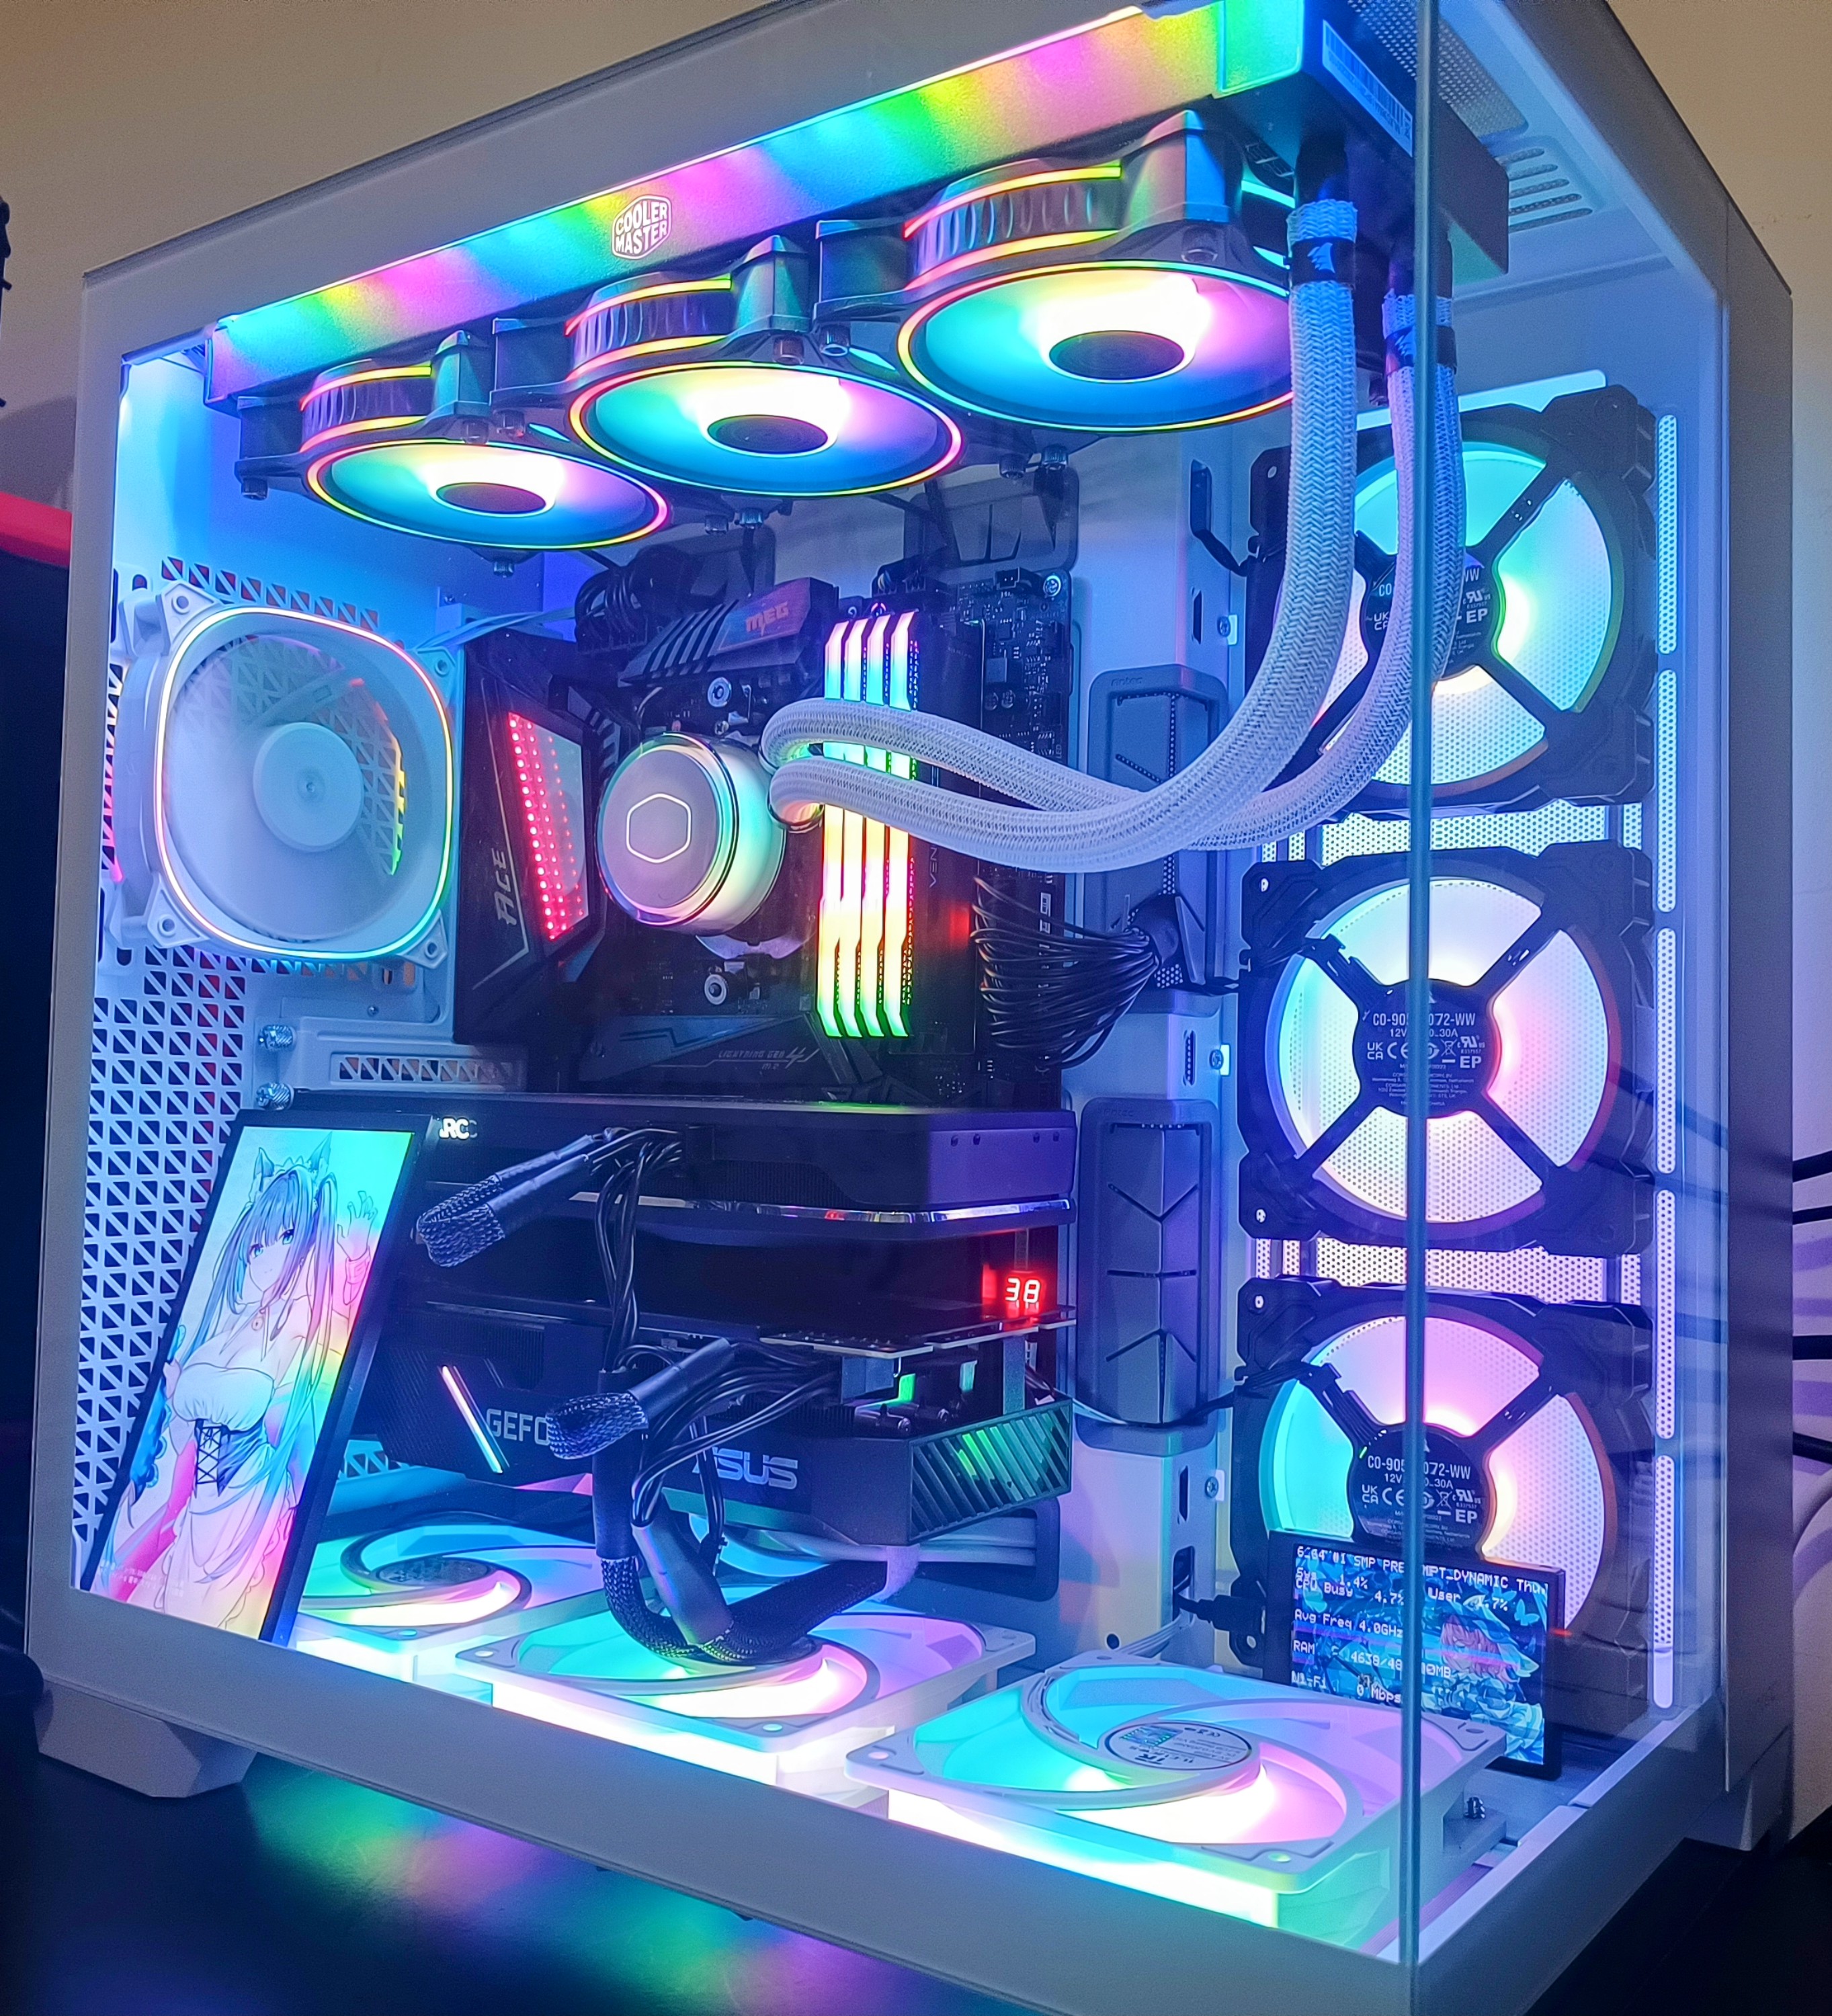
Before we get into my building experience with the C8, I just want to mention how big and heavy this thing is (probably like all of these massive fish-tank cases I’d imagine), which left me struggling to lug it to my car from the store - which was kinda embarrassing but hey, I digress. Overall, the building experience was pretty easy and enjoyable, I’d never built in one of these fish tank cases before so it was a nice change of pace. Thanks to its big size, it was really easy getting everything in as well. There’s a few quirks with this case I’d like to highlight below.
Bottom Fan Bracket #
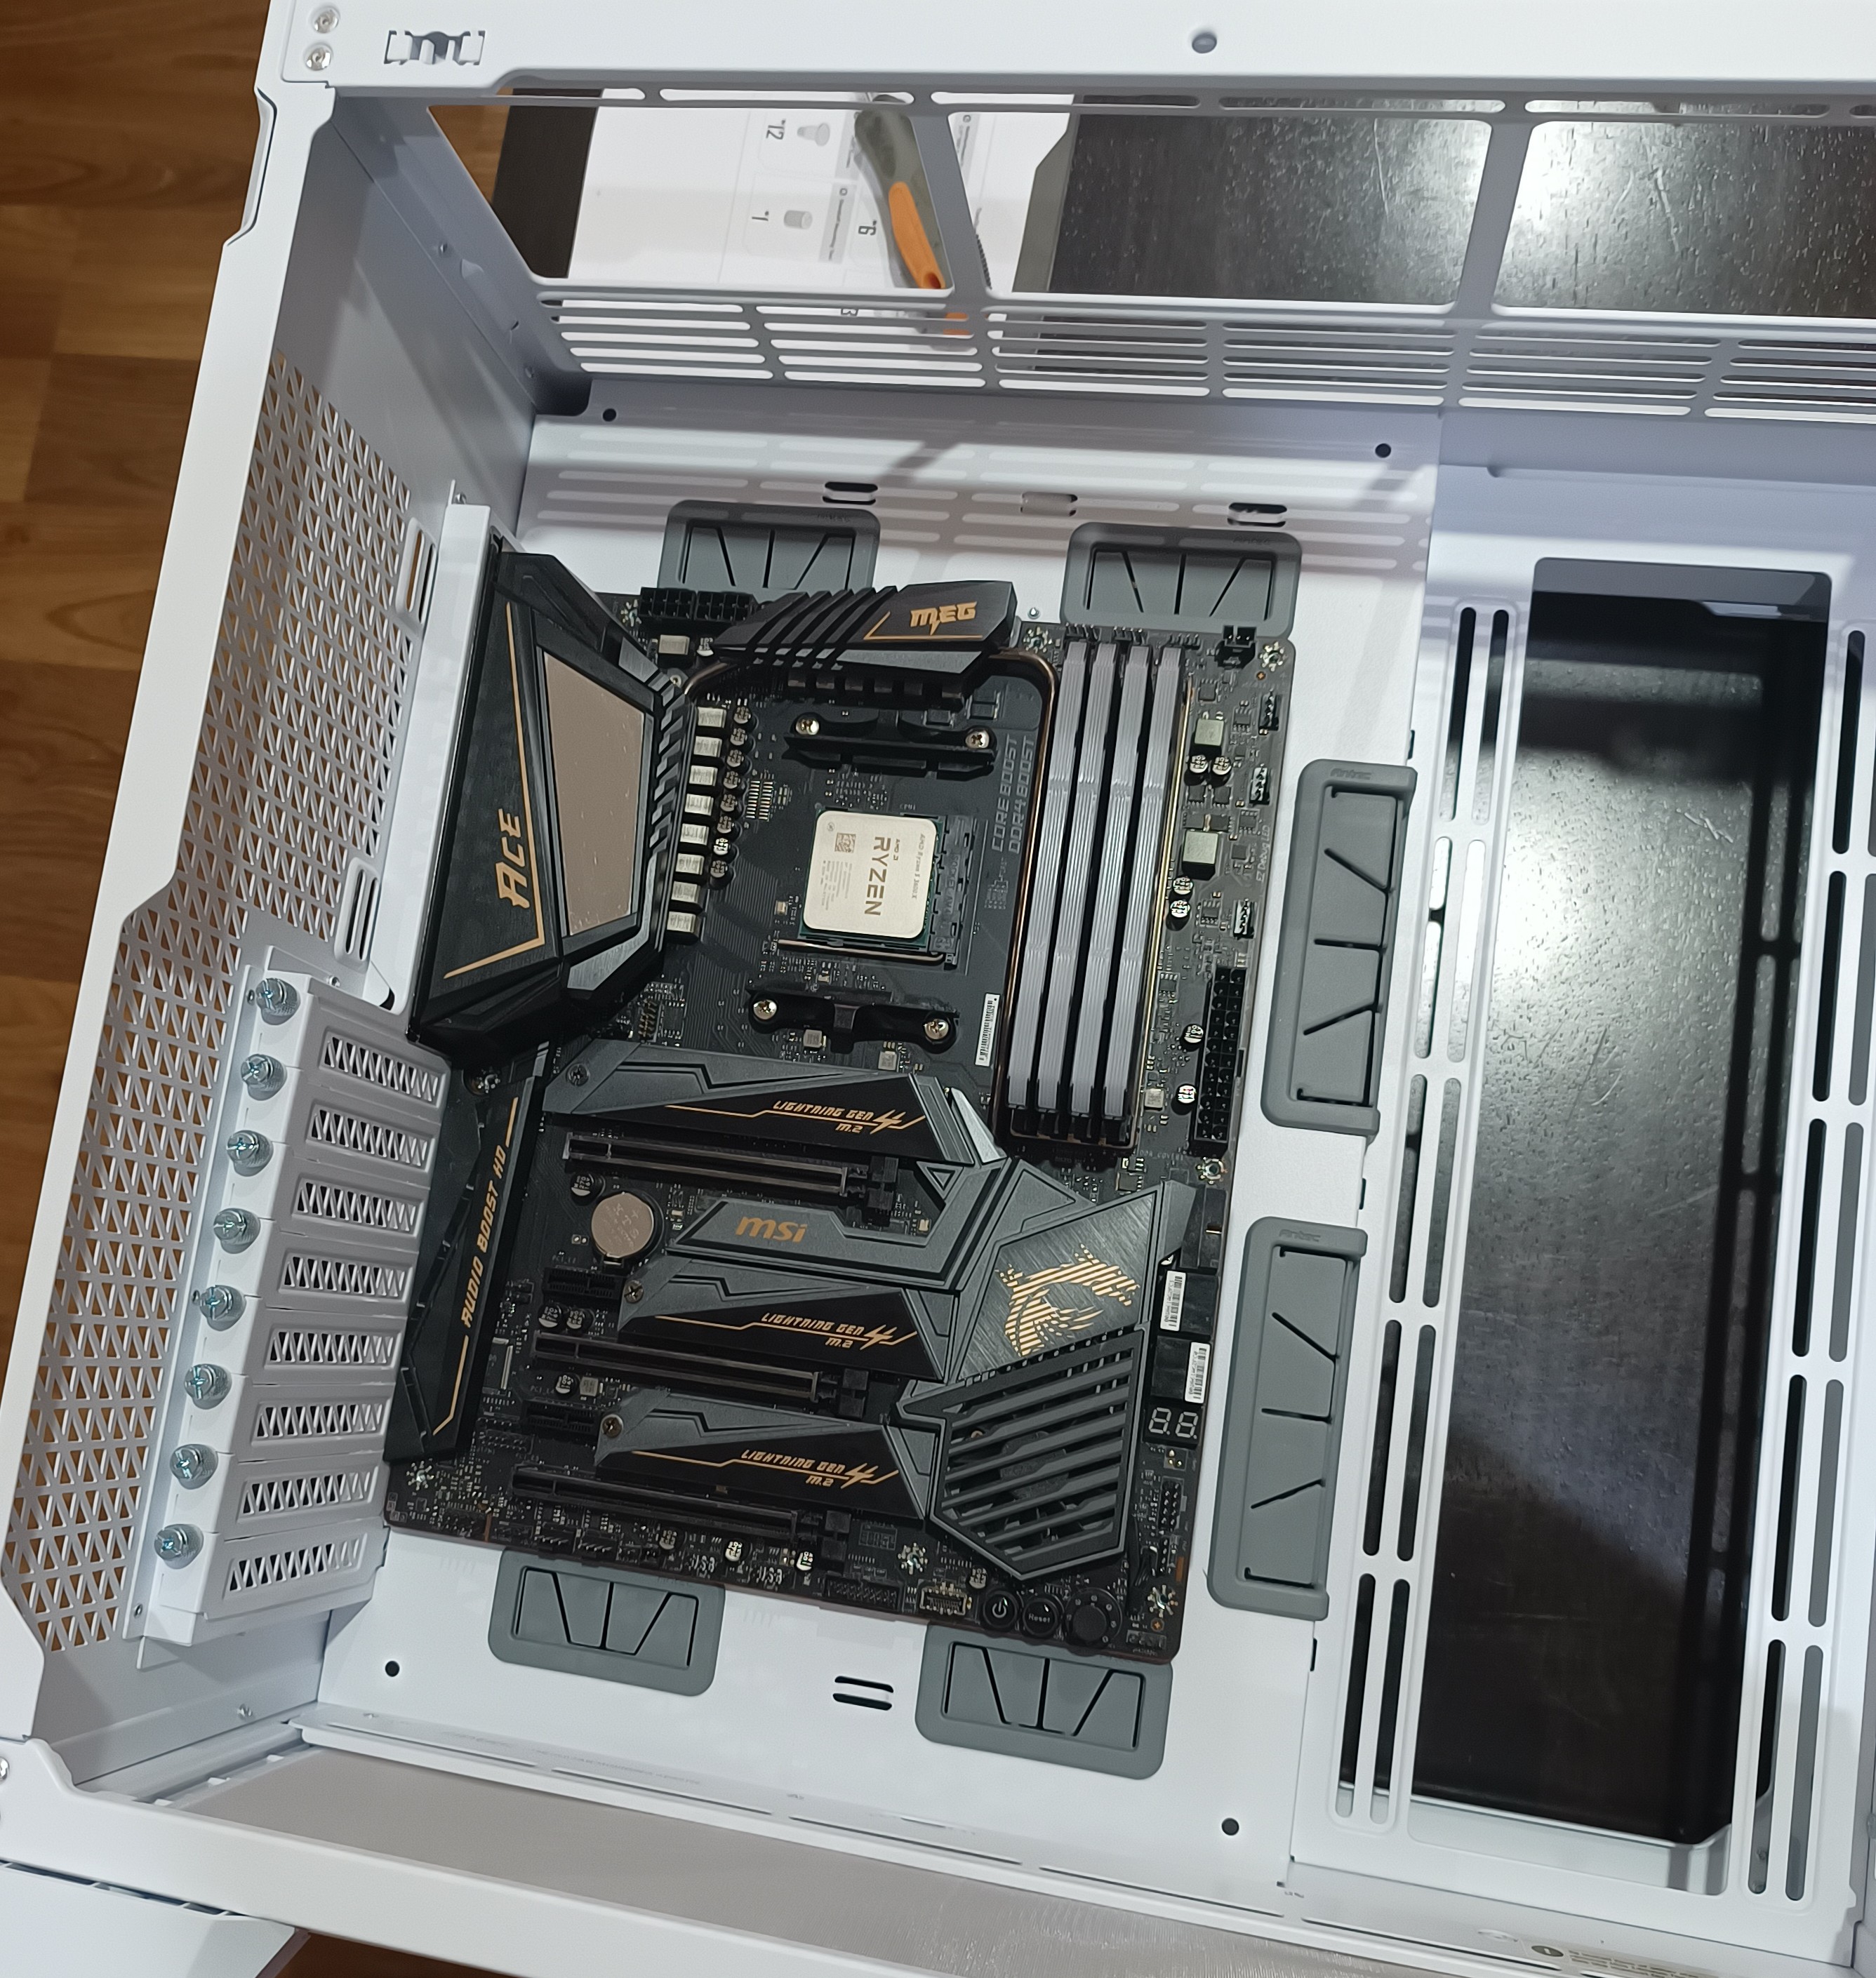
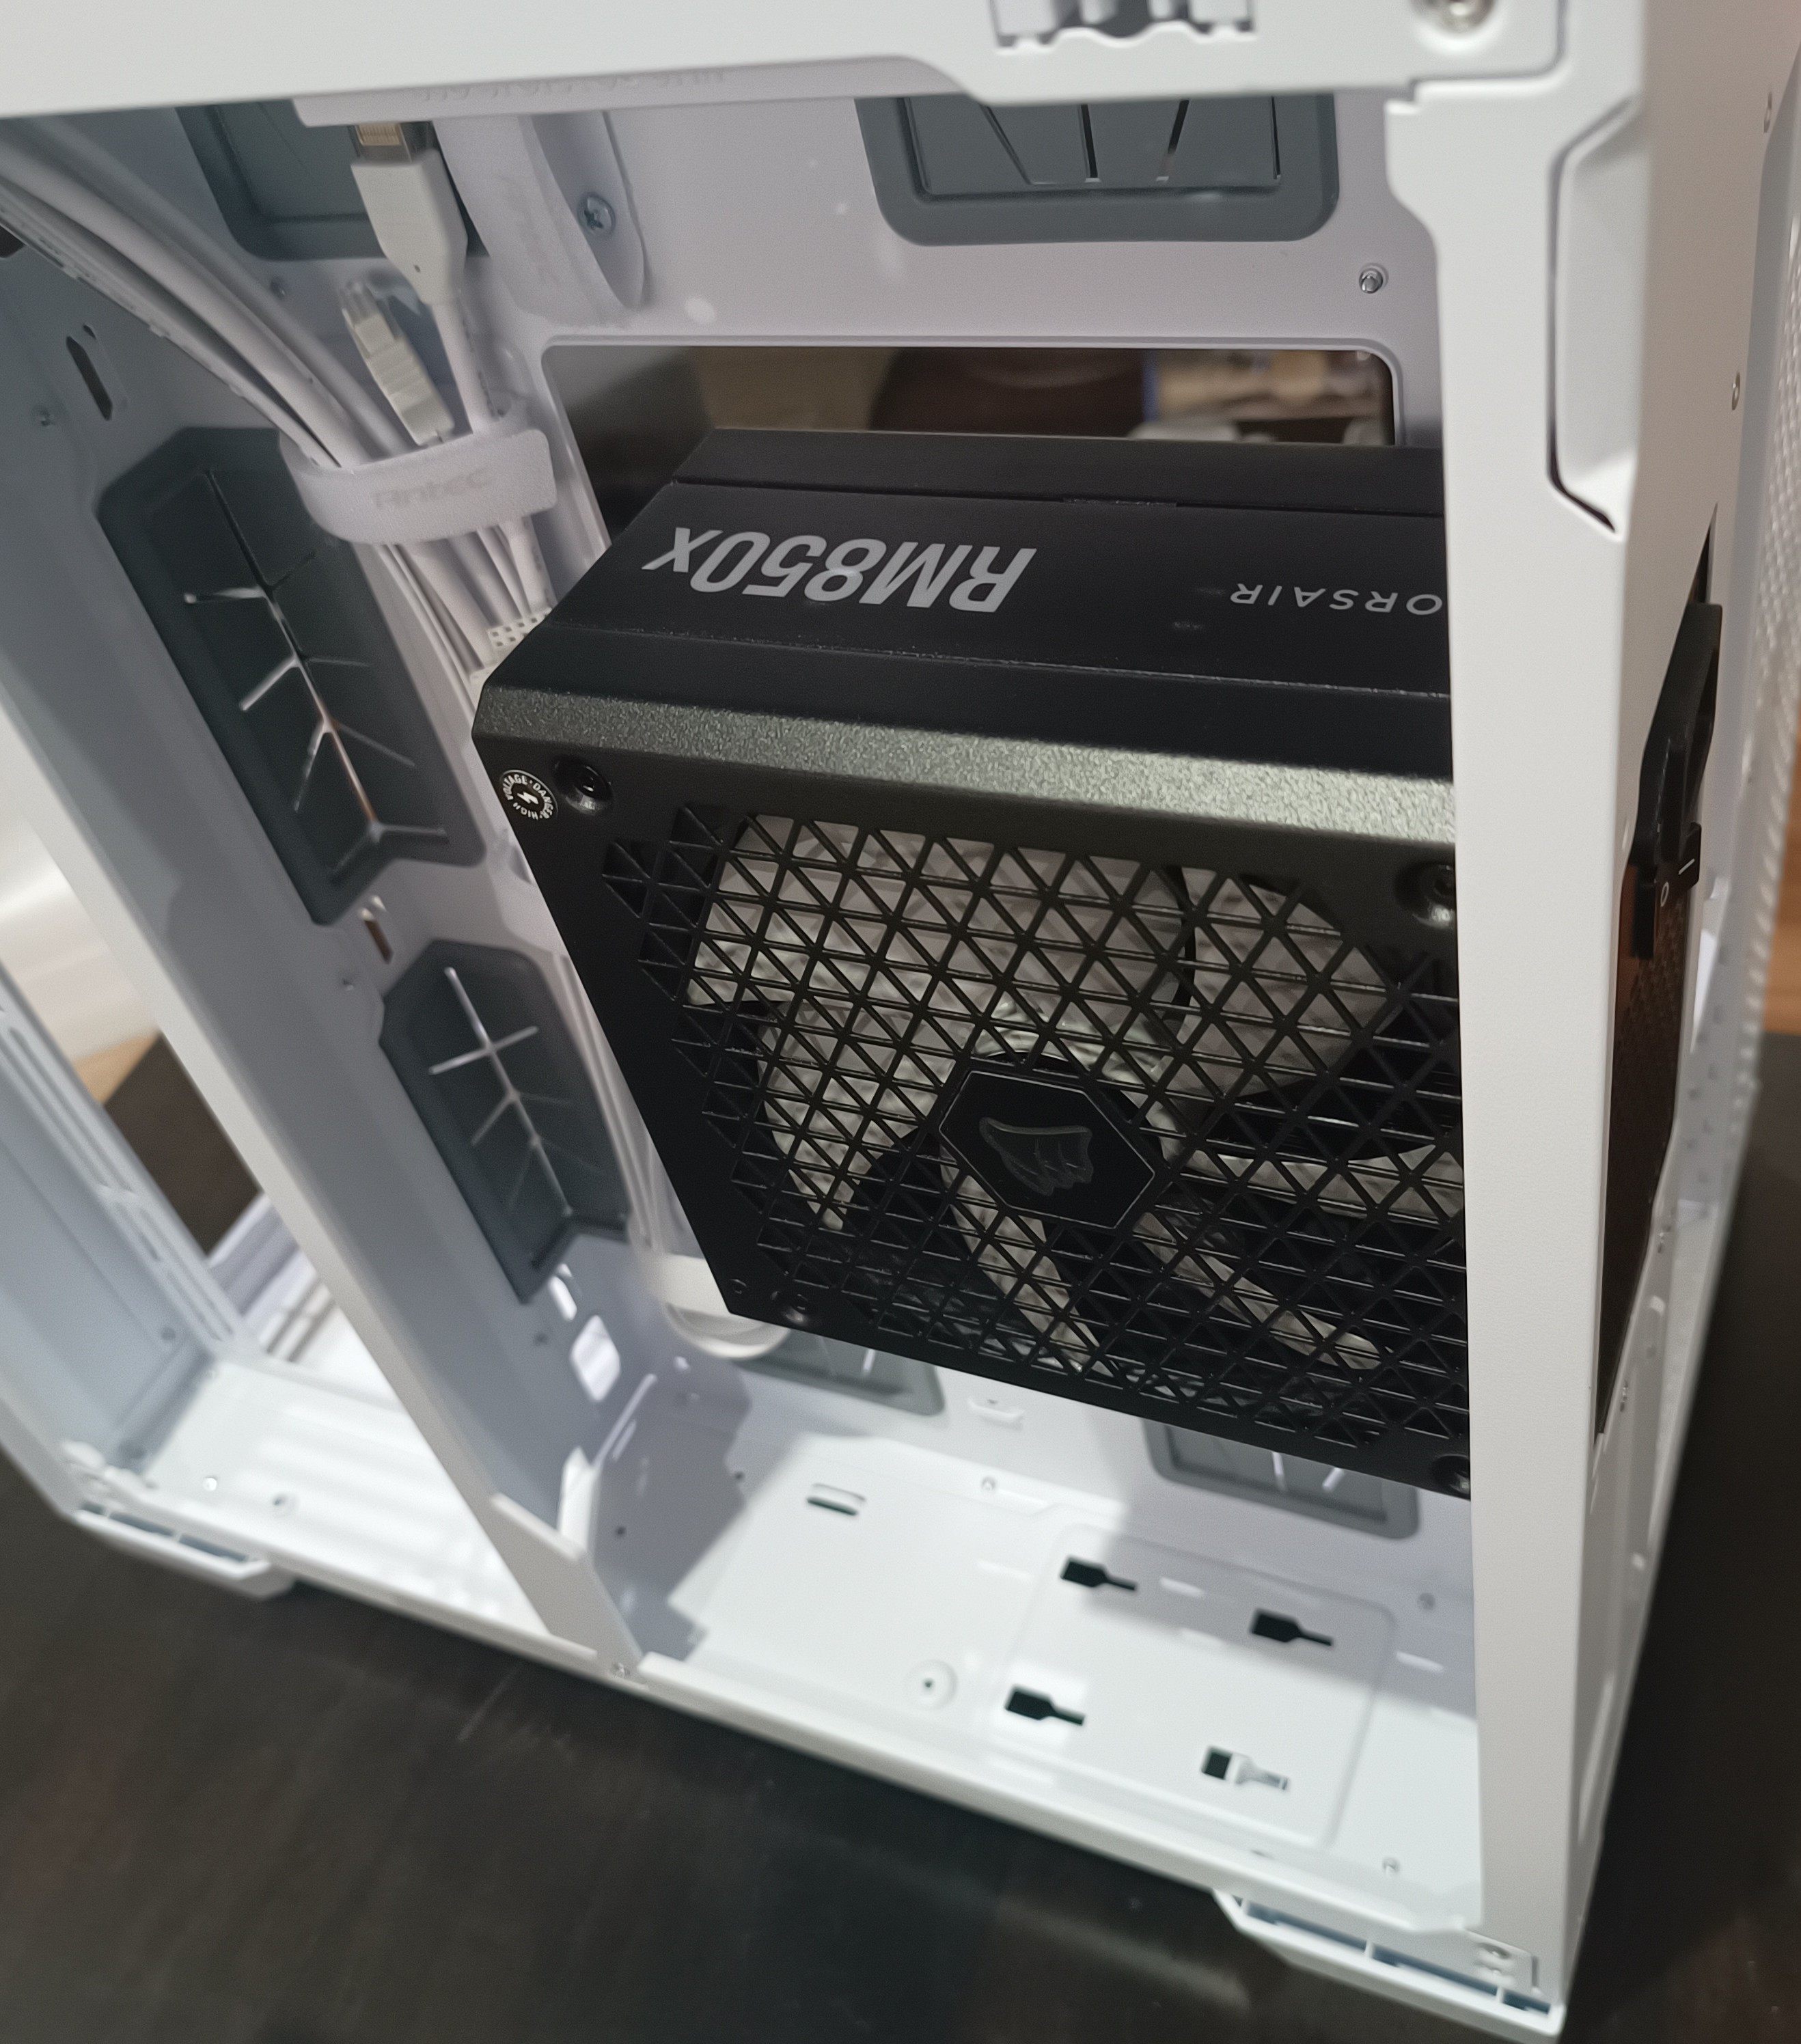
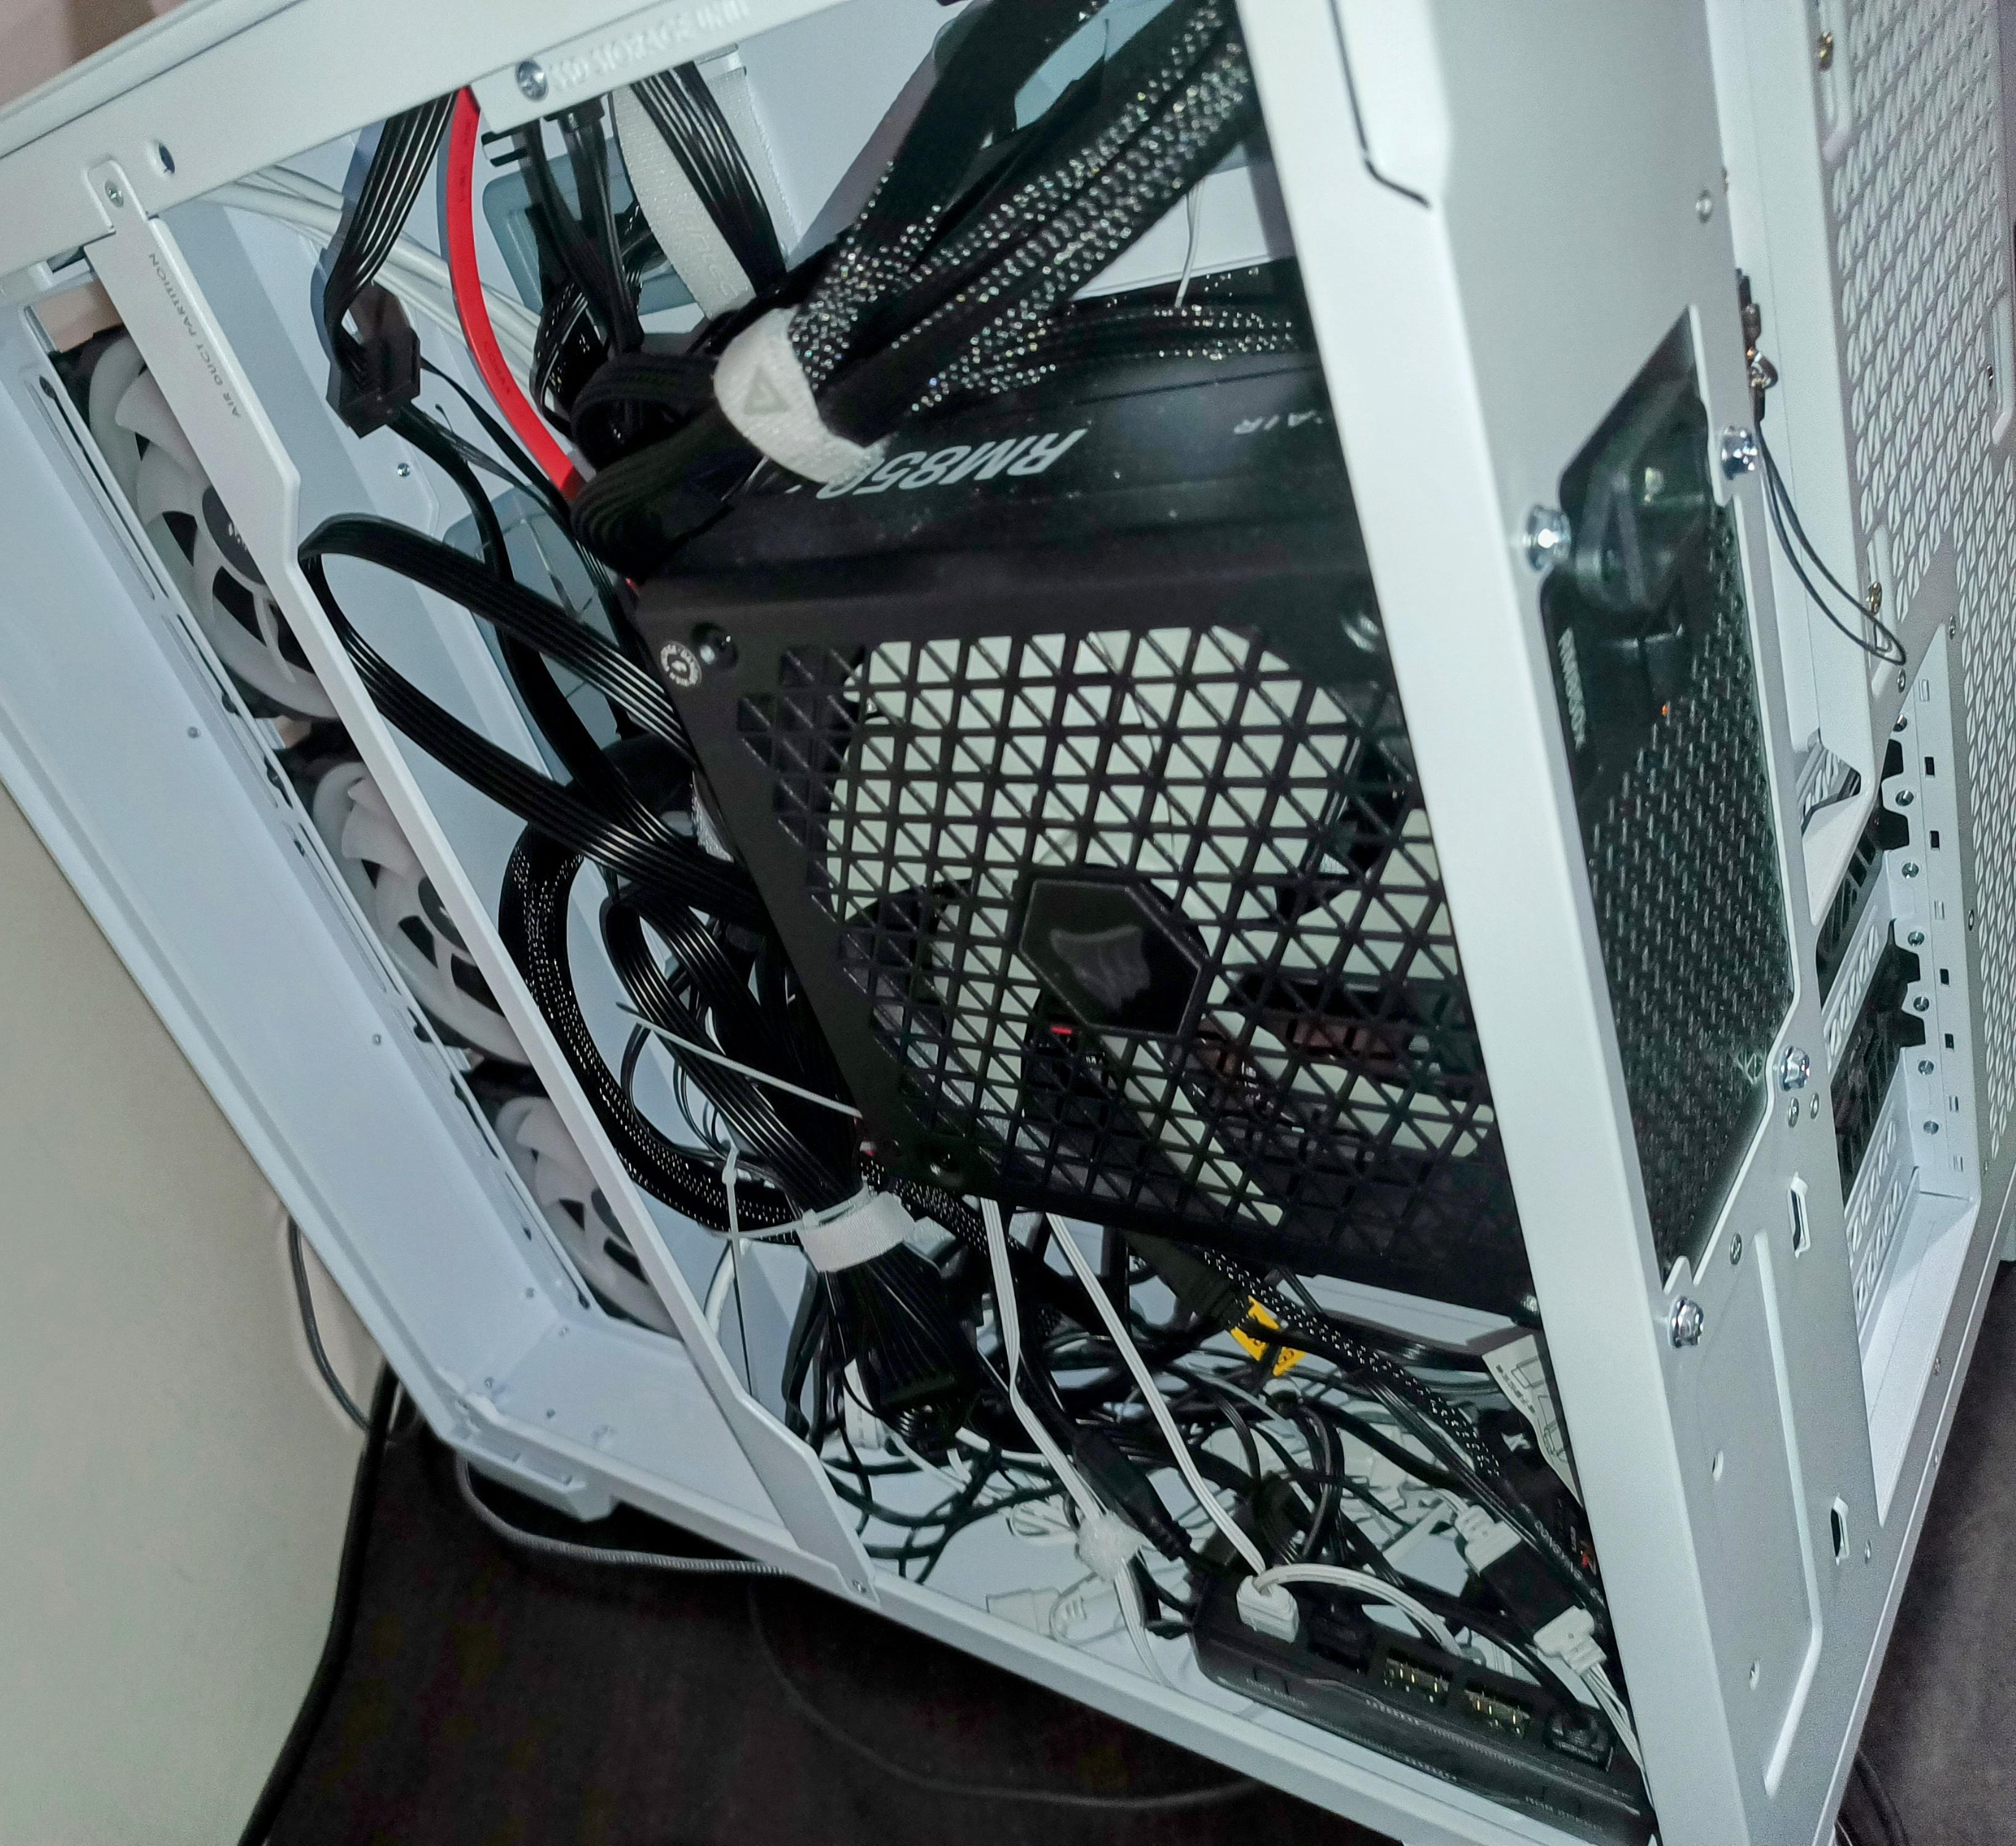
The C8 is able to host a variety of fan sizes at the bottom, such as 120, 140 and 160mm fans. The way this is achieved is through a couple of metal brackets which you screw into place at the bottom of the case. For 160mm fans, this bracket can be left off, but if you’d like to use 120 or 140s, which I’d imagine is most people - You’ll need to screw in the appropriate bracket. Seeing as I’m pretty cheap, I put some white ARGB Thermalright fans here, and used the 120mm bracket as a result. Just keep in mind that you’ll need to have your GPU(s) out to actually access the screws. It might be a good idea to screw in the bracket you’re planning on using before installing your motherboard as well to make it as easy as possible.
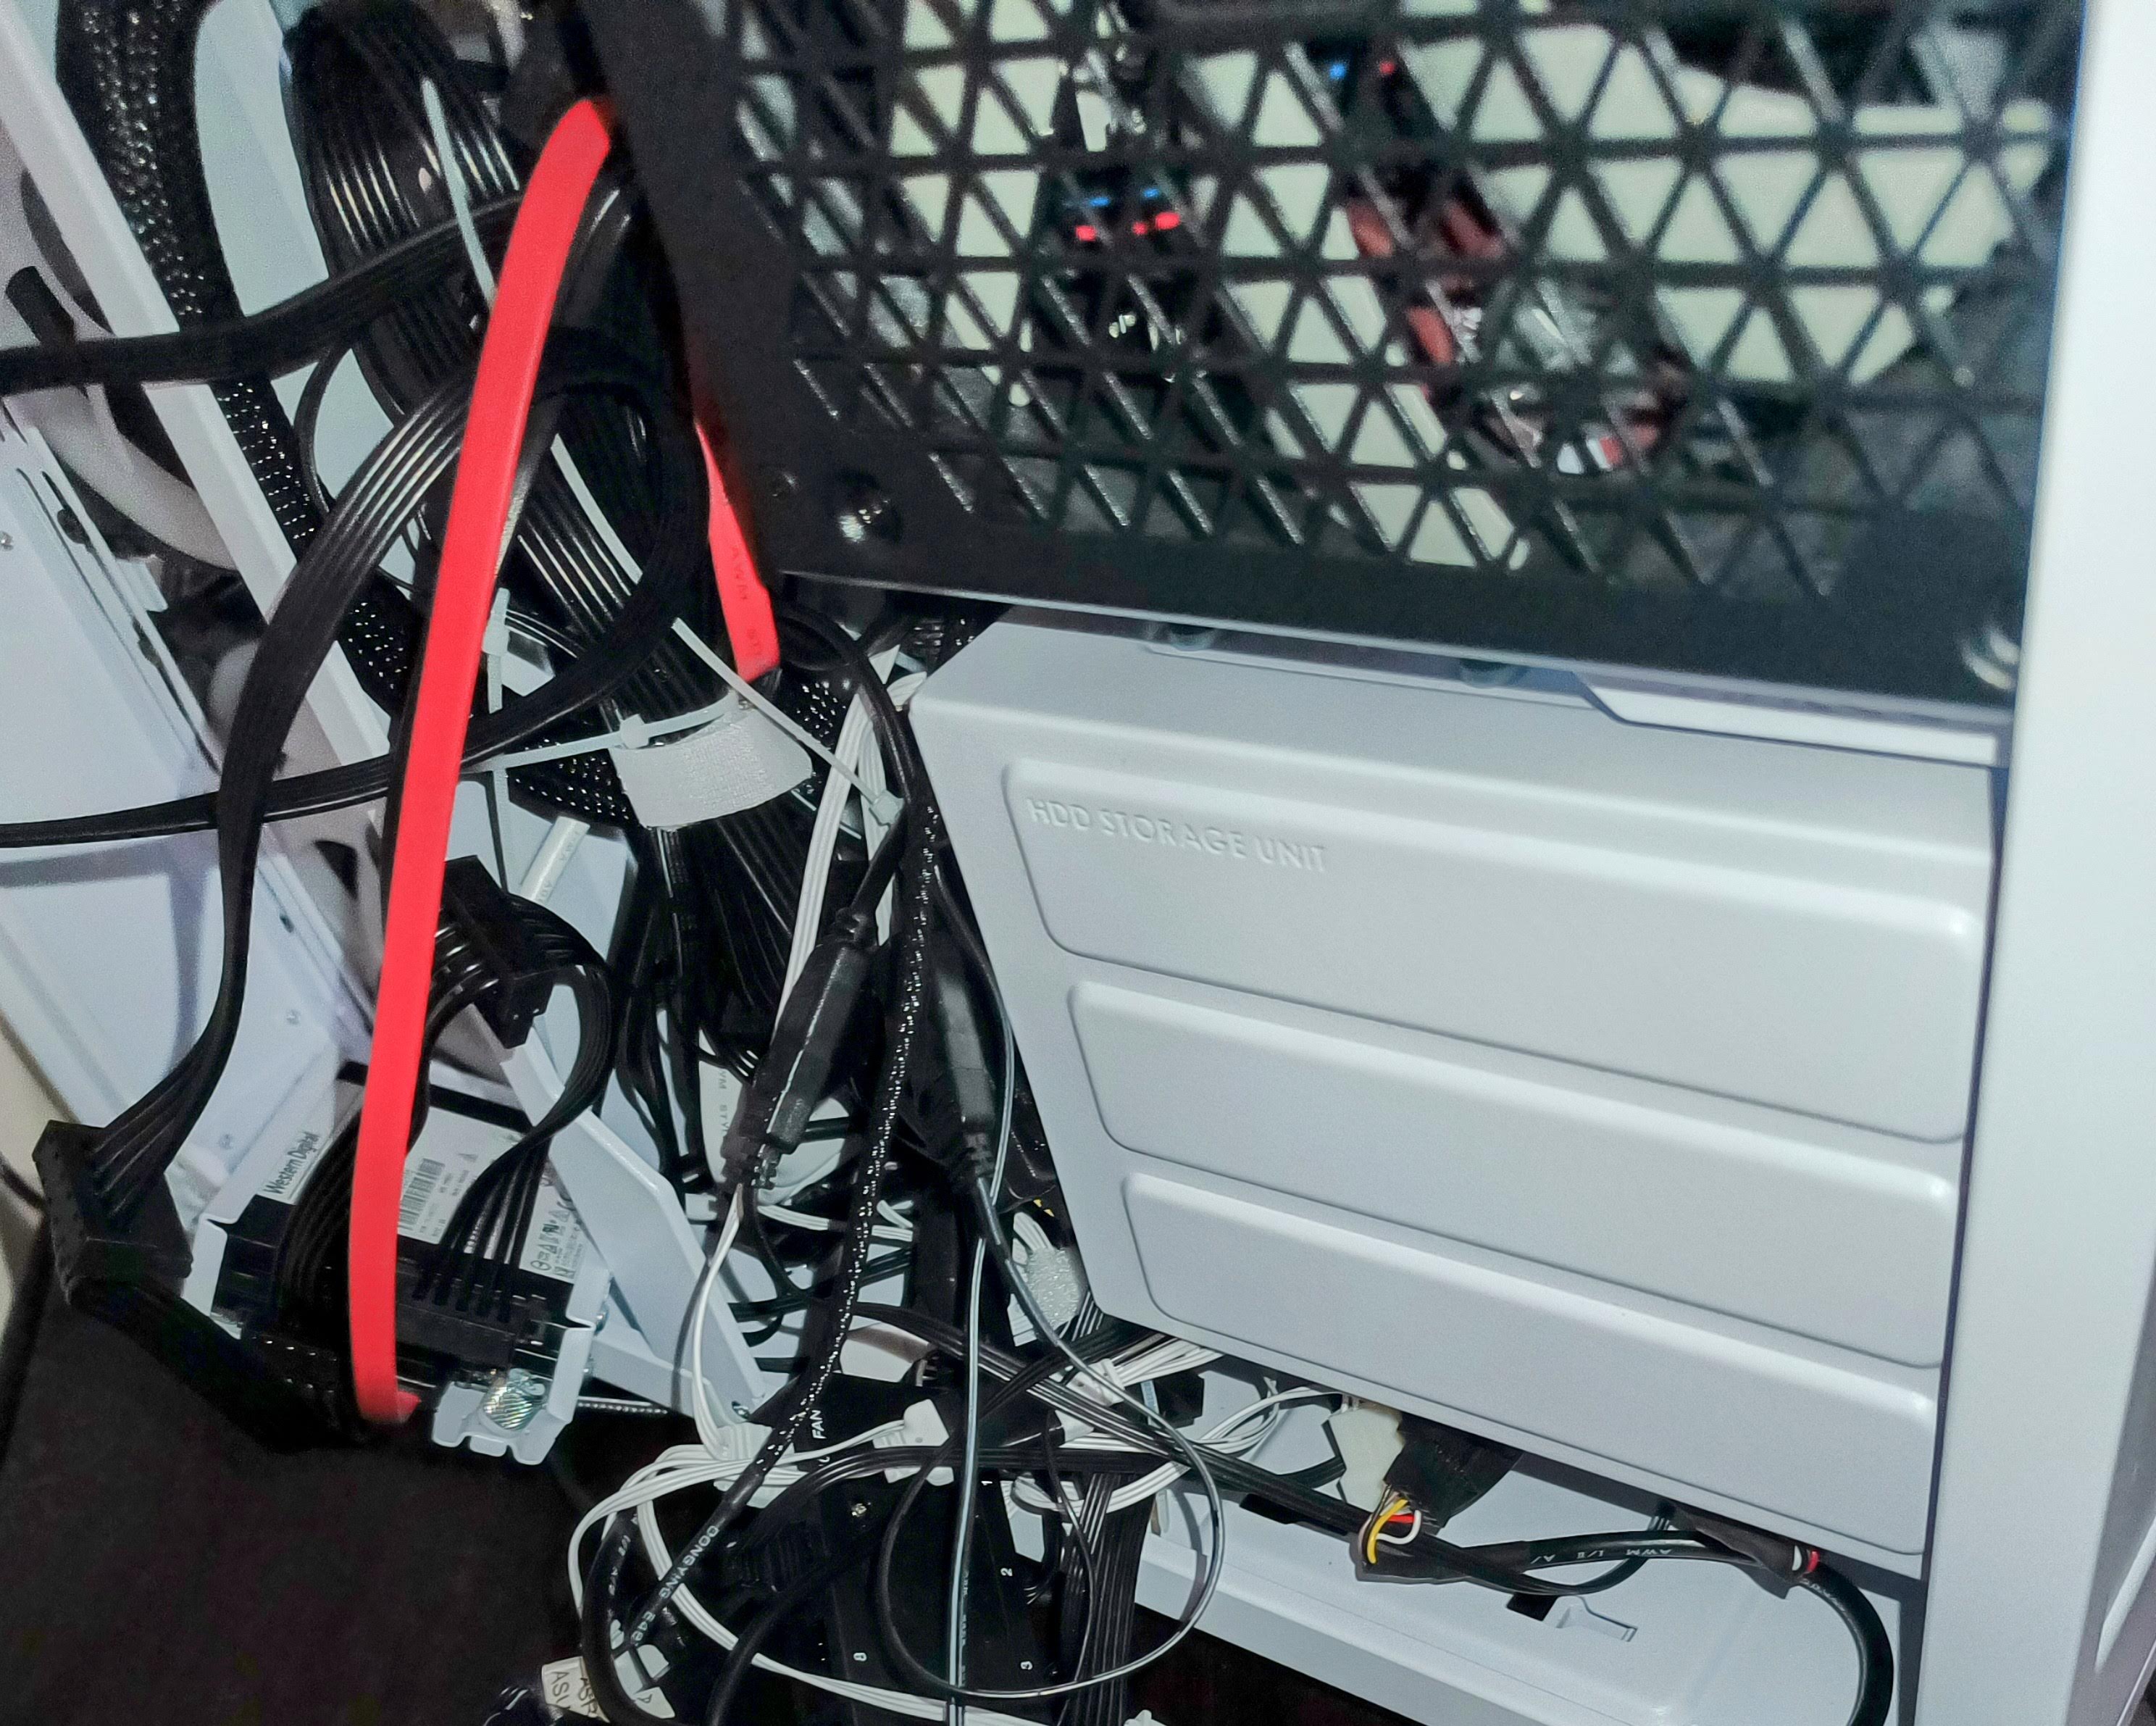
Drive Bays #
With the C8, you’ll be able to house two 3.5inch drives, as well as 4 2.5inch drives, through one large drive bay, as well as two smaller bays designated for SSDs. The drive bays can be a bit finicky, especially once you’re done building and have to install/remove your drives later on. The 3.5inch drive bay comes with some fairly decent rubber bits around the screws, which helps with drive vibration. However, if you’re like me and looking to use a 2.5inch laptop HDD as well for whatever reason, keep in mind that the 2.5inch drive bays do not have any rubber inserts for helping with vibration. Fair enough since well… I’d hope an SSD doesn’t vibrate.
Things I Like #
- USB C Port
- Rubber flaps for cable management
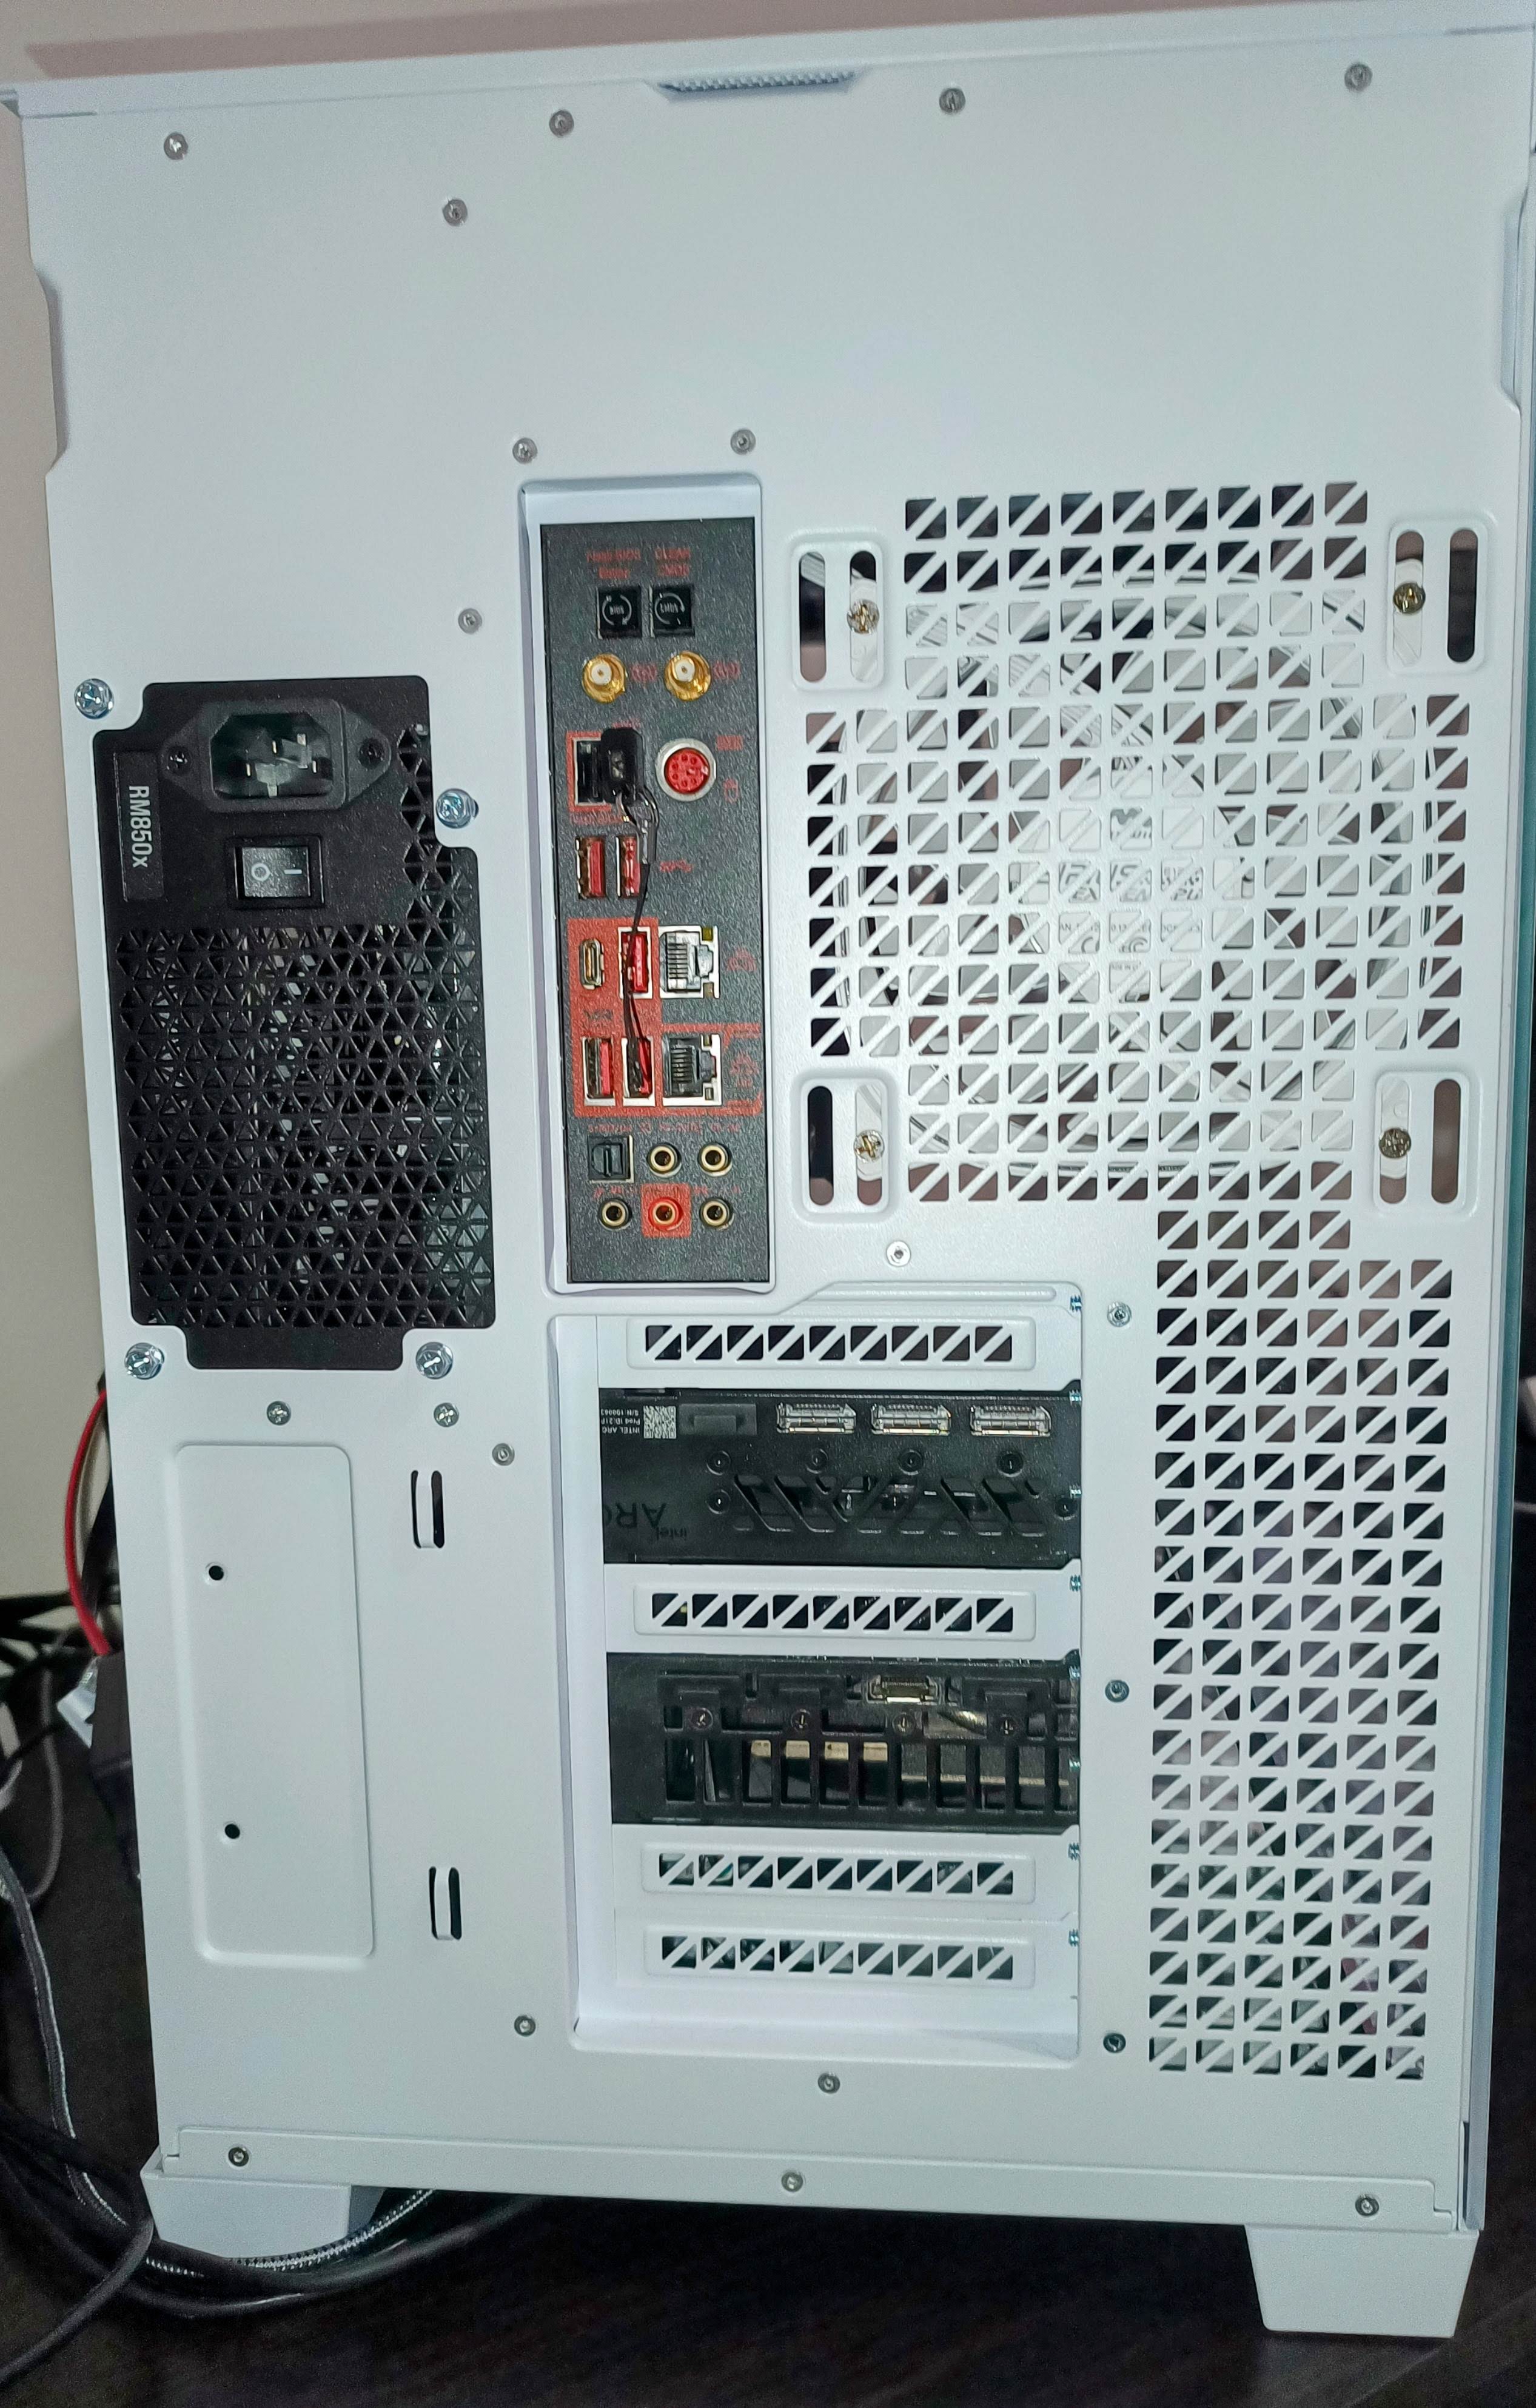
- 8 PCIe brackets
- 4 2.5inch drive slots
- Affordable price
- Removable dust filter at the bottom
- All panels (i.e., sides, top and front) are quick release, meaning no screws are needed to remove them
- Room for a 140mm fan at the back
Meh #
-
No dedicated front panel headphone + microphone jacks. They are combined into one like on a phone or laptop.
- I honestly don’t really mind this since I have audio jacks galore at the back of my motherboard, and this may actually be useful for some people who are rocking a headset or IEM with a built in mic.
-
2 3.5inch drive slots
- Would be nice seeing some more considering the size of this case. However, not too much of a problem to me since my motherboard only has 4 SATA ports (I know, laugh all you want)…
Things I Don’t #
- Bottom fans only able to be screwed in from the bottom
Conclusion #
Ultimately, considering the price of the Antec C8 I’d say it’s a really great case, especially if you like the new fish tank trend of PC cases. While you will be missing out on more of the advanced features on, well obviously more expensive cases such as hot-swapable drive bays, this case is great if you don’t really need them.
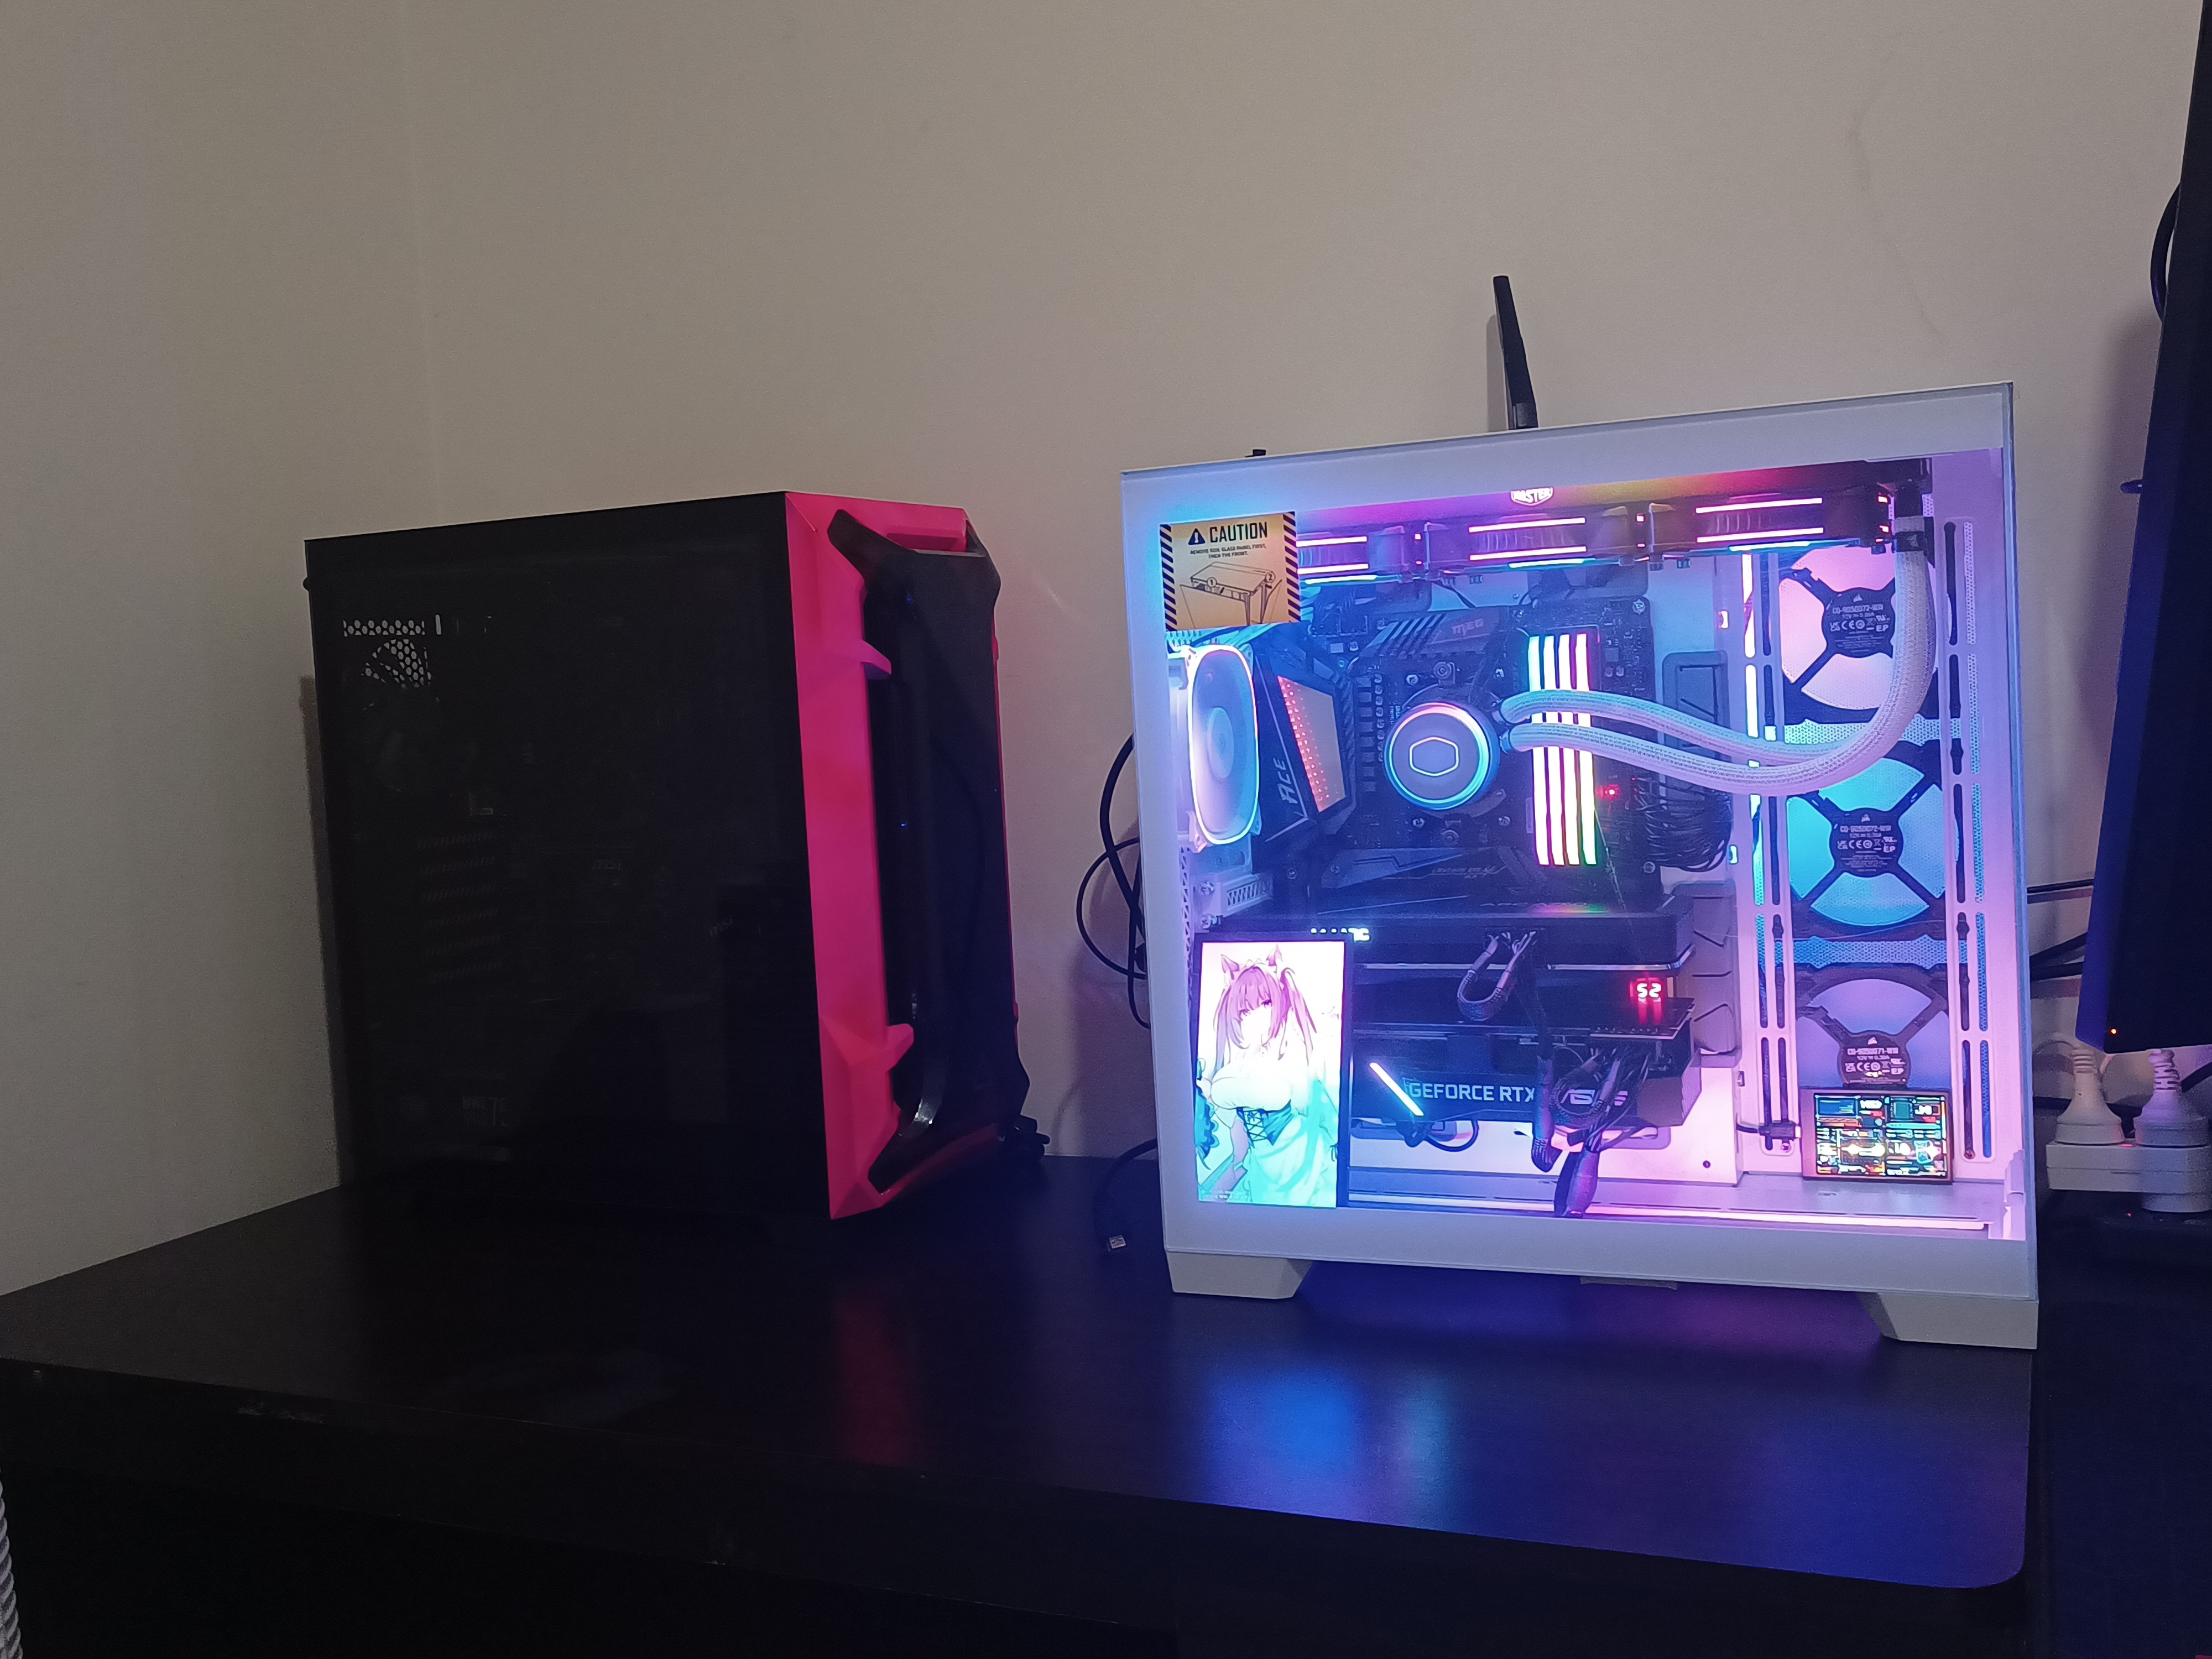
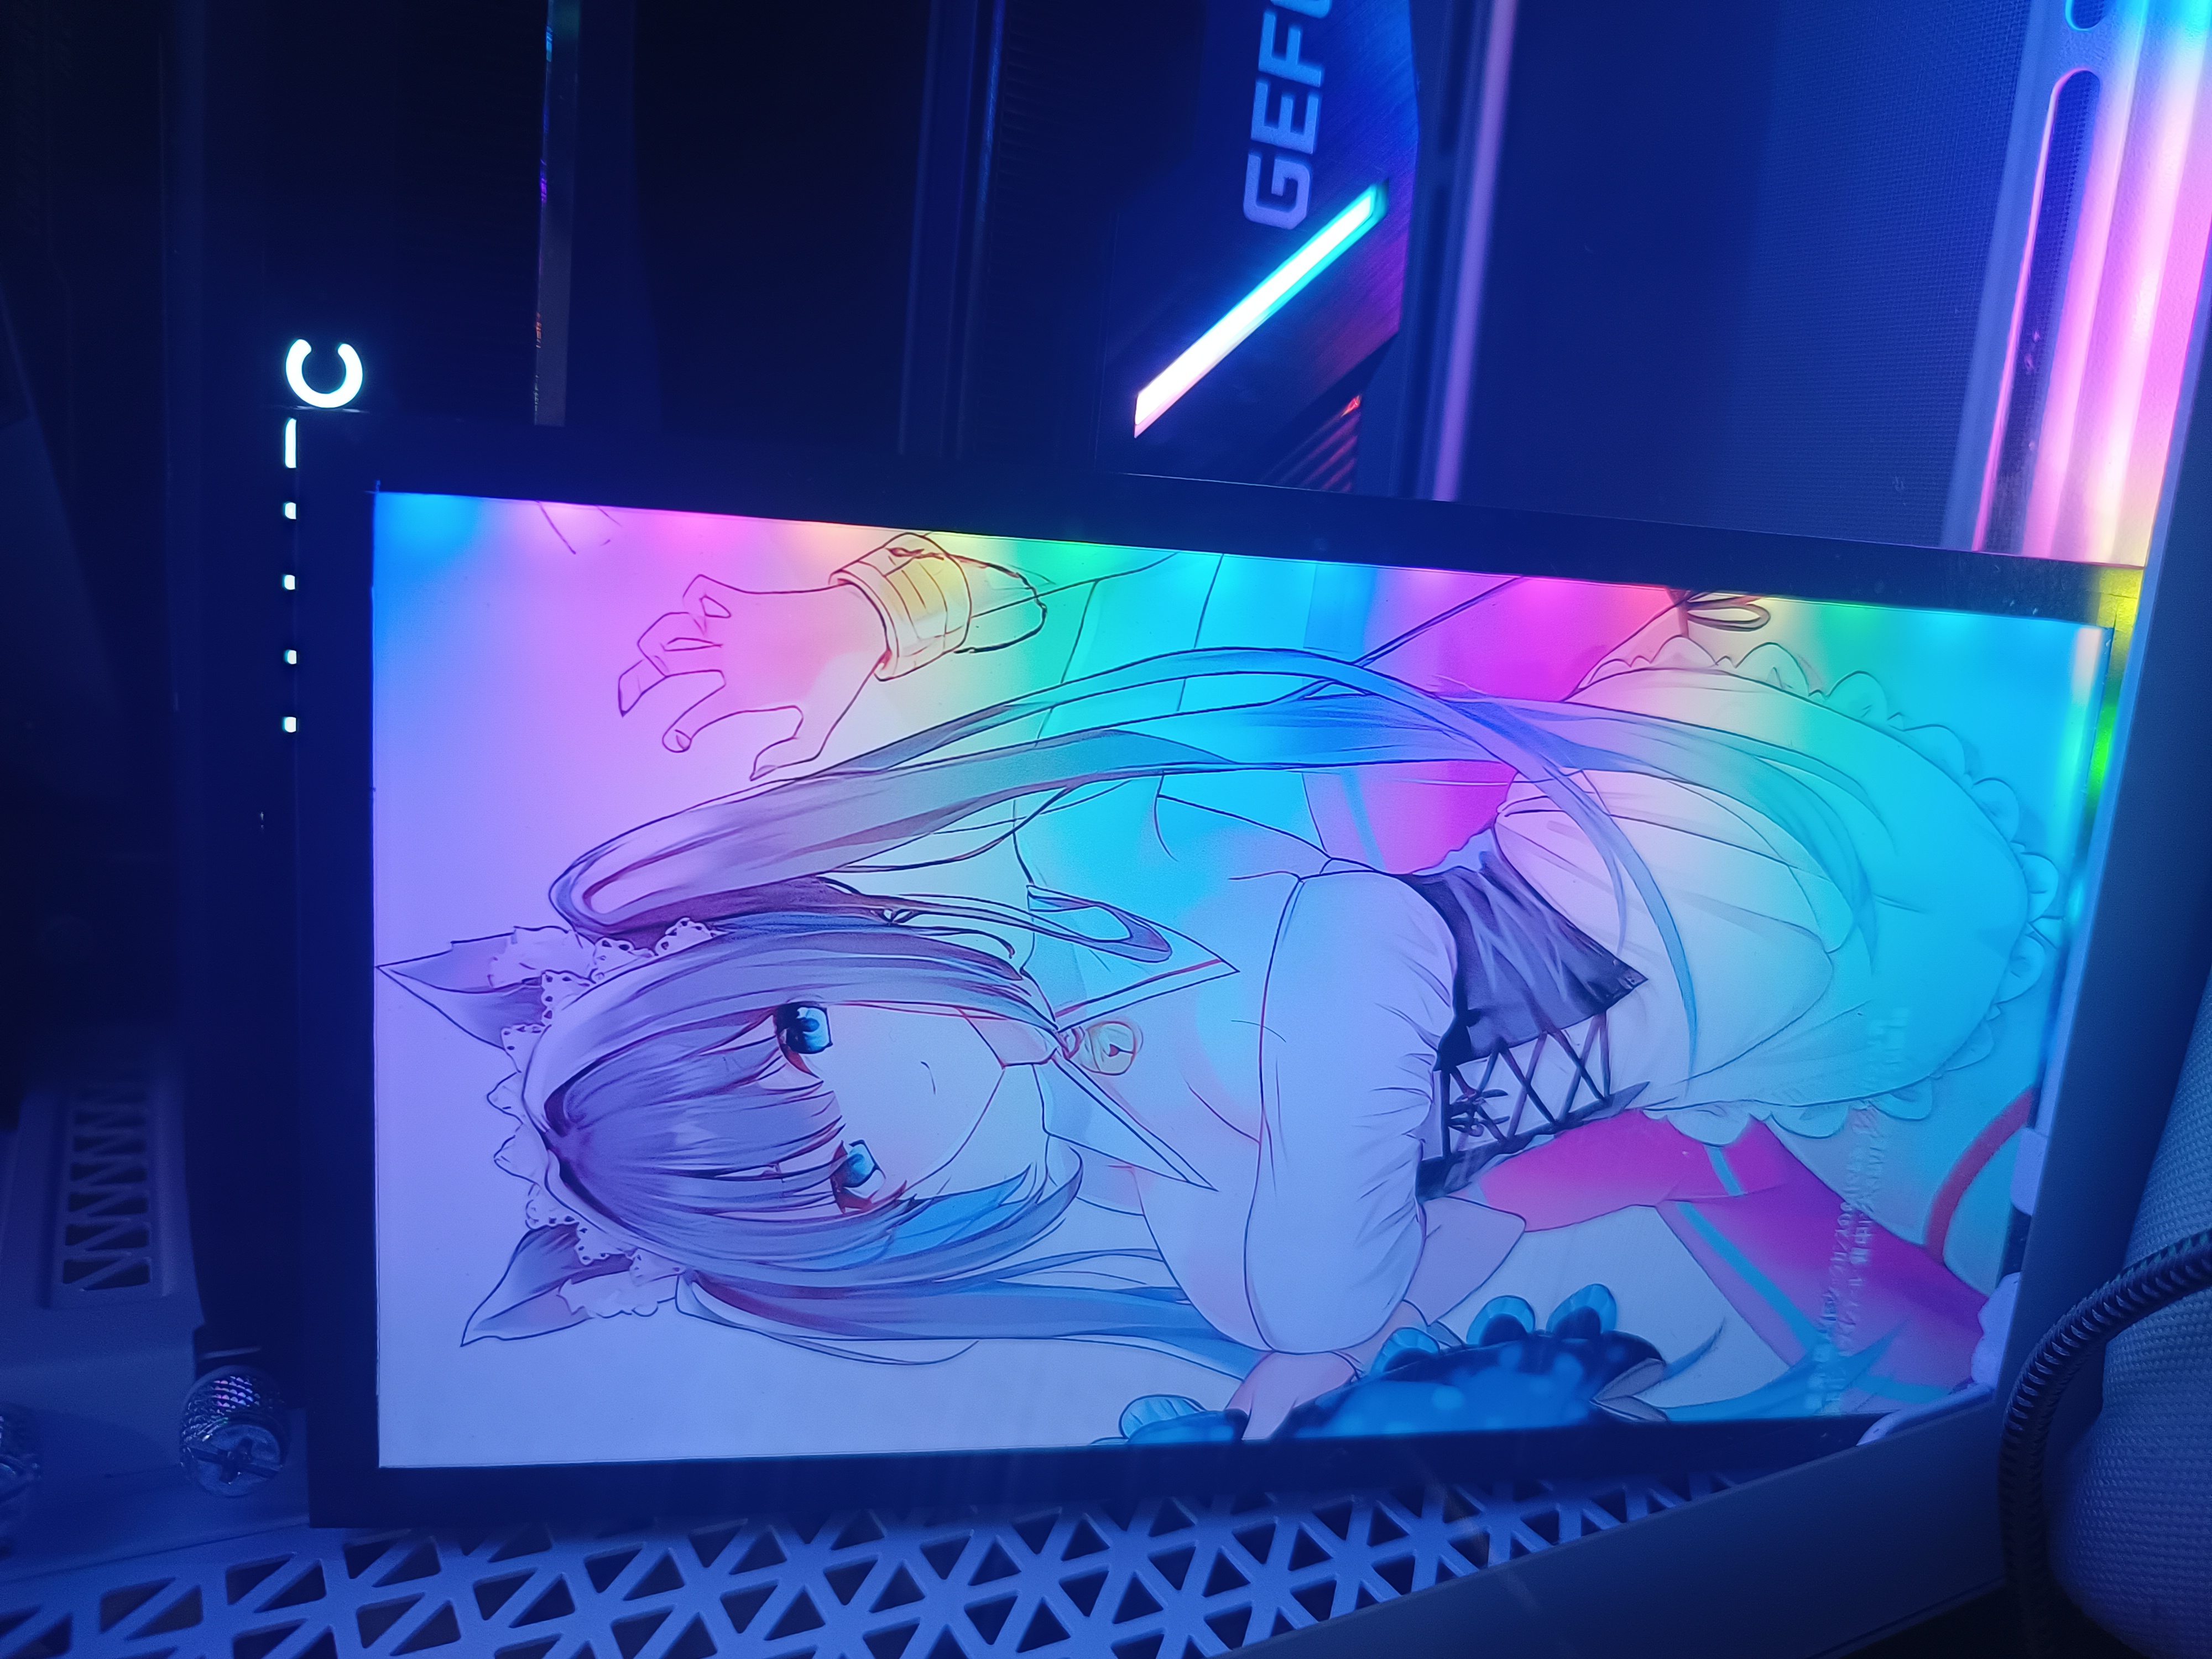
Gallery #
Thanks for reading!