
Background #
After getting my Delta 15 back from RMA due to battery issues, I decided to upgrade it with the Ram and SSD i bought for my drop-in replacement - the HP Elitebook, as well as an extra 16GB stick for a total of 32GB of RAM, especially since I’ve been getting into virtualization and other goodies like Windows VMs on Linux.
Upgrades #
- 2 x 16GB Crucial 3200mhz SODIMMs (which annoyingly were slightly different - same model but different submodel, meaning that one stick had double the memory modules/chips on one side as the other, but performance and stability looks fine.)
- 1TB ADATA Legend 850 Lite SSD
Opening It Up #
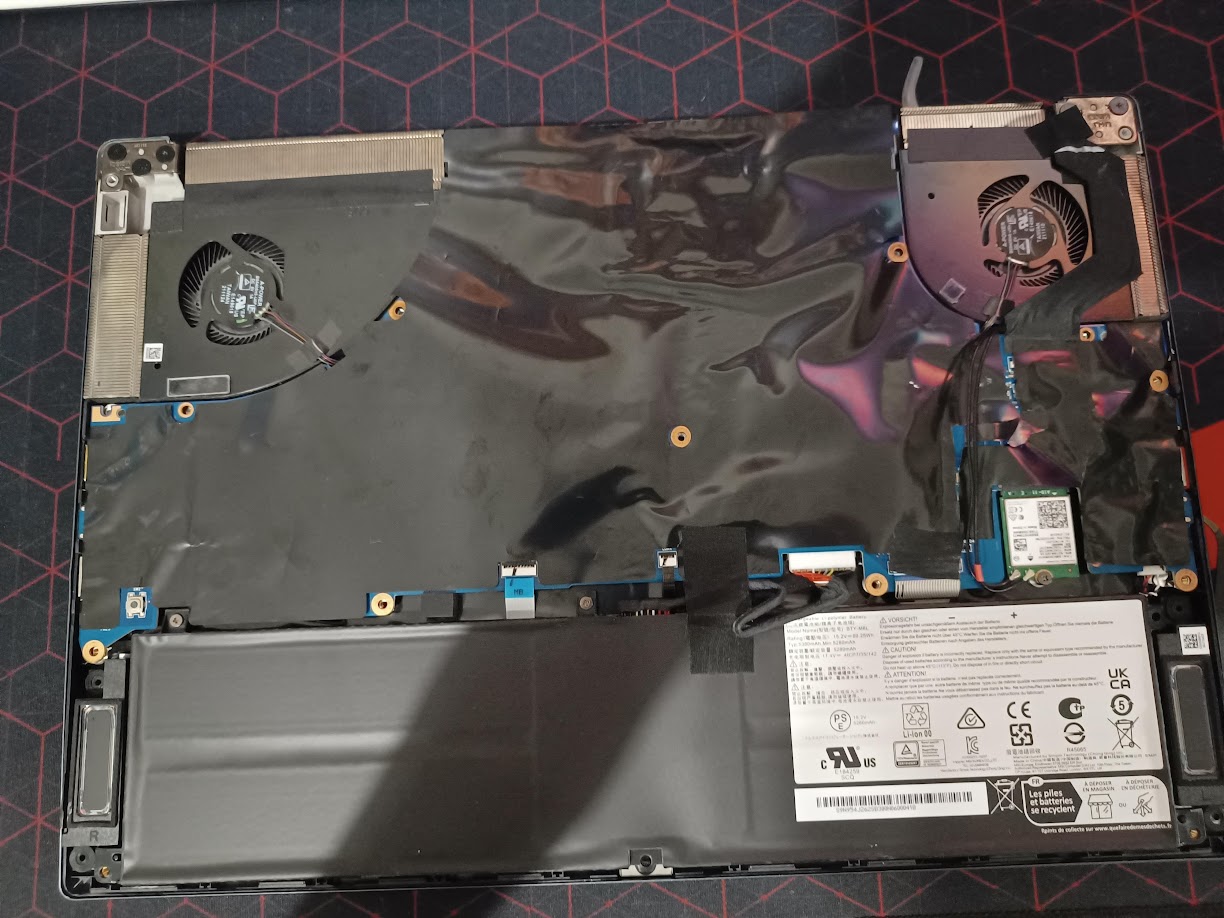
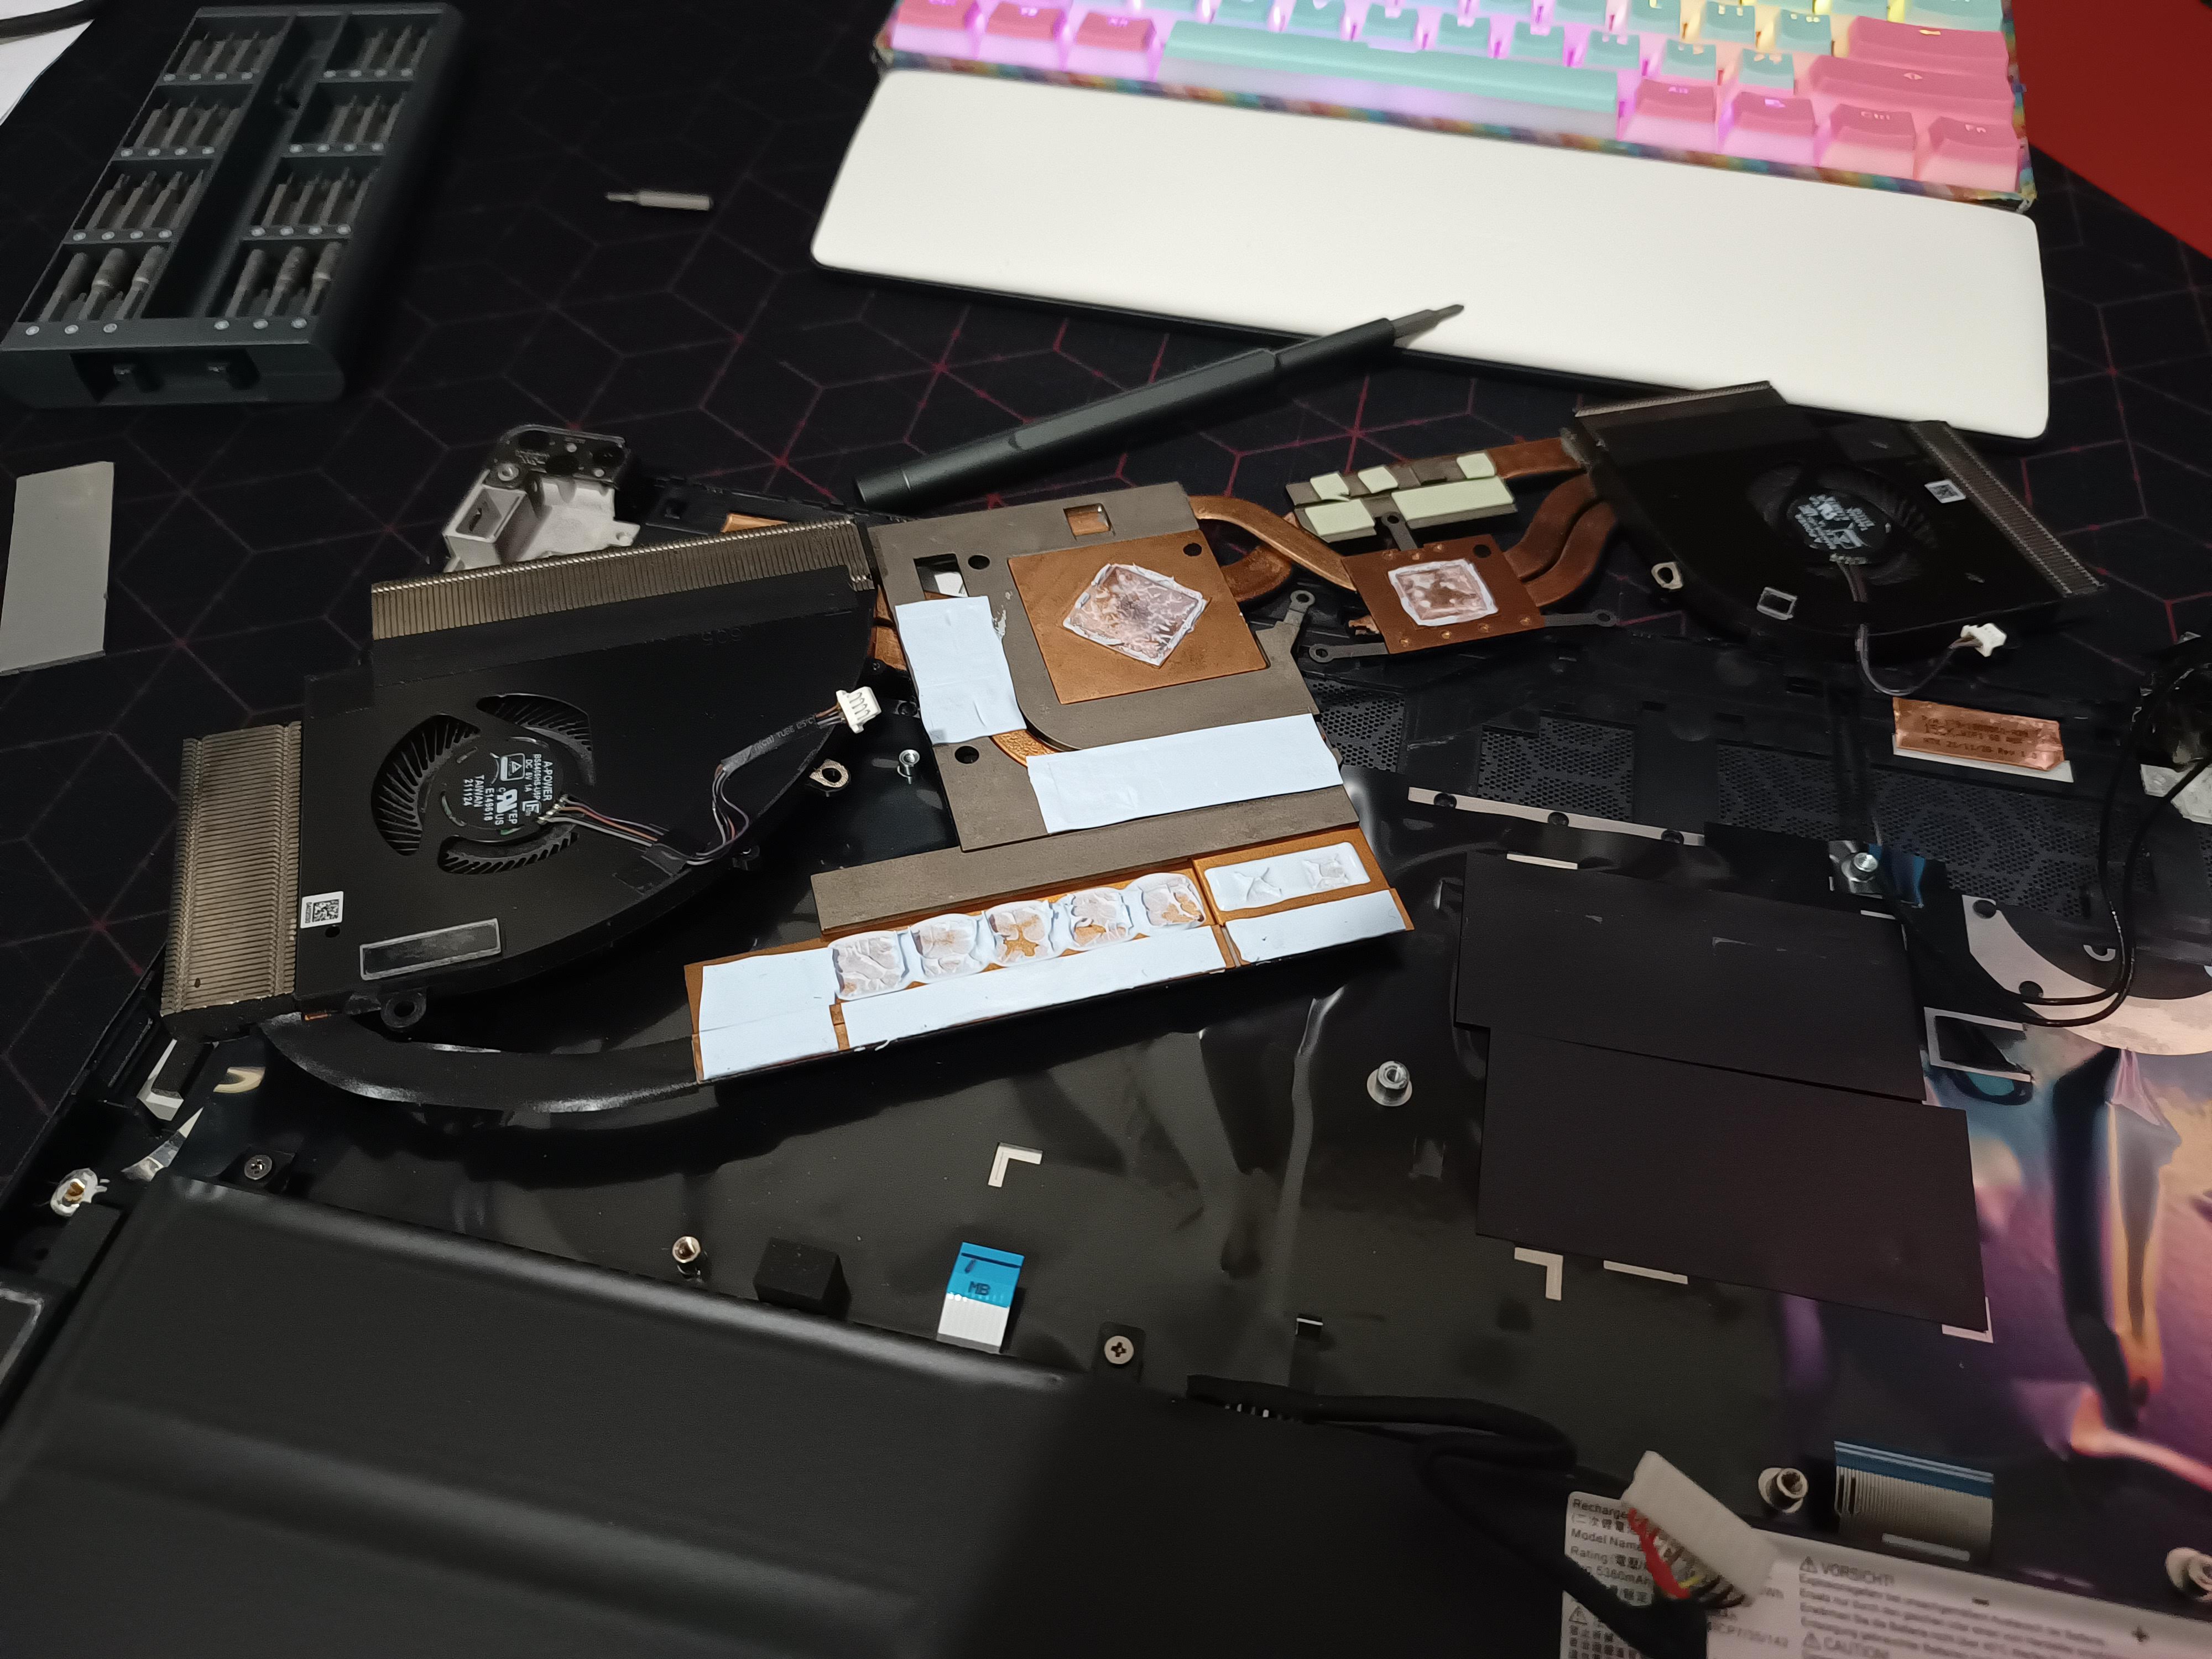
Just like the Elitebook, our Delta 15 was pretty easy to get the bottom cover off, just having to take off the Philips head screws and pry the corners a bit to pop the cover off. Here’s what it looked like with the bottom cover off:
Flipped Motherboard Mayhem #
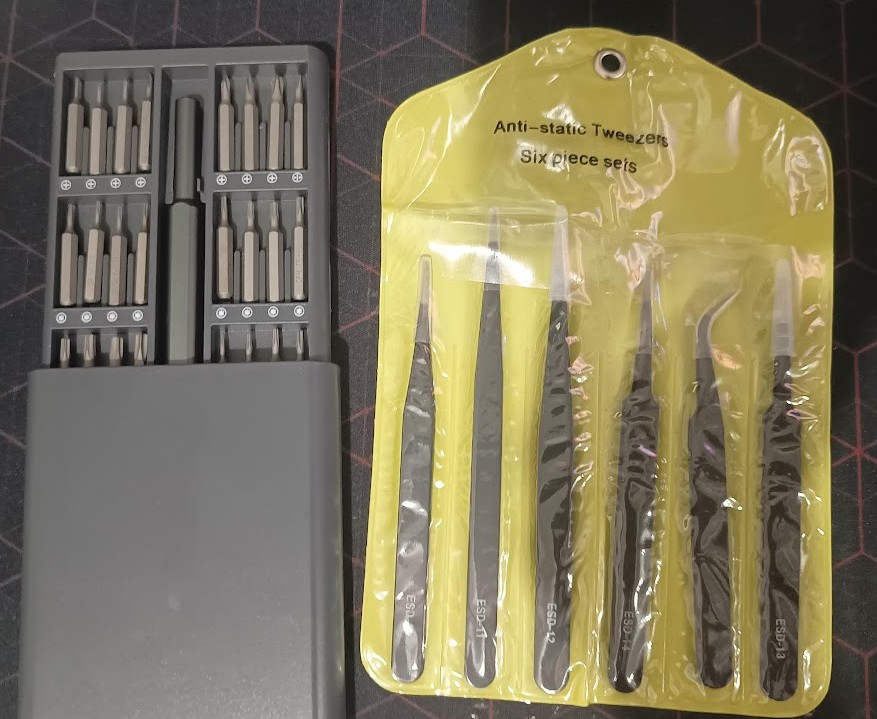
Unfortunately, the laptop features this rather annoying flipped motherboard - meaning that you need to take the entire thing apart in order to upgrade the storage and RAM. What’s more, there’s a bunch of ribbon cables and fragile connectors, which I personally have a history of breaking, so this set of anti-static tweezers I got off of AliExpress for a couple of dollars came in really handy:
Upgrade Time #
After getting off the ribbon cables and other connectors, I noticed that the two screws that should’ve been holding the motherboard in the place were missing, which turned out to be a mistake on MSI’s Rma team’s part (they did however mail me the screws after letting them know, so remember guys, it’s a good idea to check out your laptop when it’s back from RMA), but with that, the motherboard came out and it was upgrade time!
Before (Stock Motherboard) #
- With the WDC SN730 (Which was originally an SN540, but ended up being replaced during RMA for reasons I will never know…) and 2 DIMMS of 3200Mhz 8GB Samsung Ram
- Fun Fact: The RMA technician left a strip of masking tape on the SSD with some random numbers on it, which was interesting… (I obviously took it off)
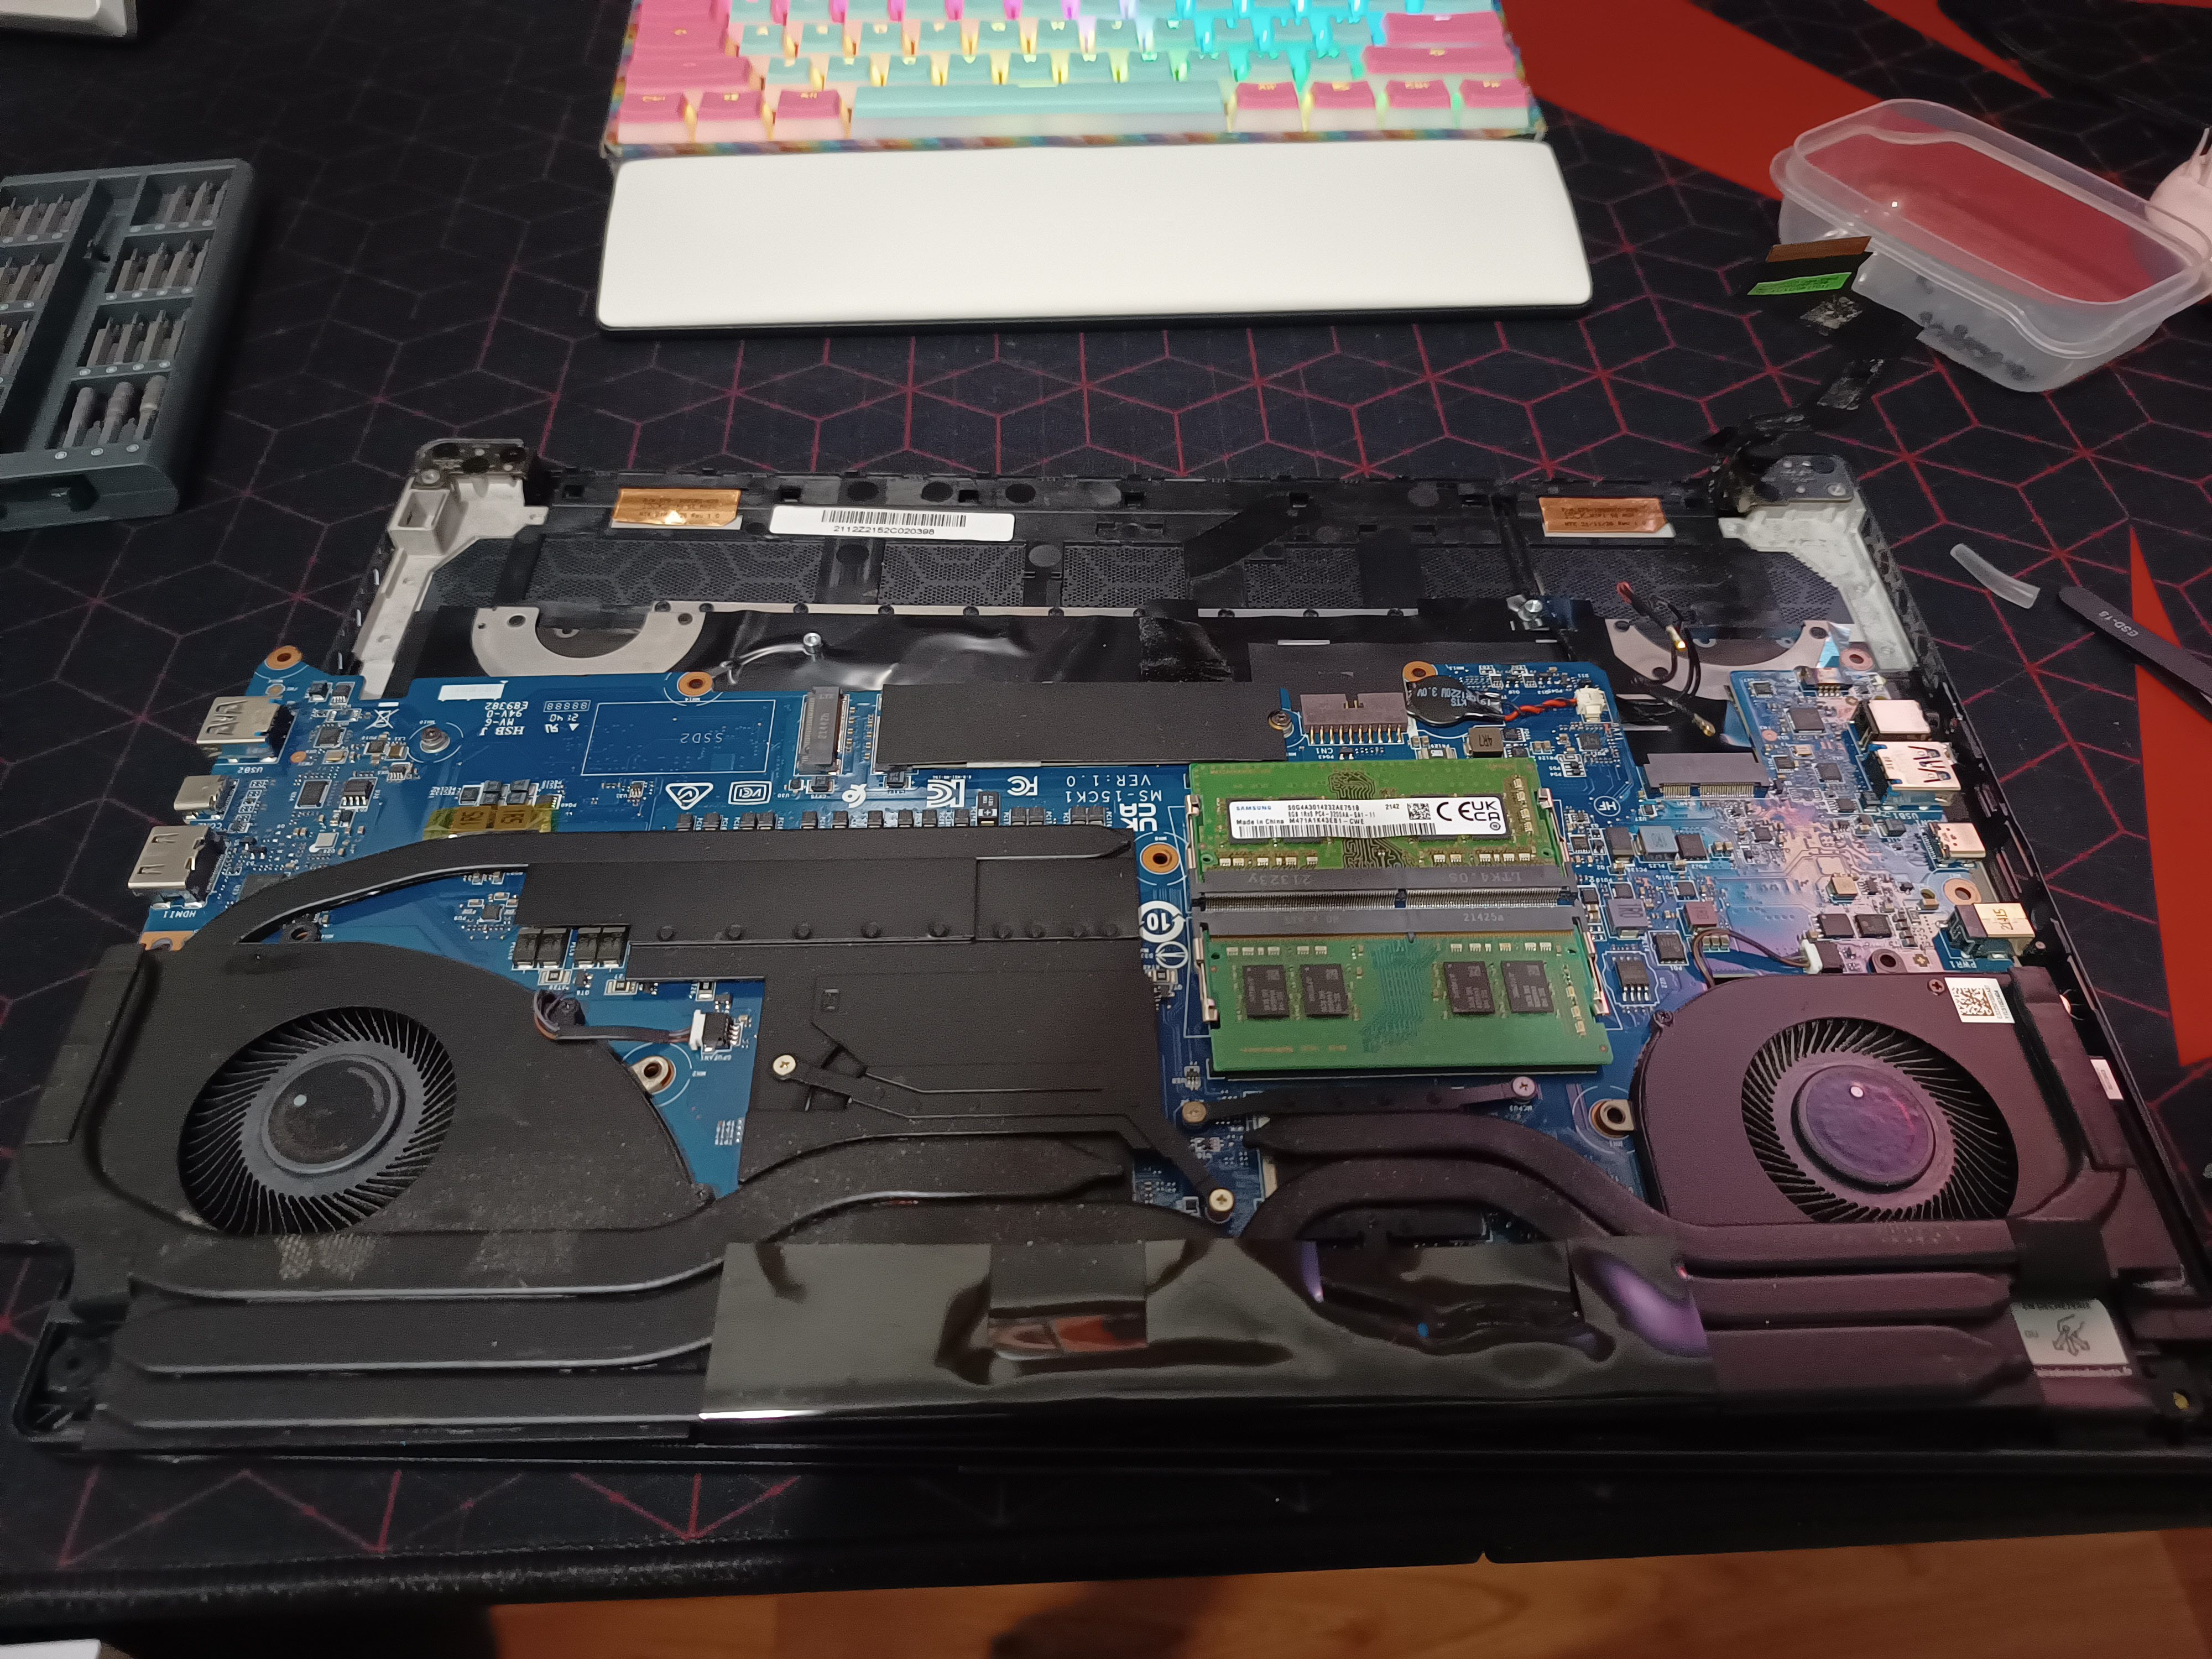
After (Upgraded) #
- With the stock SSD + the new ADATA in the other slot, and the RAM replaced with the Crucial DIMMS.
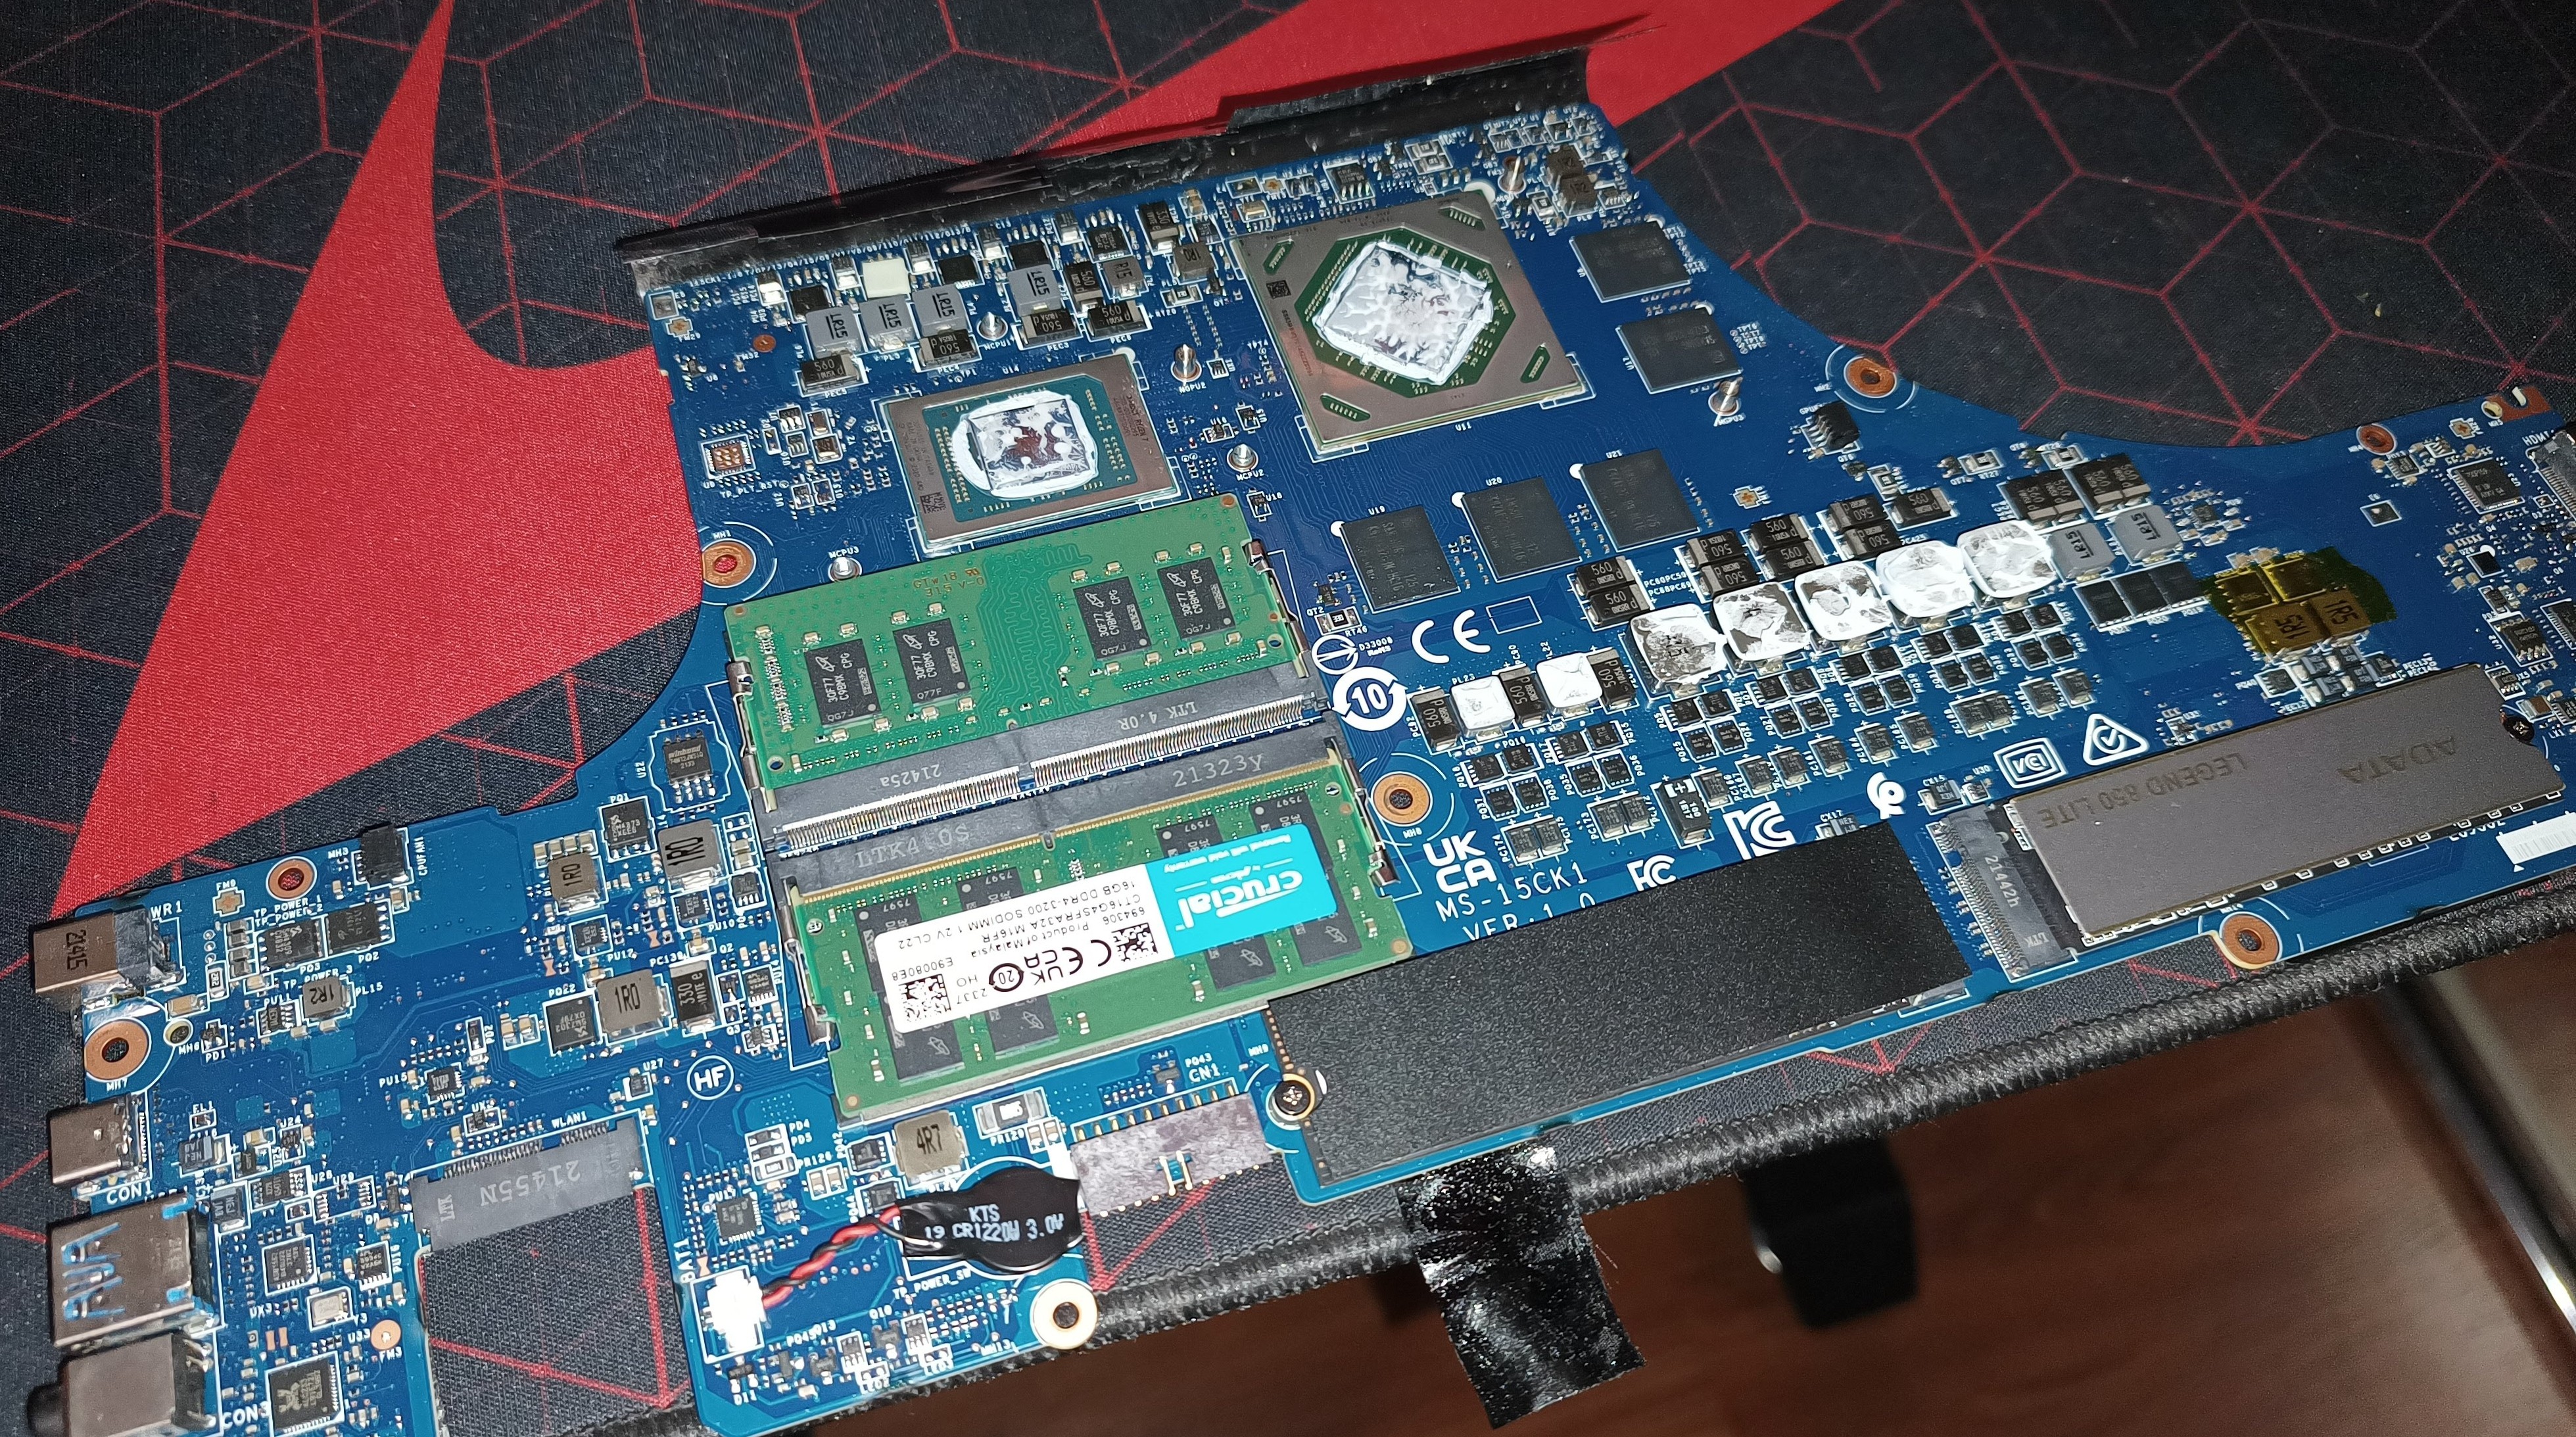
Repasting #
I figured it would be a good idea to repaste, since I thought that the factory thermal paste application would be mediocre, and boy was it right! Looking at the picture above, hopefully you can see that interestingly there was more paste outside of the CPU die than ontop of it. I used Cooler Master MasterGel Maker, since it was the most suitable thing for a laptop (high viscosity and pretty good thermal conductivity) to repaste the CPU, GPU, and VRM. Here’s a picture of the laptop’s heat pipes removed:
Closing It Back Up #
Having finished the upgrades and repasting, I popped the heat pipes back on, and popped the motherboard back into the laptop’s frame, followed by putting all the ribbon cables and connectors back into their respective positions. Finally, I popped the bottom cover’s Phillips Head screws back on, and that was it.
Greasing The Hinges #
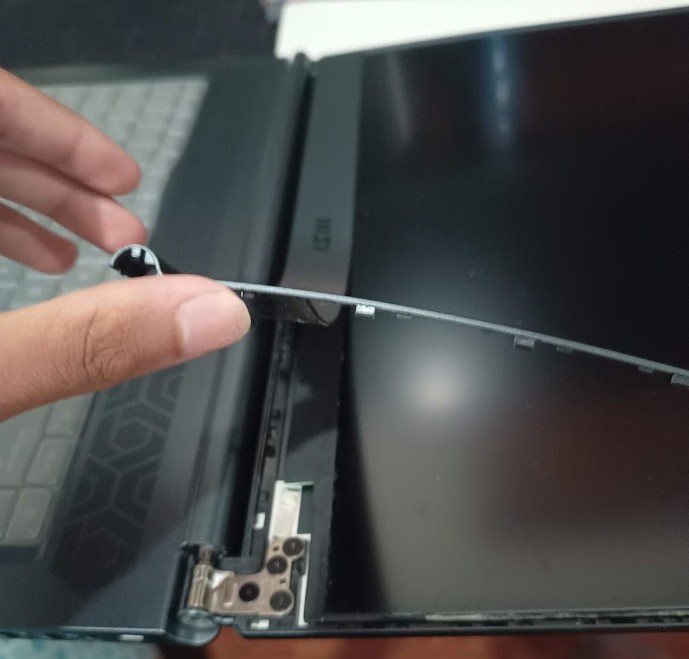
Recently, my hinges have been starting to creak when opening the laptop, and knowing Msi’s infamous hinges, I decided it would be best to grease the hinges as a preventative measure. After prying open the screen’s plastic bezel, which was slightly annoying and finicky, I made sure to tighten the hinge screws, before applying some white Lithium Grease to the hinges on each side. I used Lithum Grease meant for mountain bikes, but hey, if it works it works! Here’s a look into what went down here:
Fixing Clicking Sound When Opening Lid #
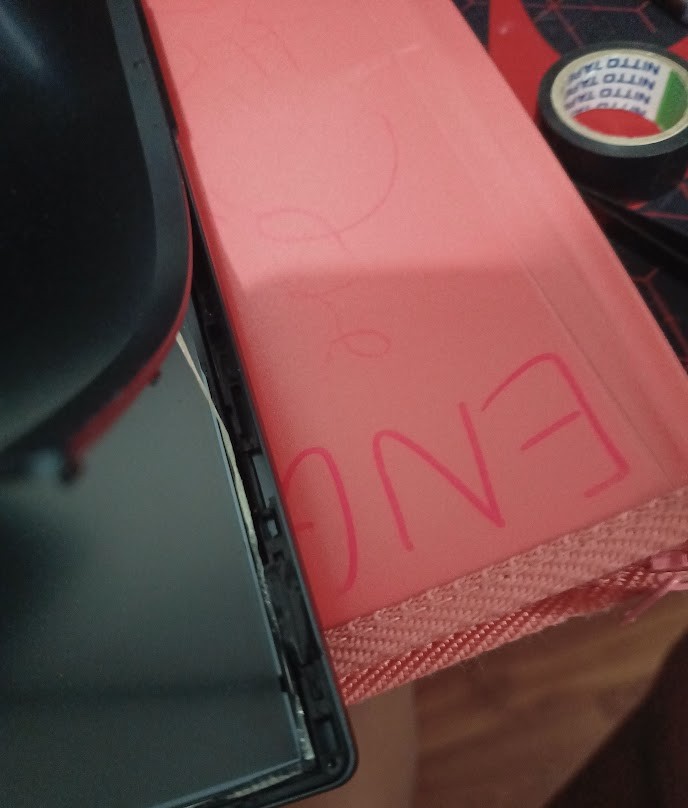
Ever since I bought this laptop a little over a year ago, the top left corner of the laptop (the corner directly opposite to the thunderbird logo) has been making this annoying magentic-sounding clicking sound. My temporary fix was to pop a small magnet on that area of the lid making the sound, which seemed to fix it. However, I wanted to take it a step further, and while tidying up everything else on the machine, I removed the bezel in that specific corner to take a look at what was going on. Turns out, a small magnetic piece was kinda loose and disloged at one end, causing the clicking sound when opening and closing the lid, securing it with a little piece of electrical tape did the trick of fixing it, and the bezel popped back on with no issue. Here’s a picture of the fix:
Pretty crazy laptop huh…
Thanks for reading!