
Background #
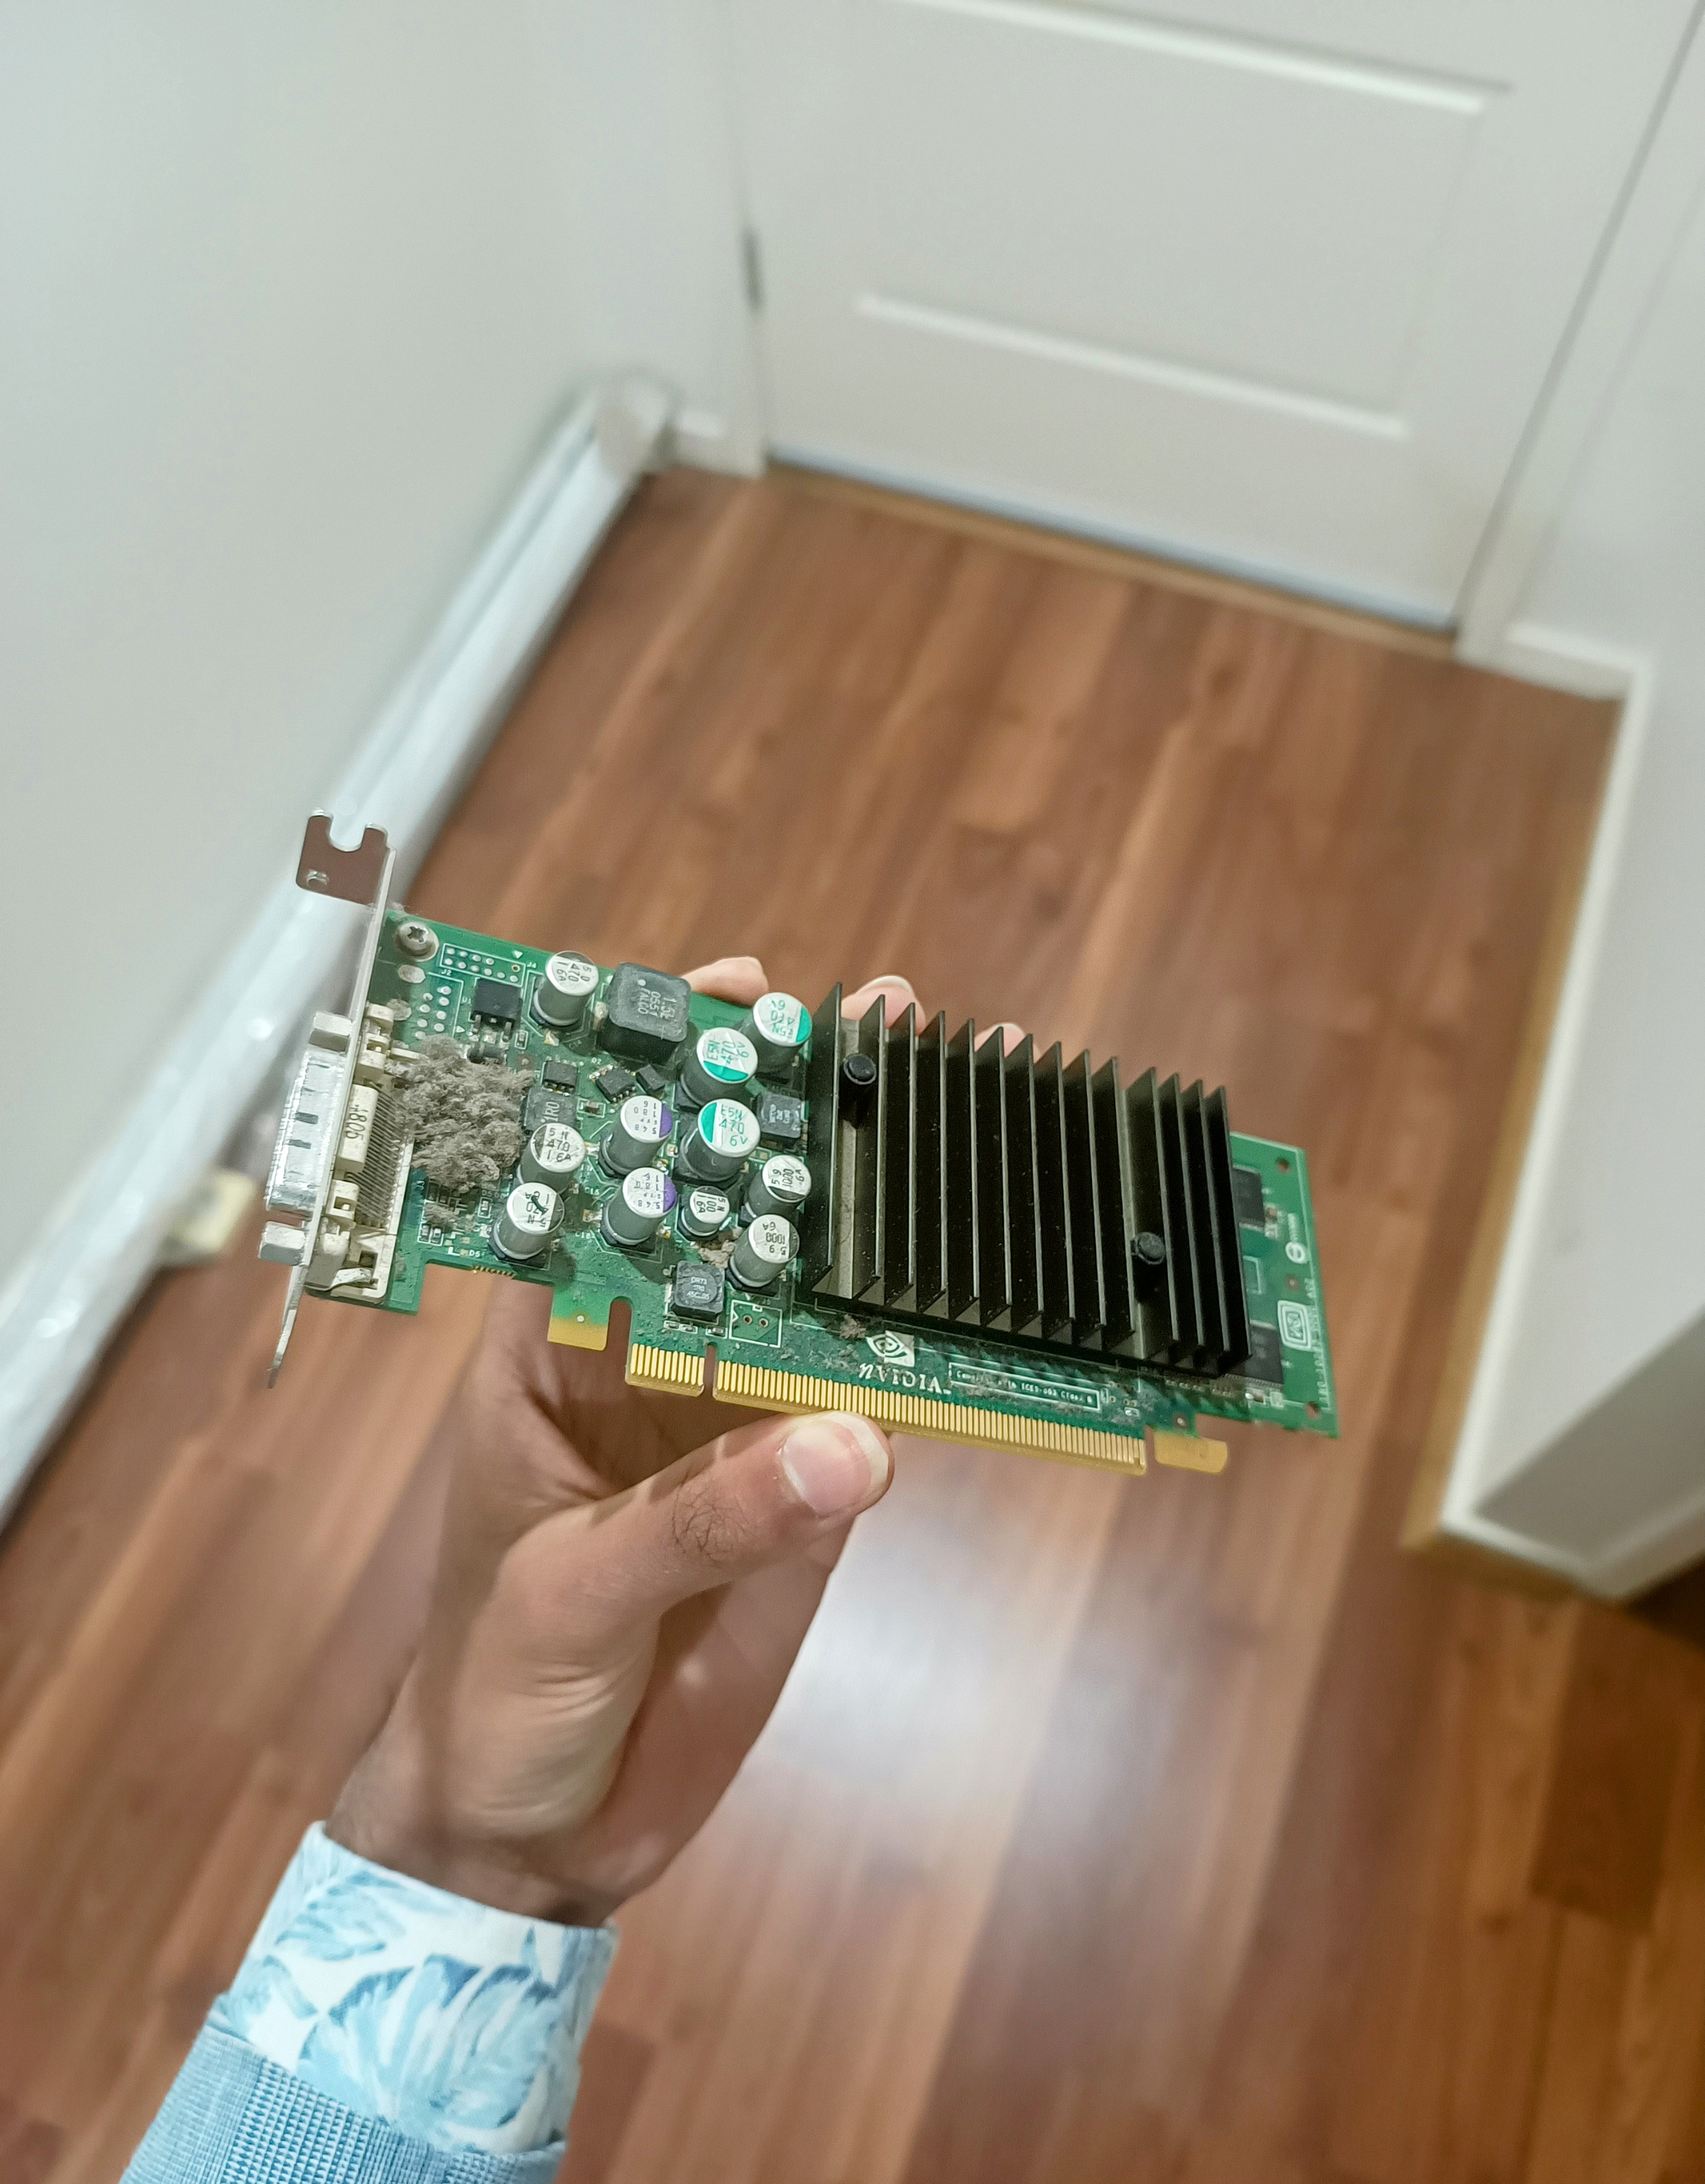
So a while ago I found an old HP Compaq SFF from the Windows XP era, and decided to strip it for parts - specifically the graphics card, just out of curiosity to see if it was a PCI Express card and if it would work on my second PC which I was trying to turn into a mini home server. As you can see, the card was covered in dust at the start.
Getting the Heat-sink Removed #
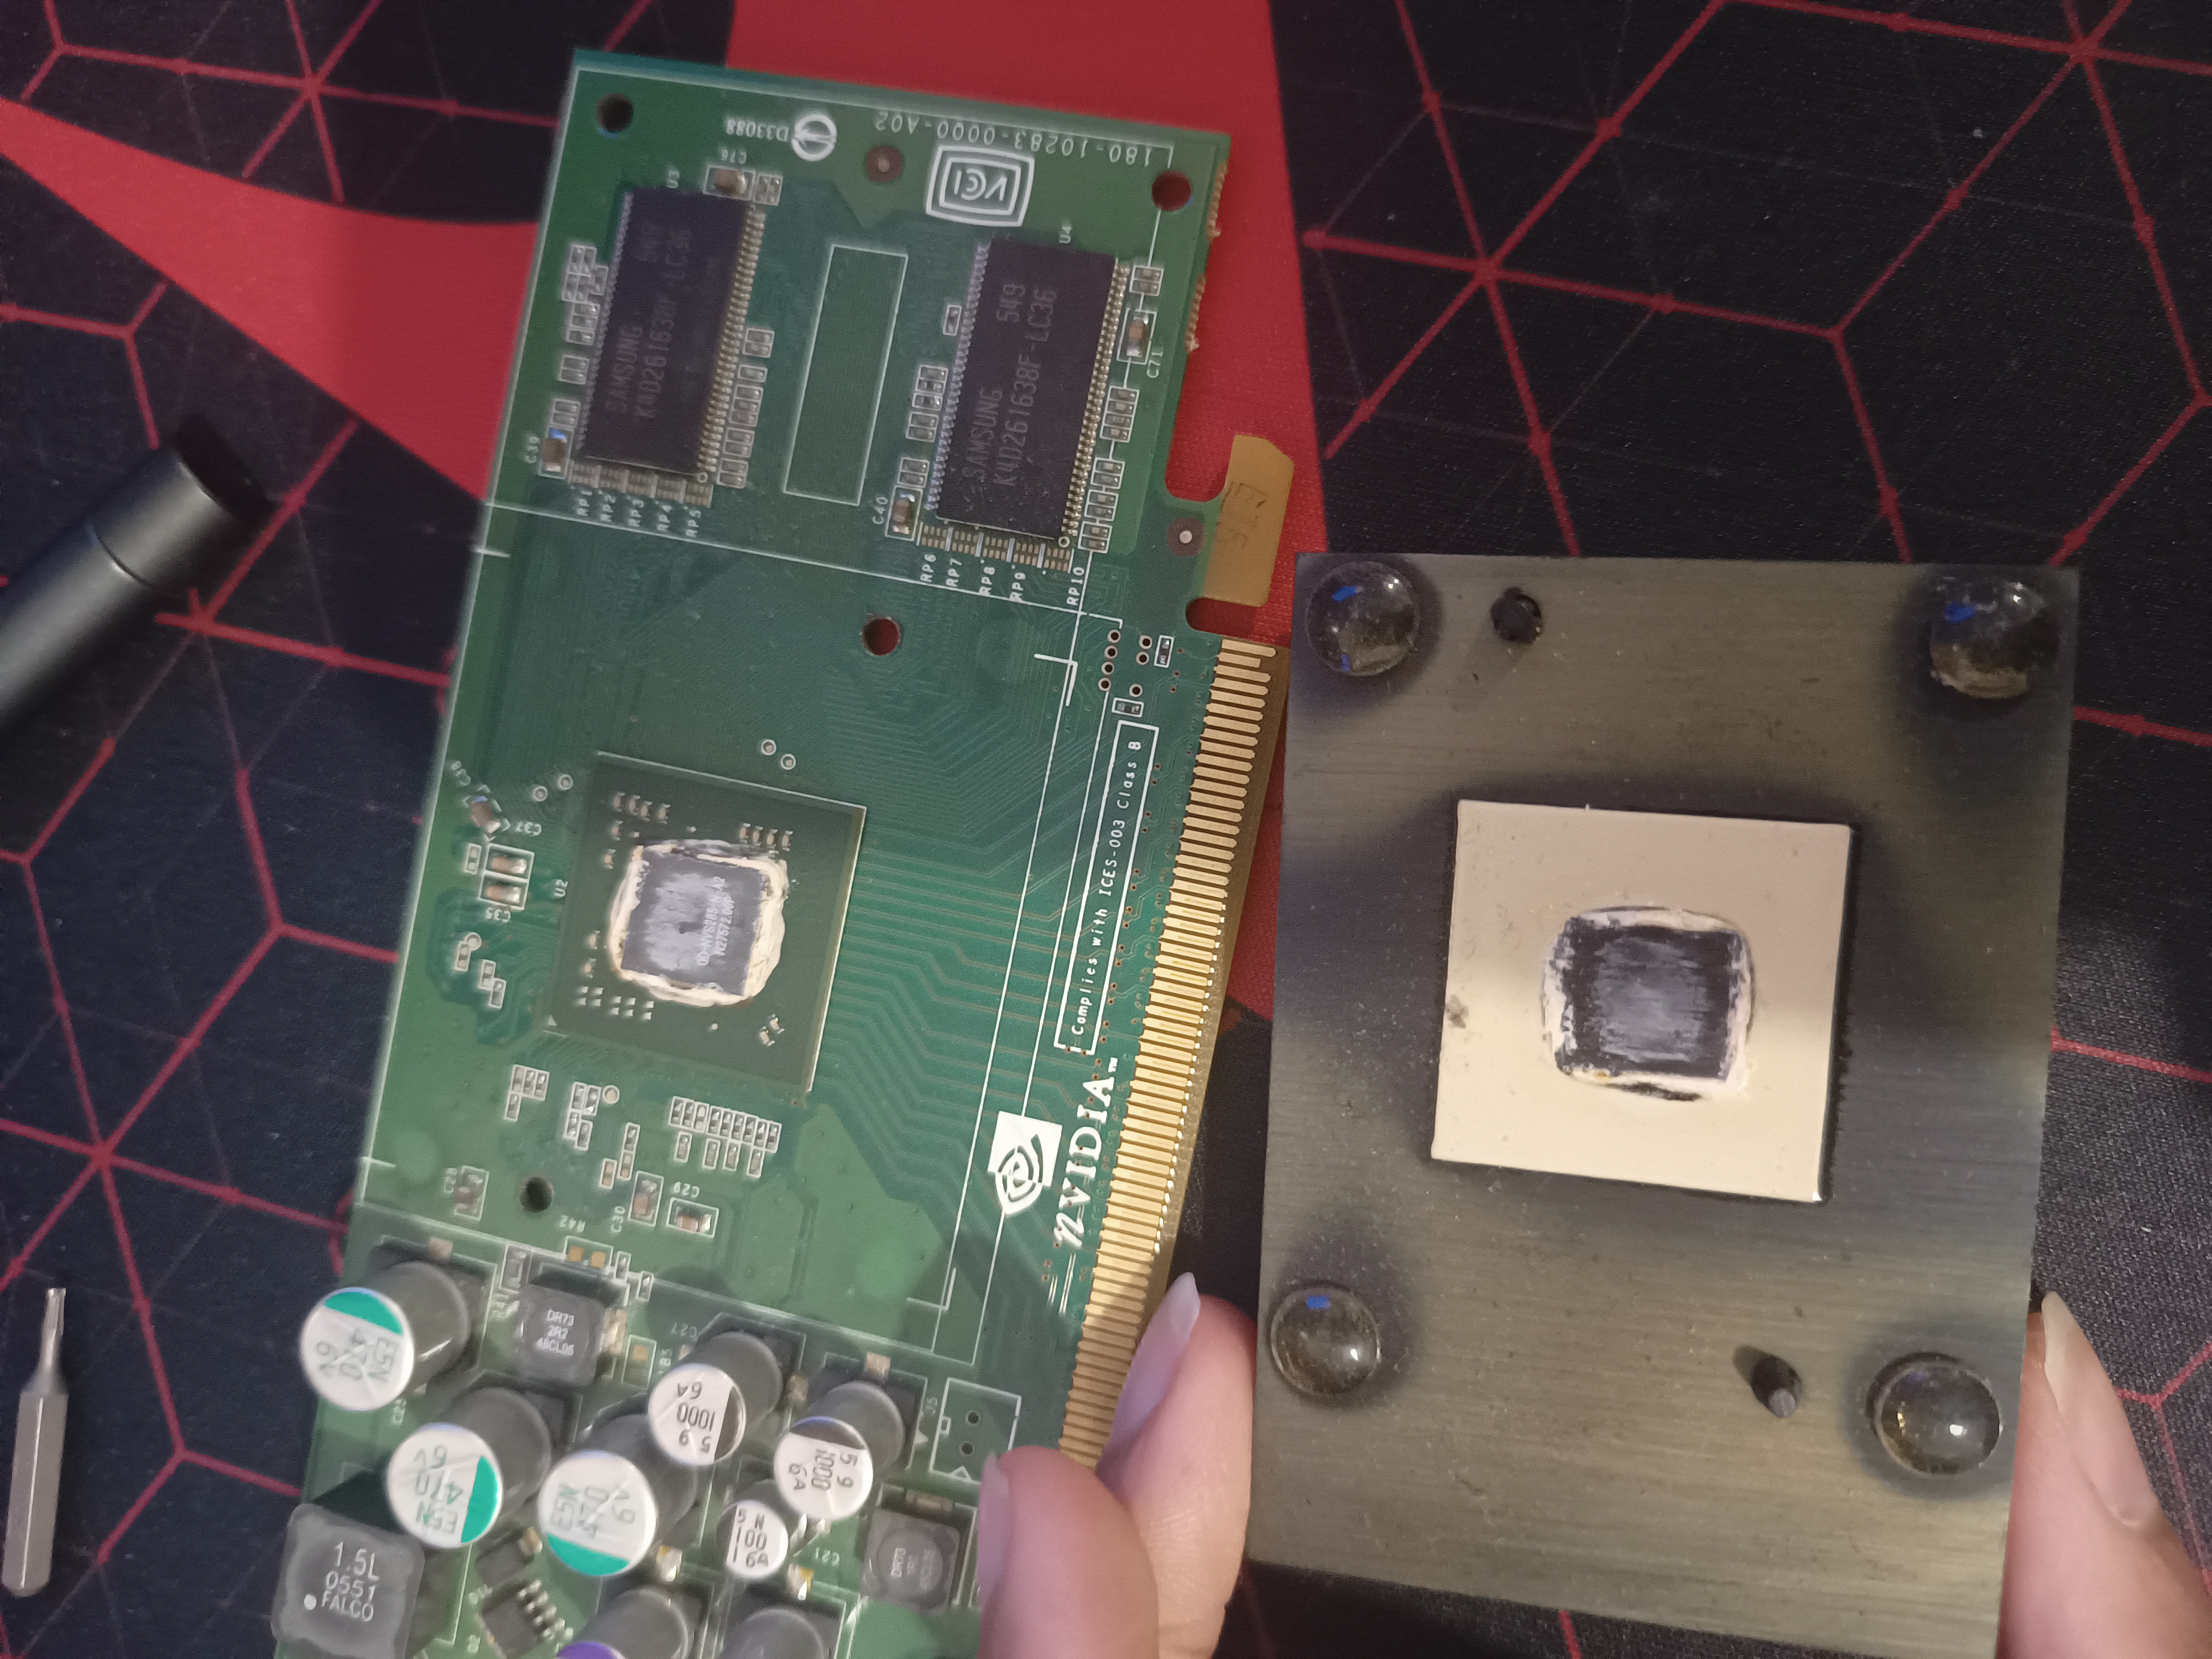
Despite seeming simple enough in hindsight, I had quite a bit of trouble getting this card’s heat-sink off. The two black tabs which I assumed had to be pushed in (I was right about this) seemed to be stuck in place, and I didn’t want to force them or anything to prevent breaking anything. After chatting with some people on a techie discord server, turns out you do need to push these little black tabs in to remove the heat-sink. After a bit of trial and error, seeing as the tabs just weren’t budging, likely due to being locked in place for so long, they finally popped off, and off the heat-sink came.

Re-pasting #
Under the heat-sink was some very old (obviously) and yellow thermal paste, which was really hard to get off since it had dried and solidified in place after so long. After some work with some cotton tips and some isopropyl alcohol, I was able to get most of it off, and I re-pasted the die with some regular Cooler Master Master-gel I had lying around (not ideal, but hey, it gets the job done).
Removing the Bracket #
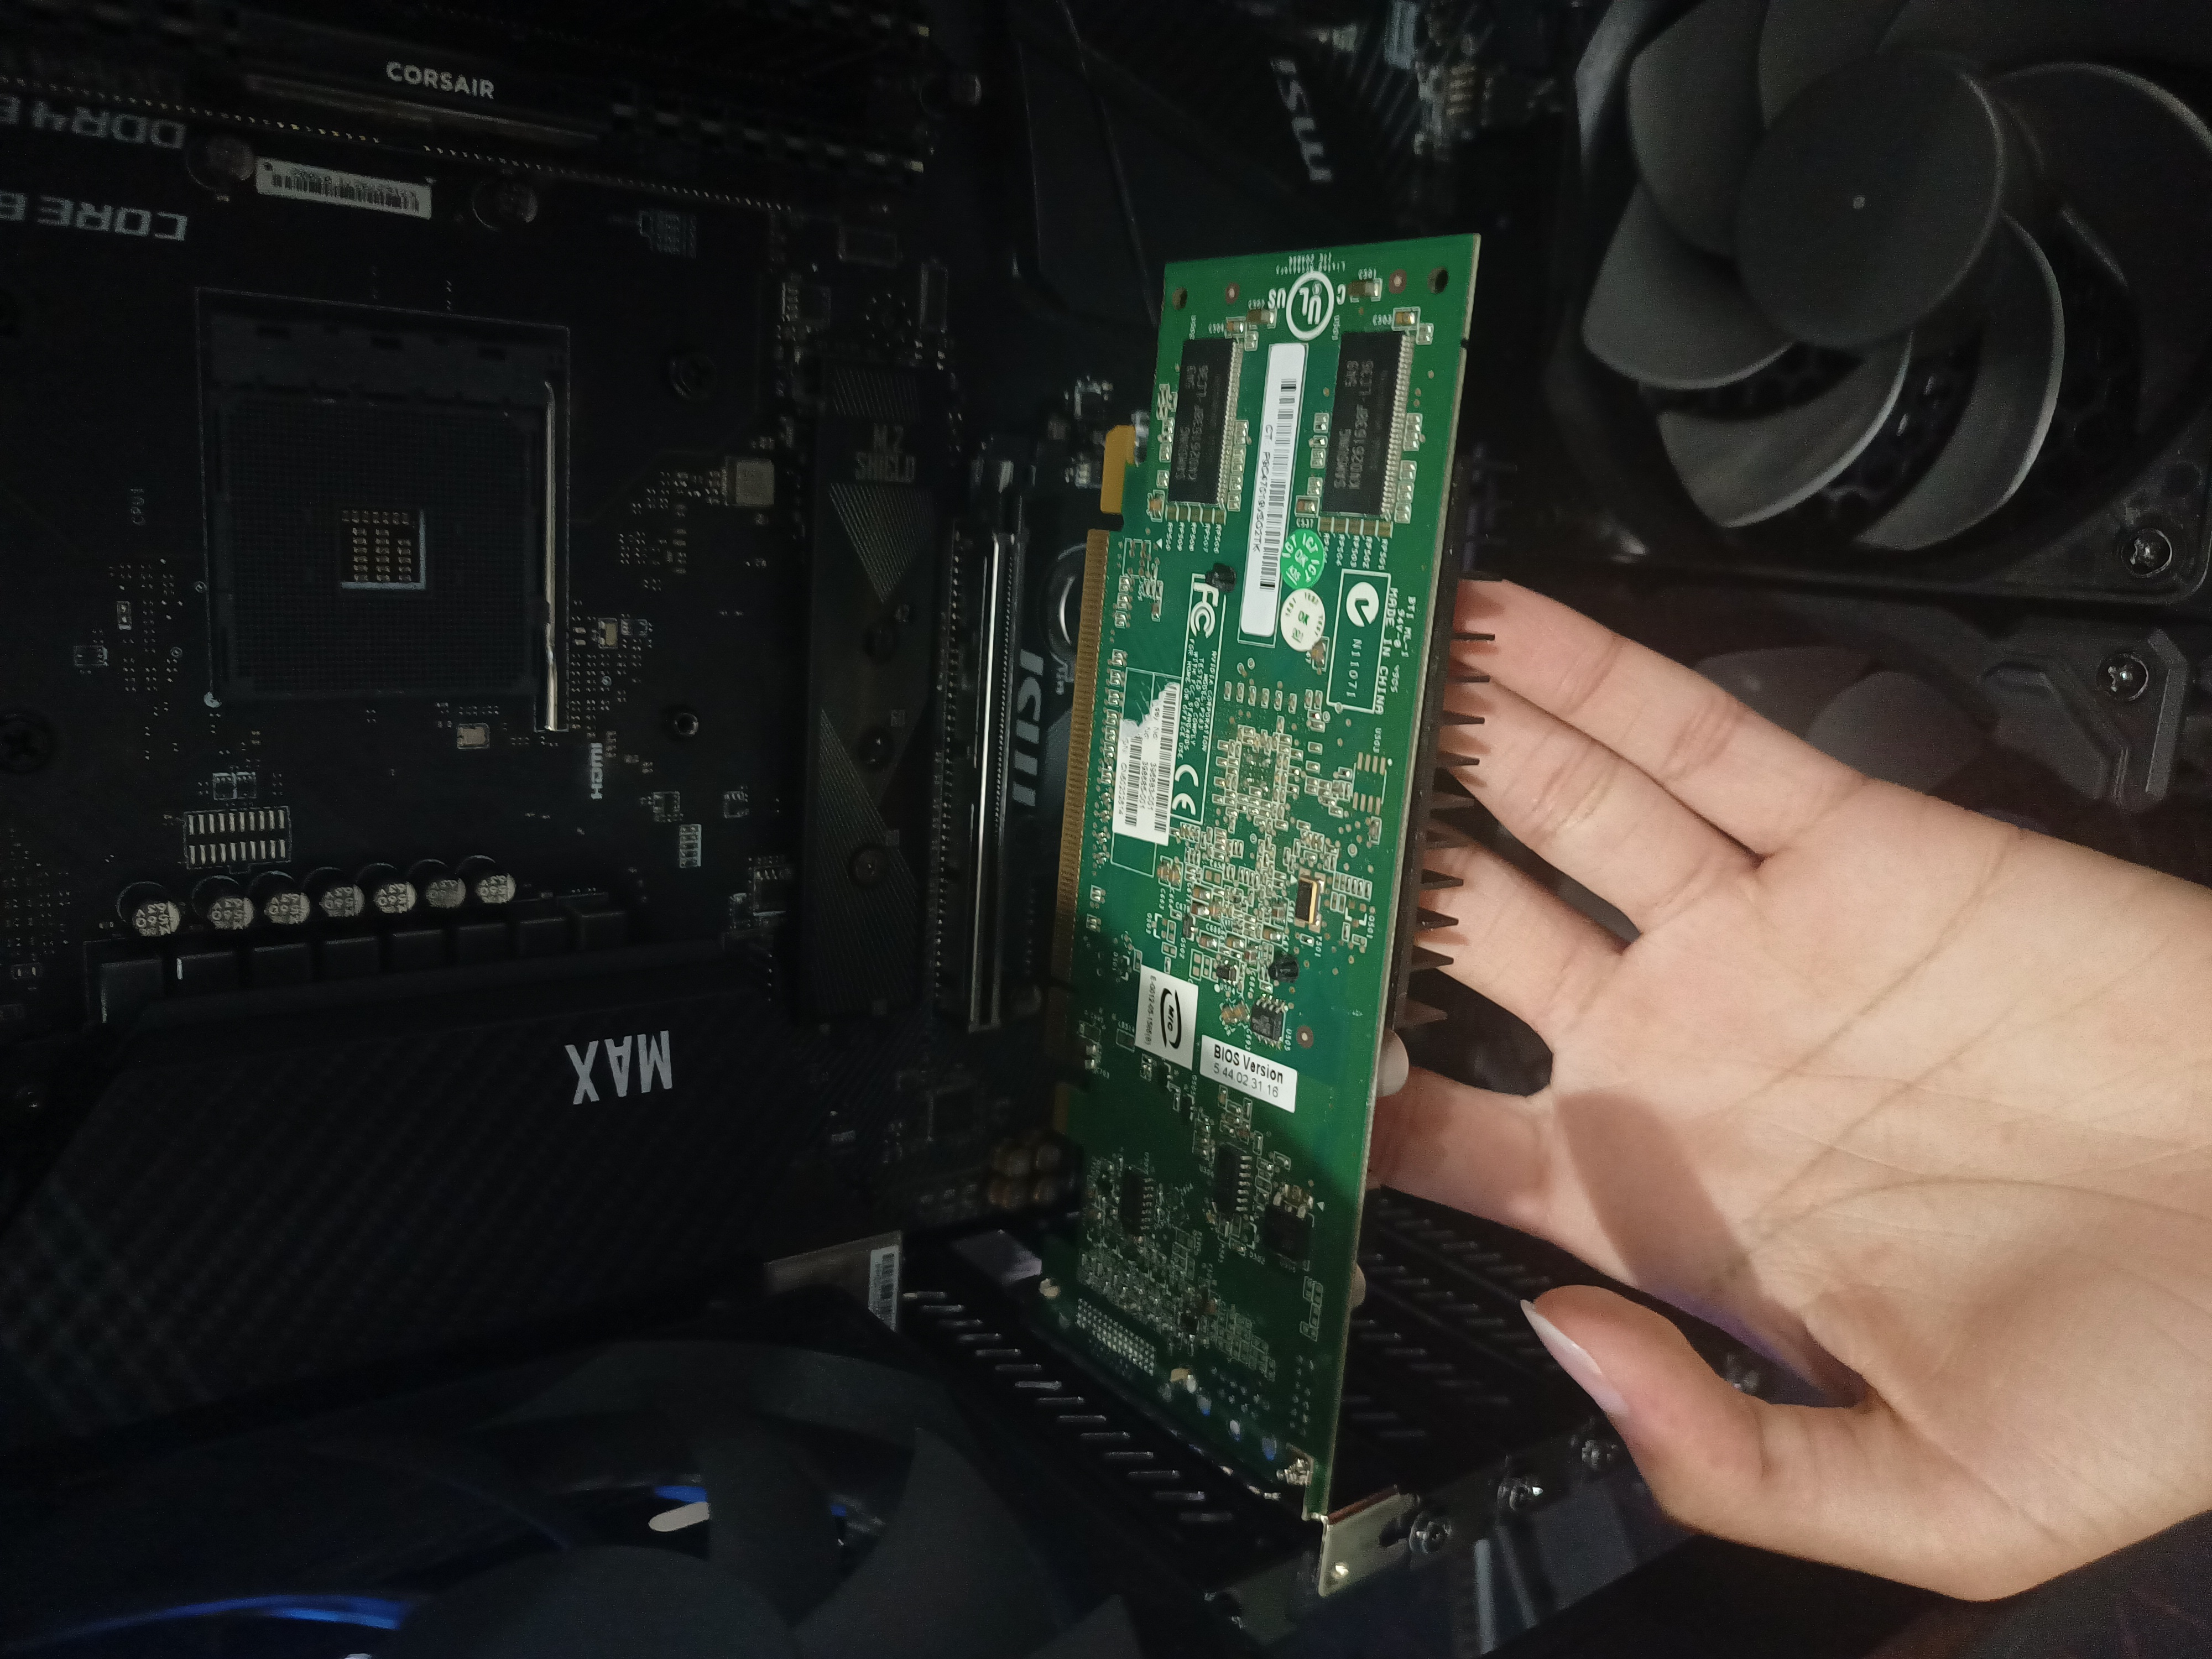
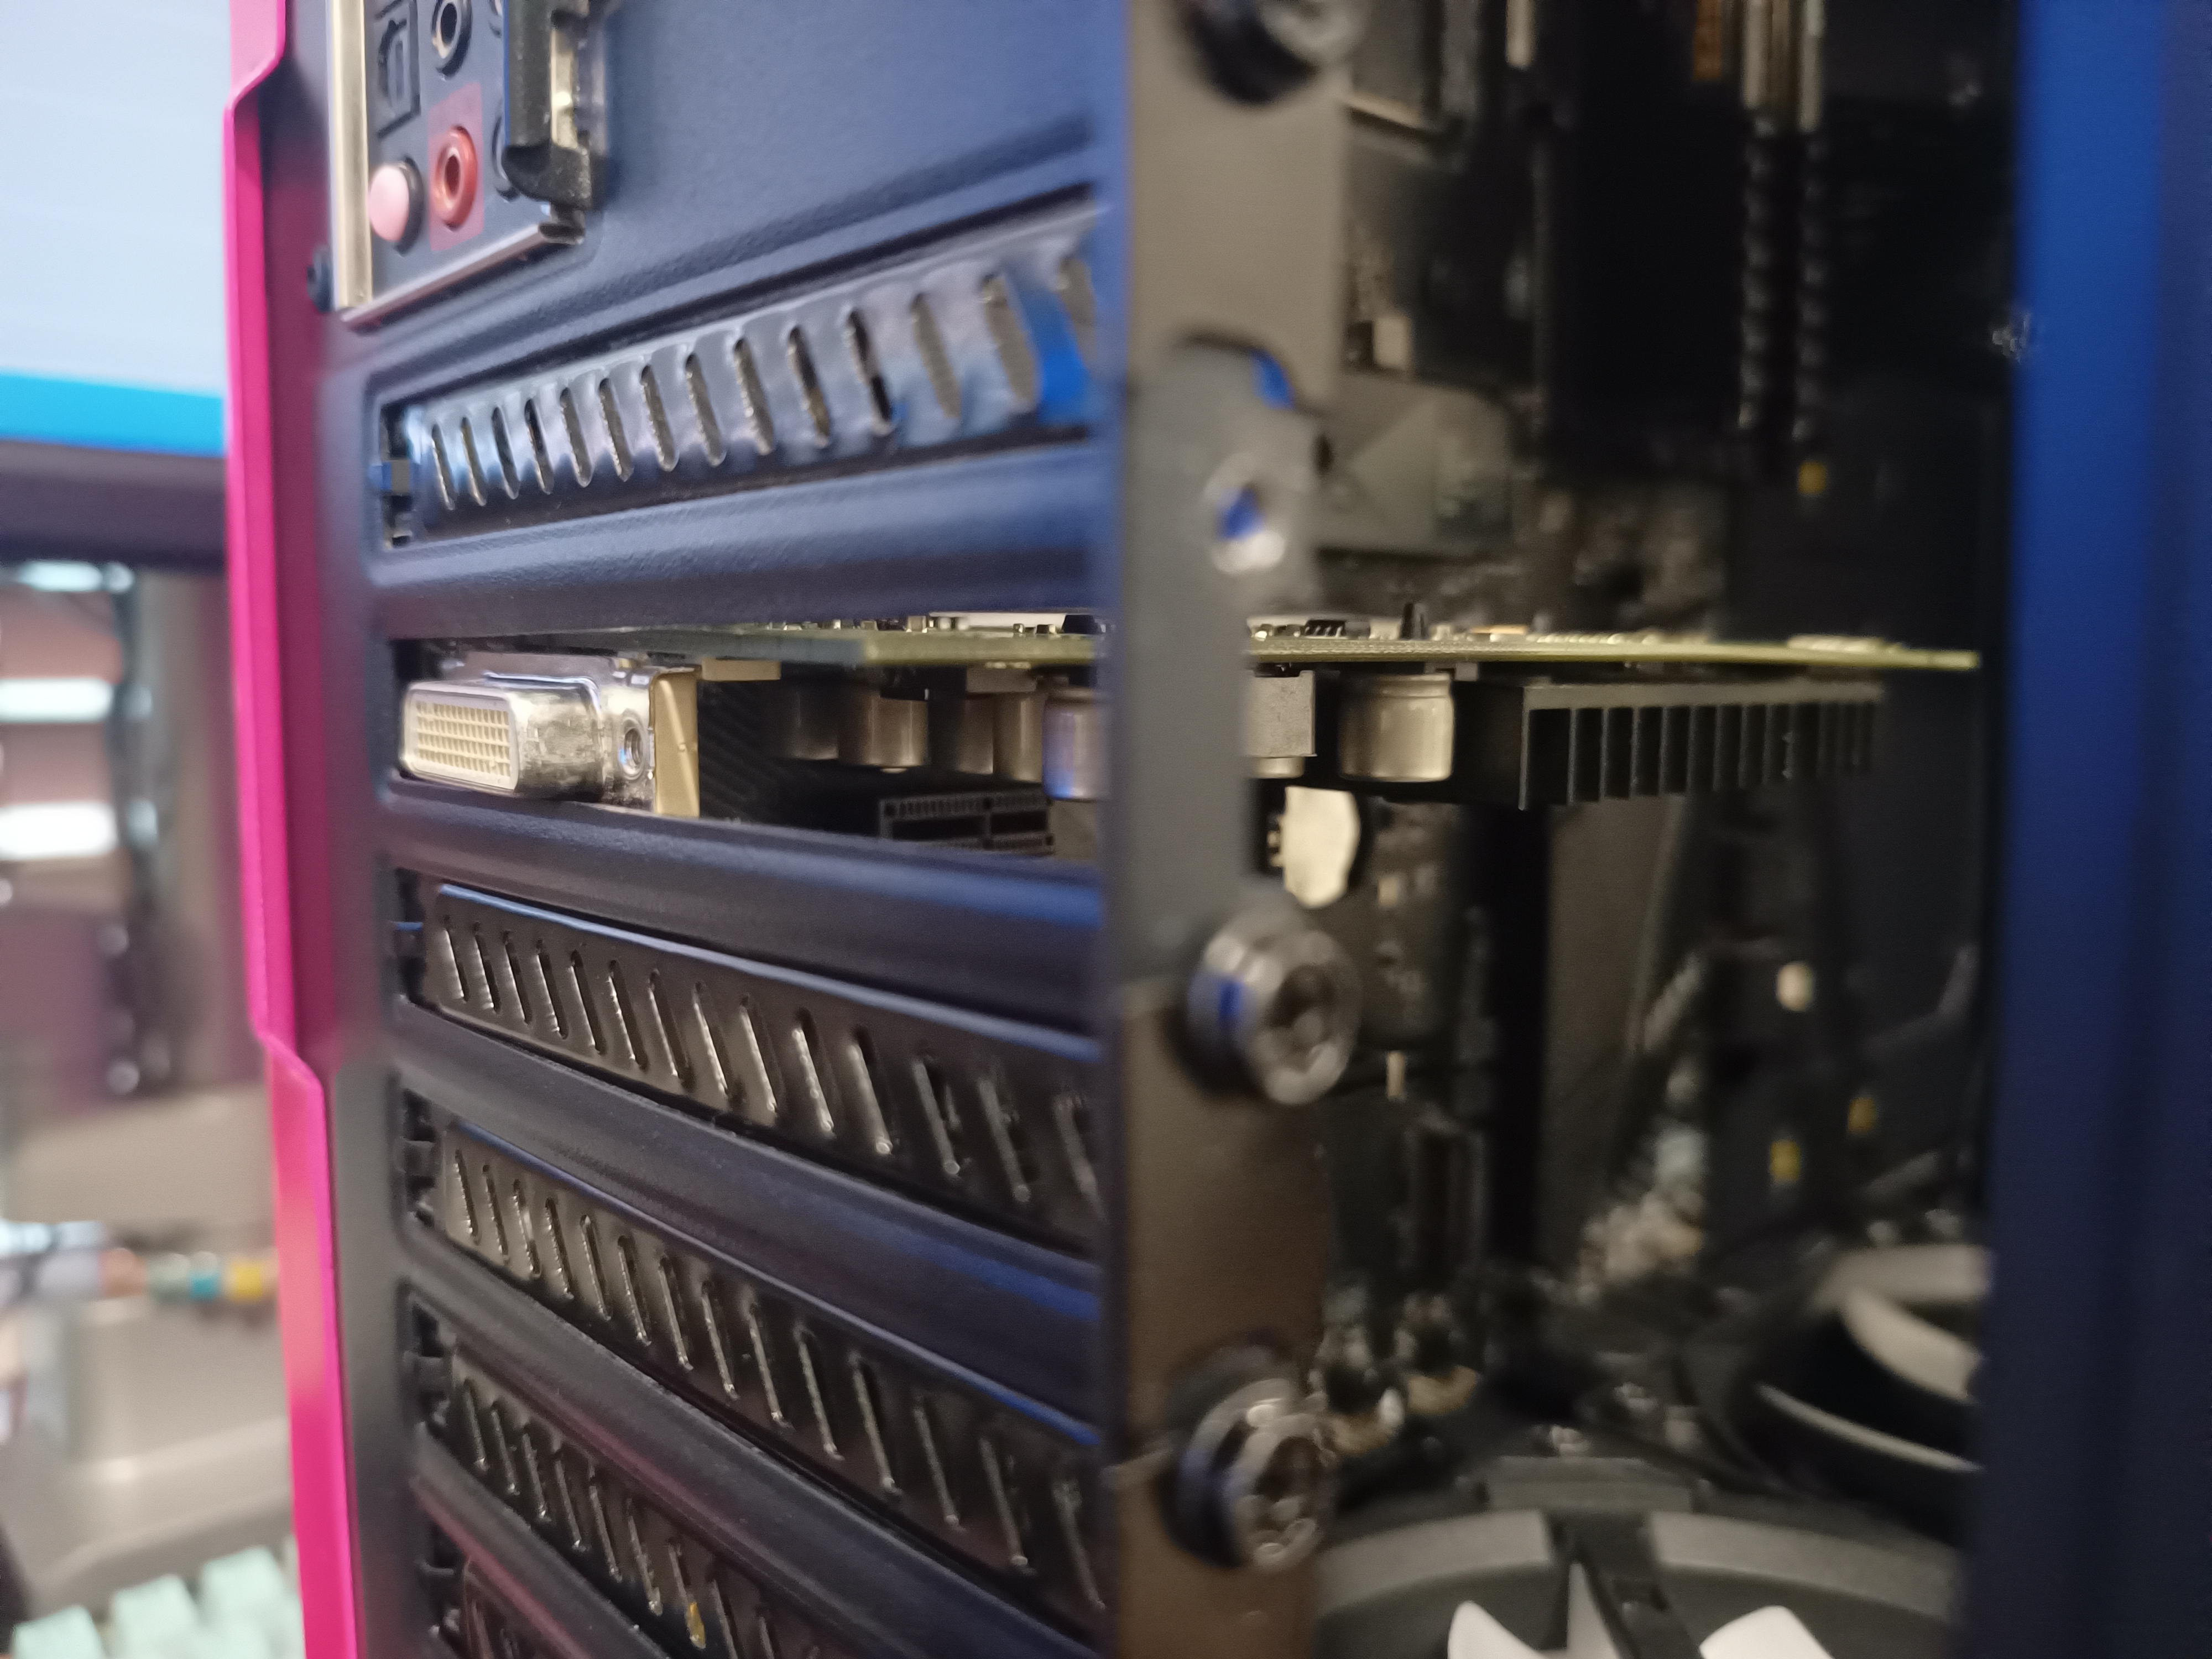
Upon trying to insert the card into my B450 Carbon’s PCIe slot, I realised that the card had a SFF PCIe bracket on it, which I had to remove for the card to fit in. There looked to be a single screw holding the bracket in place, but I also had to unscrew the two nuts attached to the DMS-59 connector (more on this peculiar port later). I used a pair of pliers to get the nuts off, which once again wasn’t ideal, but it did work out in the end. After that, the bracket came right off, and I screwed the two nuts back onto the connector. Following this, the card slid clicked into place without any trouble at all. I did have to make sure not to tug on the cable at all though, to prevent the card from being ripped straight out of the PCIe slot thanks to not having much rigidity and support without its bracket.

Testing Out the Card #
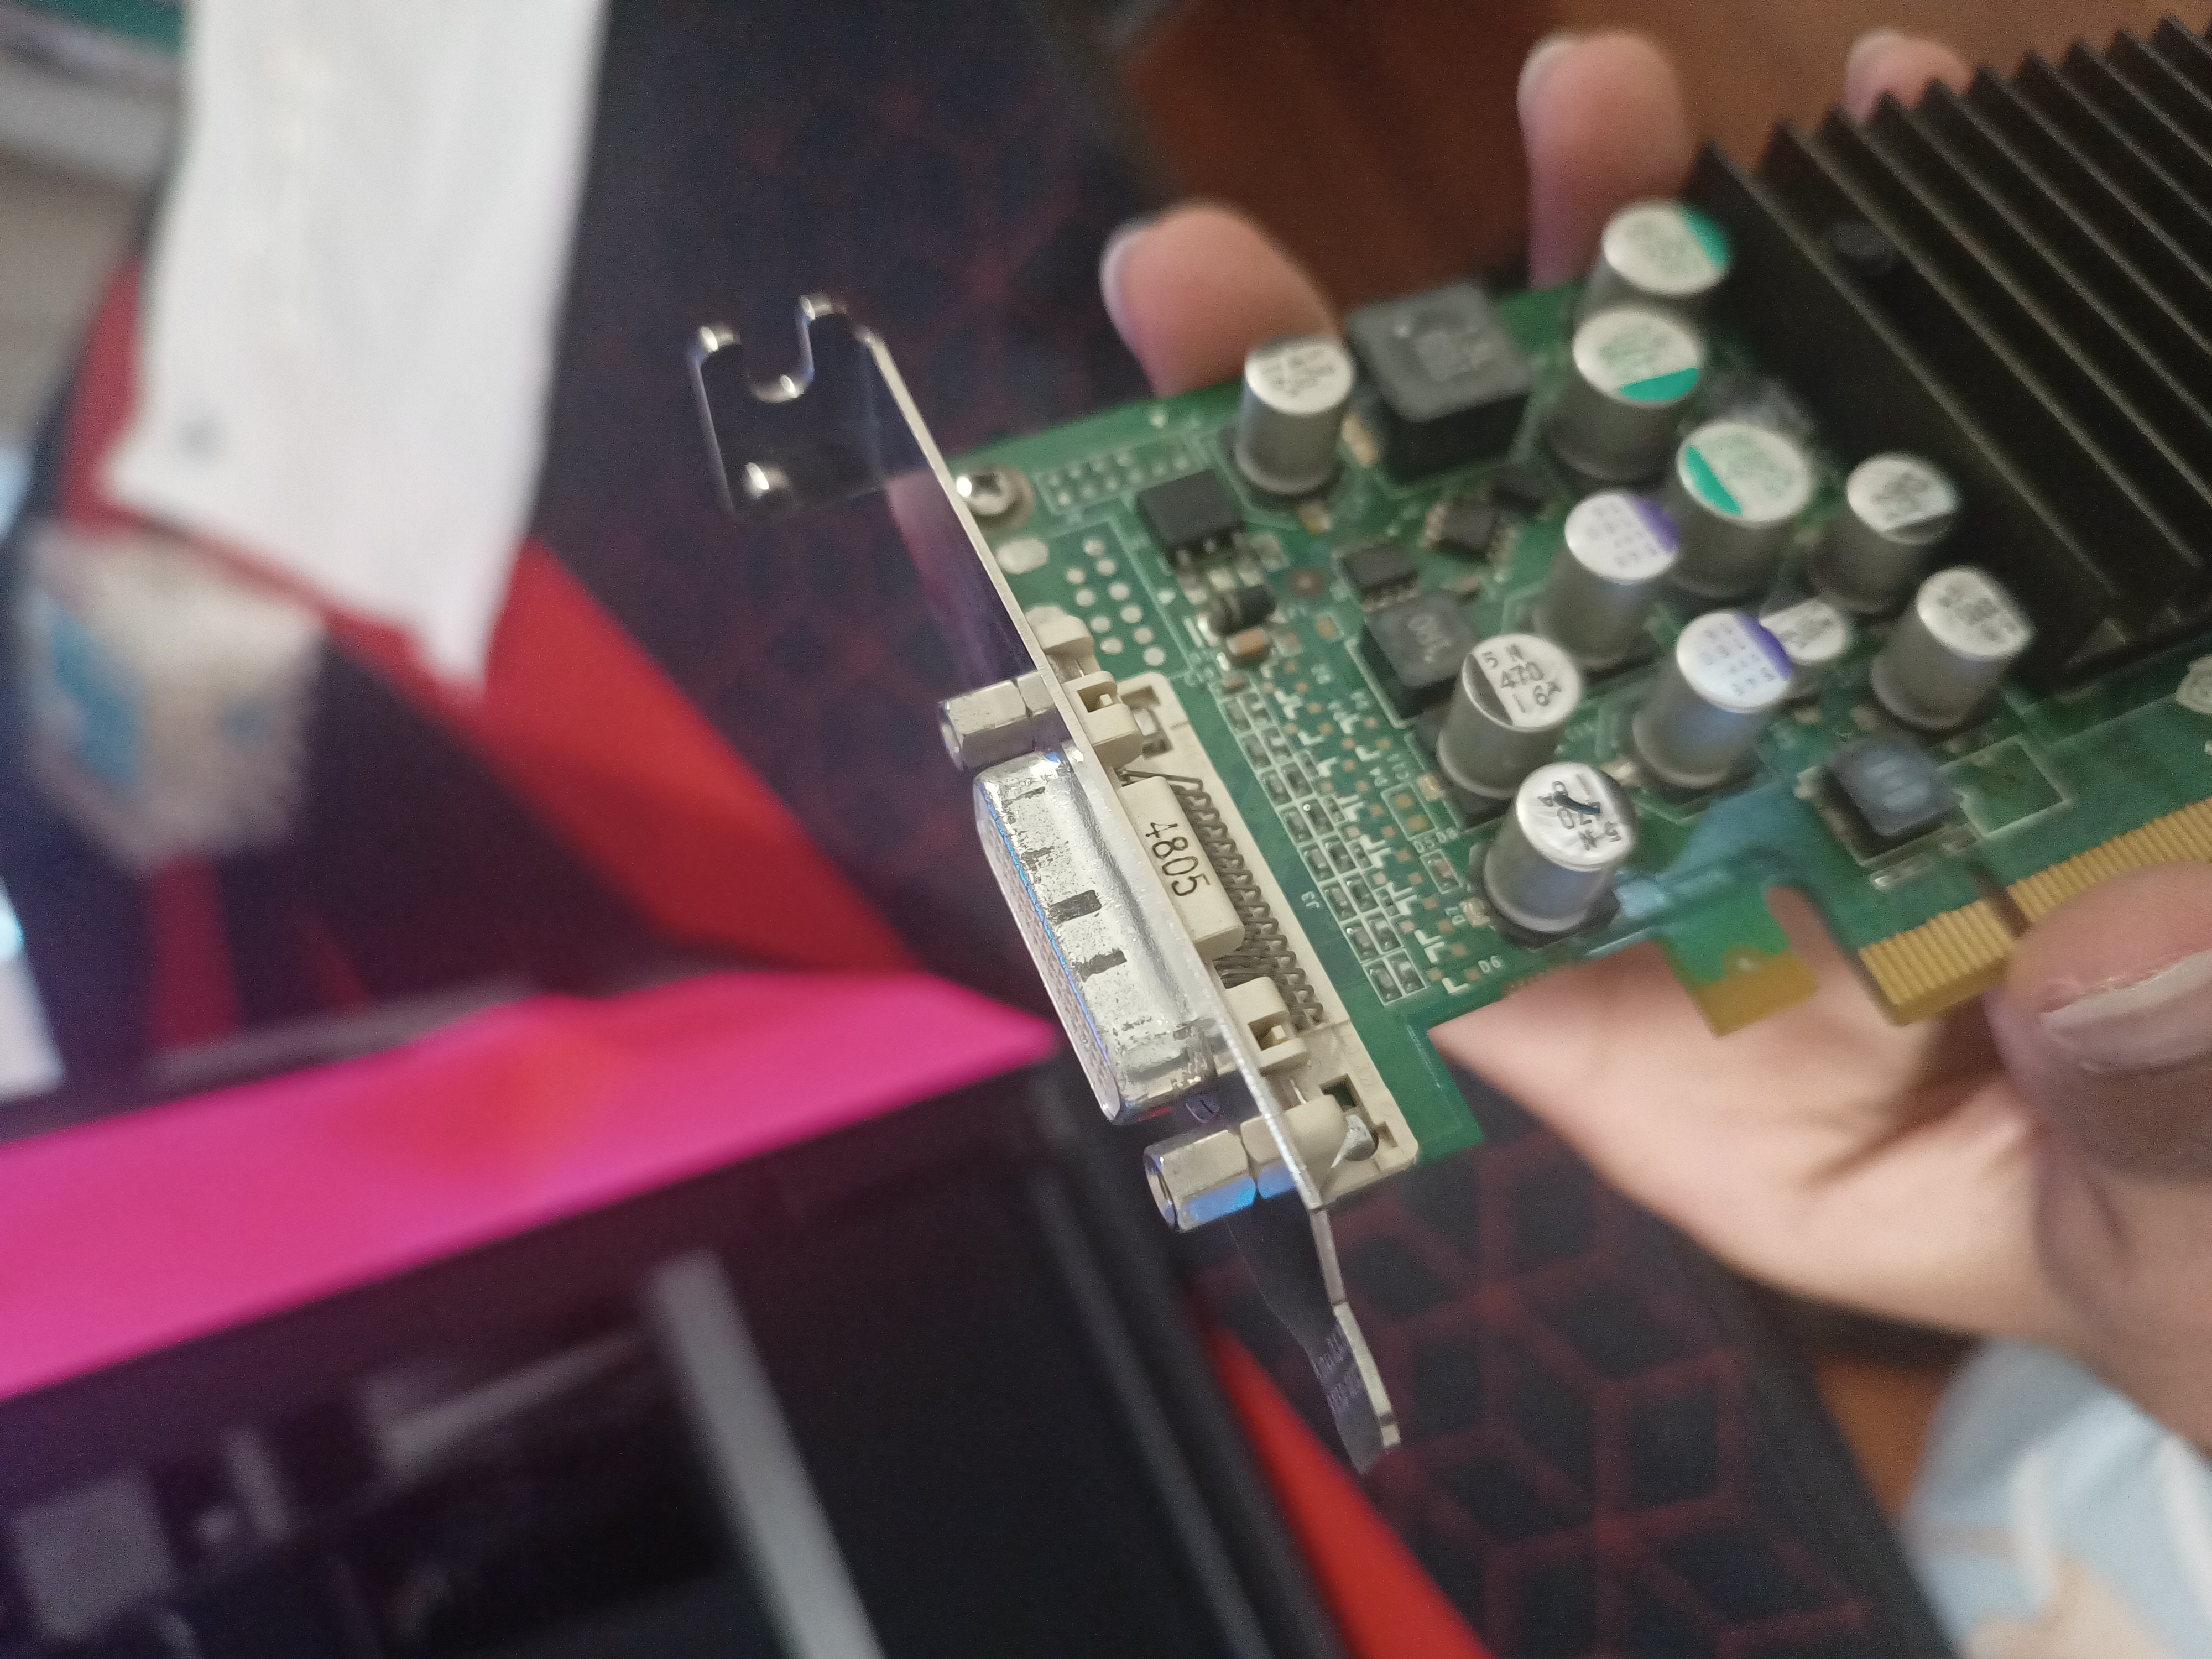
DMS-59 Connector #
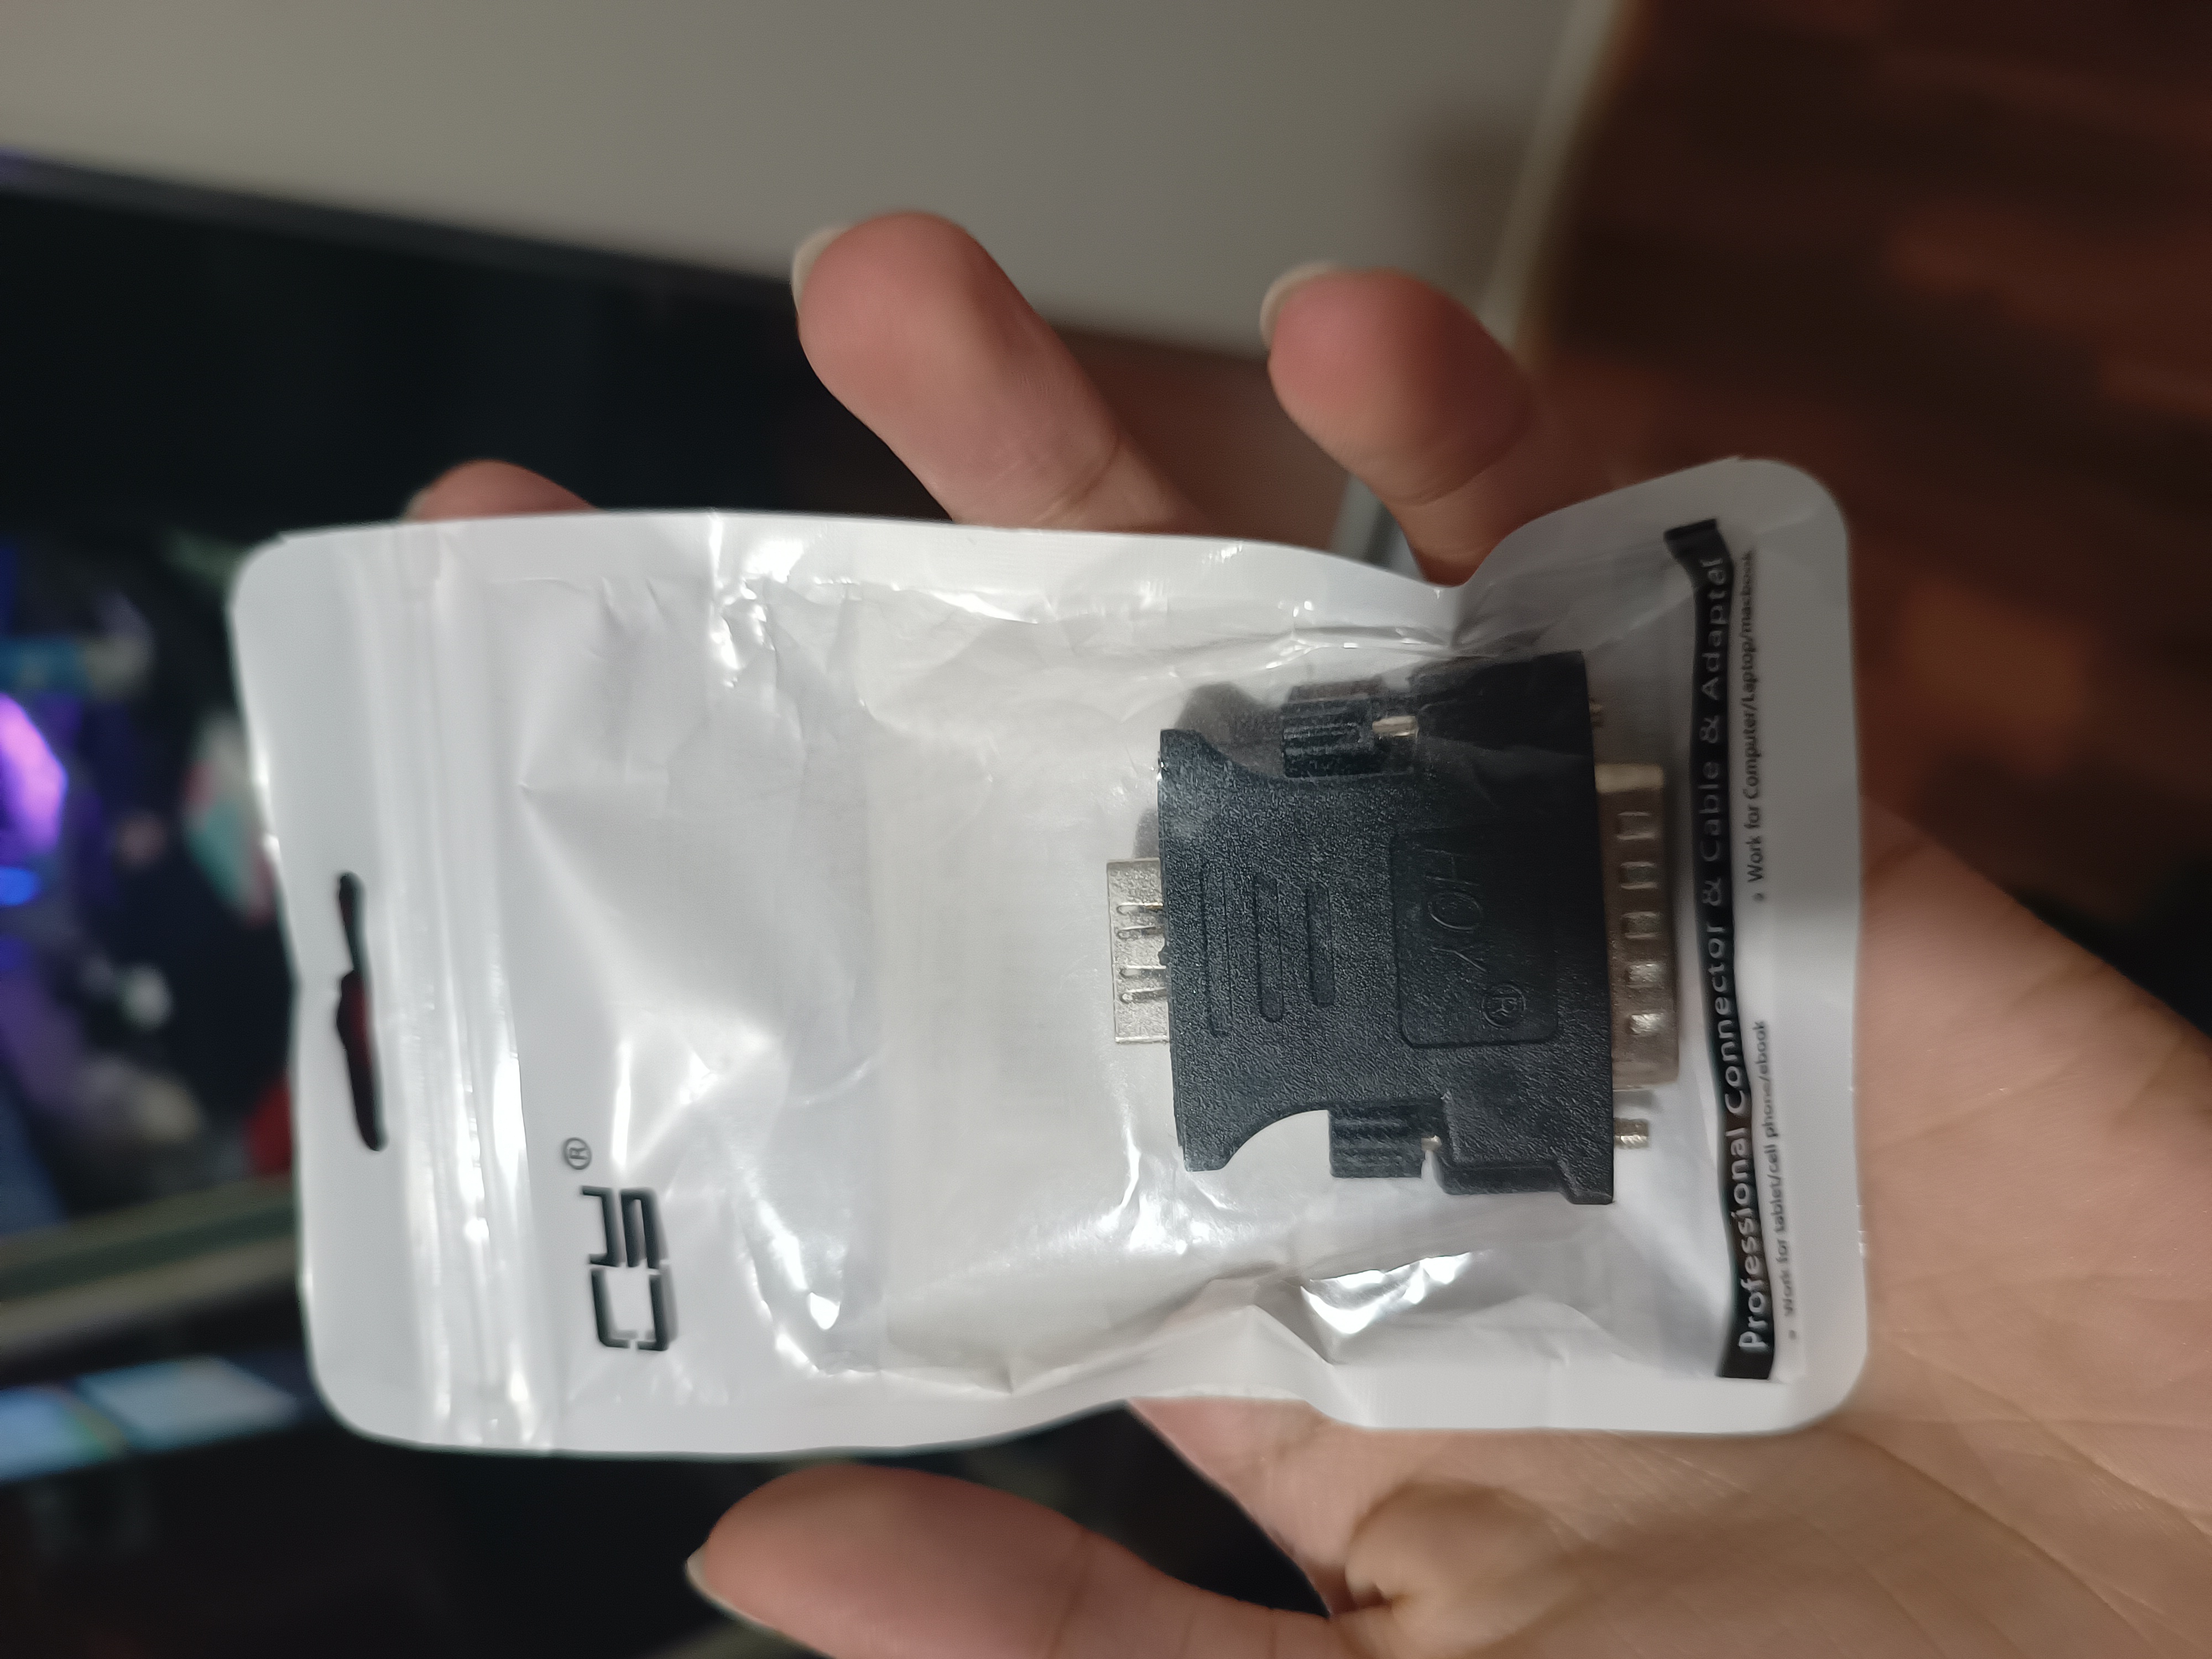
The NVS 285 comes with a pretty interesting connector on it - DMS-59. Basically, it provides two “DVI or VGA outputs in a single connector” as Wikipedia puts it (lol). This means that most people (especially at the time this sort of thing was actually around) would have an adapter of which one end goes into the GPU’s DMS-59 connector, and the other end would branch into two DVI or VGA connectors. I was able to find an adaptor which had a single HDMI port on the other end on Amazon for $10, which ironically is probably worth ten times as much as the card itself. This worked pretty well, but getting a secure connection with the card’s port was difficult, since it was slightly damaged, but resting my HDMI cable next to the wall helped.
Performance #
BIOS on PCIe x4 Slot #
I wasn’t expecting much out of the card at all, but it did work pretty well for what I did expect it to do. First of all, outputting my motherboard’s BIOS was tough when placed in its PCIe 2.0 x4 (i.e., running at 1.0 x4 speeds). Green artifacts were all over the place as seen below.
BIOS on PCIe x16 Slot #
However, kicking it up to the motherboard’s main x16 slot, the BIOS displays just fine. Usually on my other GPUs, my BIOS is stretched out across my 21:9 monitor, but this wasn’t the case here for whatever reason interestingly.
In Linux #
Outputting the tty was no issue at all for the NVS 285, which once again displayed the tty in a 4:3 resolution interestingly on my monitor - likely because it cannot output 2560x1080. the tty, which was probably running on something along the lines of 1280x960, worked pretty smoothly. Later on when installing Proxmox on my server, the card was actually handling the graphical setup with ease as well - which surprised me.
Conclusion #
Overall, playing around with the NVS 285 was pretty fun, and it did actually end up surprising me quite a bit with it’s capabilities of displaying the Proxmox setup, considering its 128MB of DDR2 ram. If you’d like to learn more about the card, check out the page on TechPowerUp.
Thanks for reading!